I decided to make a totebag with some bandanas I found at Dollarama. I couldn’t be more happy with how it turned out.

You will need:
- 4 bandanas(2 for the outside and 2 for the lining)
- 2 pieces of fabric for the straps around 32 inches long each. I used this crochet ribbon I also found at dollarama
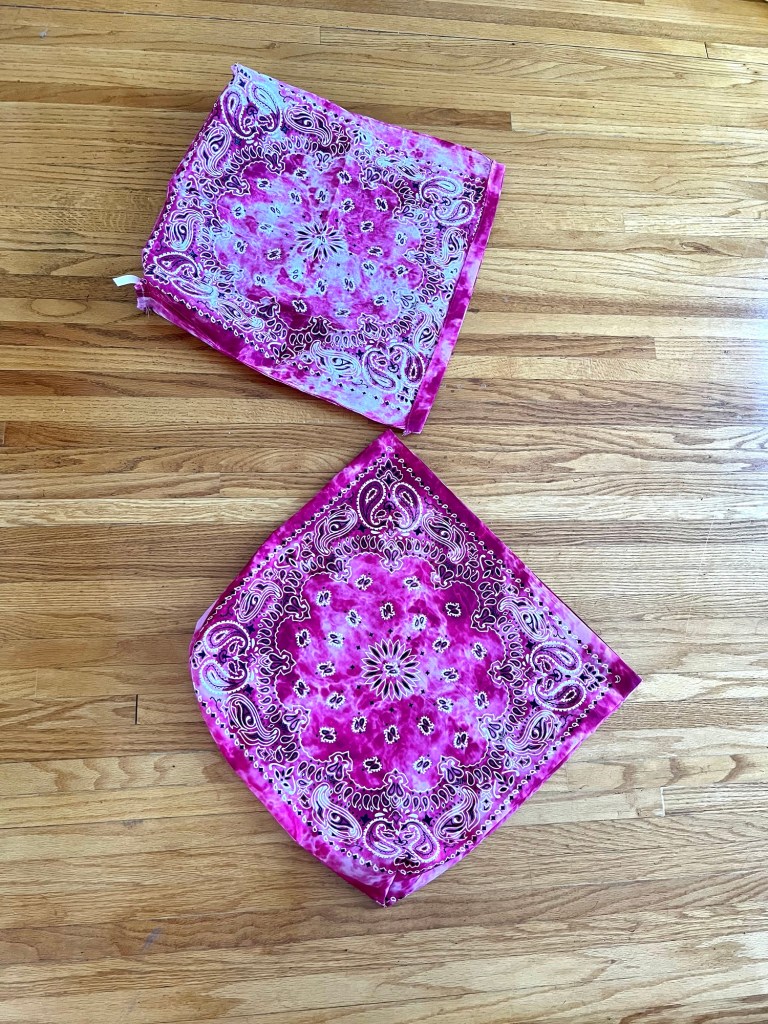
Take 2 bandanas and sew them with the right sides together on three sides. This is your outer piece.
Do the same thing with the other 2 bandanas. This is the lining piece.
To box the bottom, fold the corner the opposite way and measure 2 inches across. Sew on that line and cut off the excess. I also added a zig zag stitch on the other side to prevent fraying.

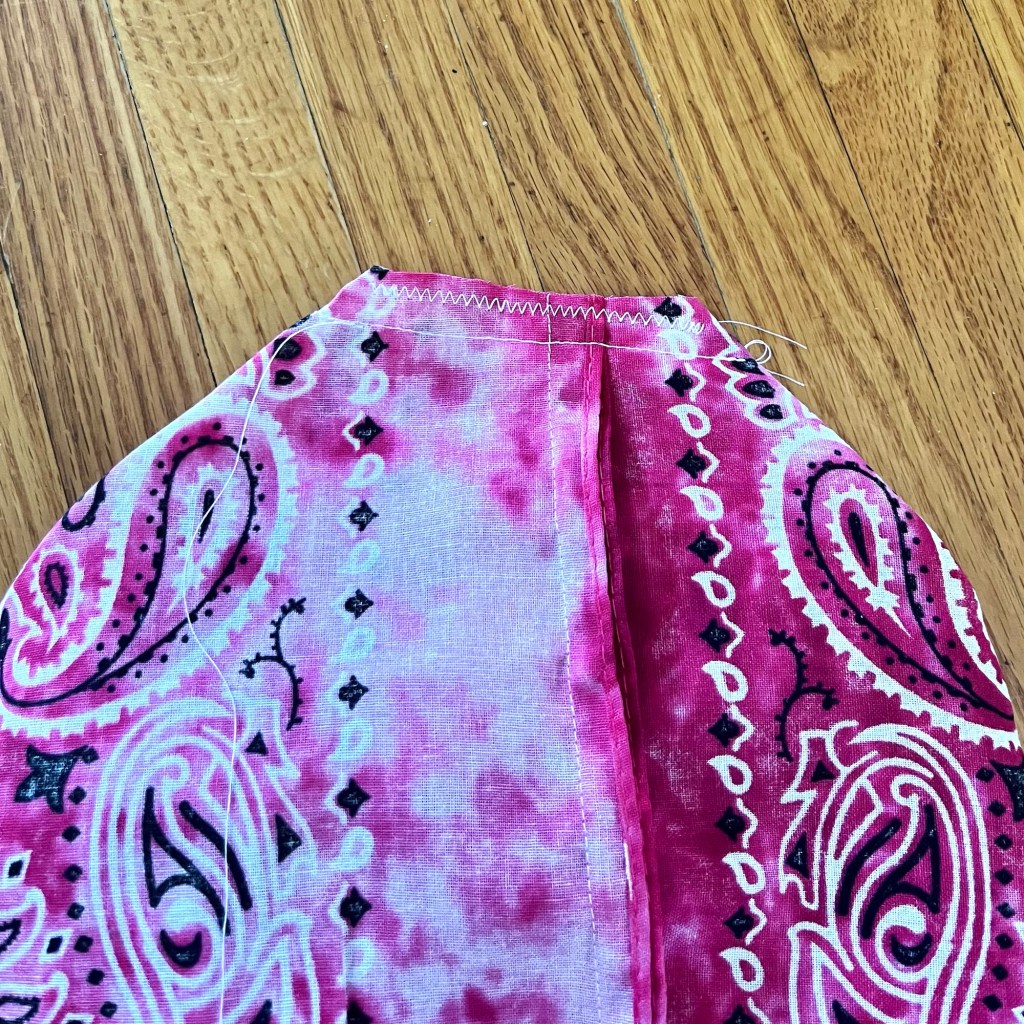
Do the same thing to the other corner and the corners on the lining piece.
Cut your two strap pieces to your desired length.
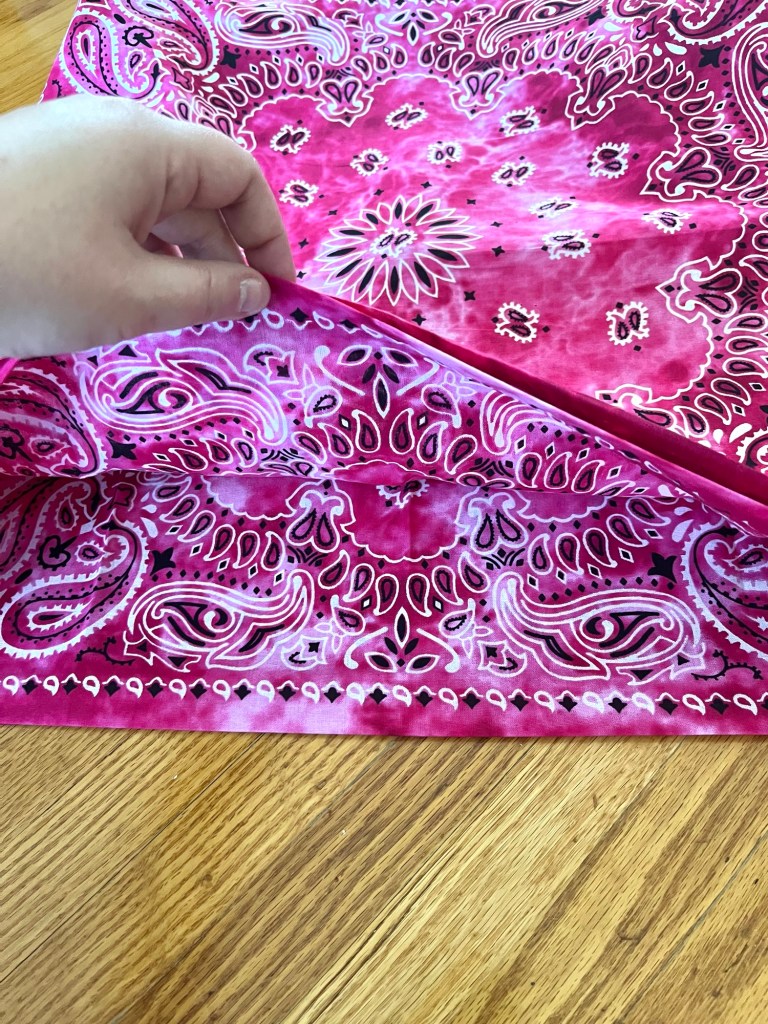
Take the outer piece and fold right side out. Fold the top edge inward 1/2 inch and iron to give a crease.
Leave the other bandana piece the wrong side out and fold the top outward 1/2 inch and iron to give a crease. this is your lining.
Drop the lining into the other bandana piece.
Pin the straps where you will want them to be sewn between the lining and outer pieces. Make sure to check that the placement and length is good before sewing the top stitch.
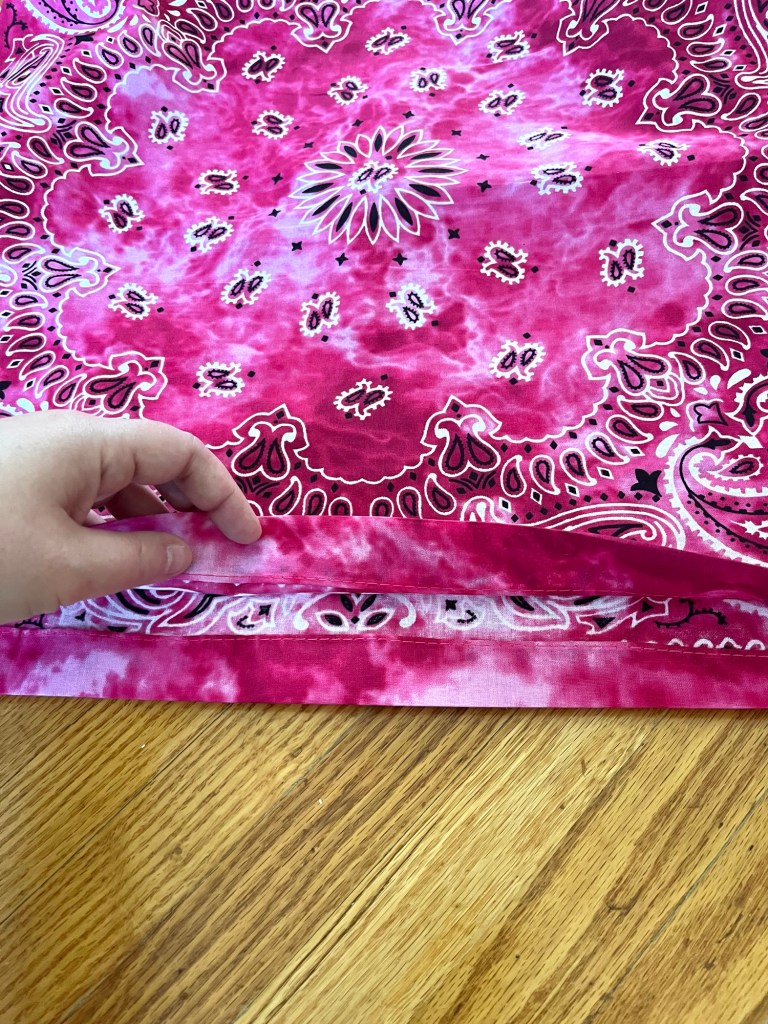
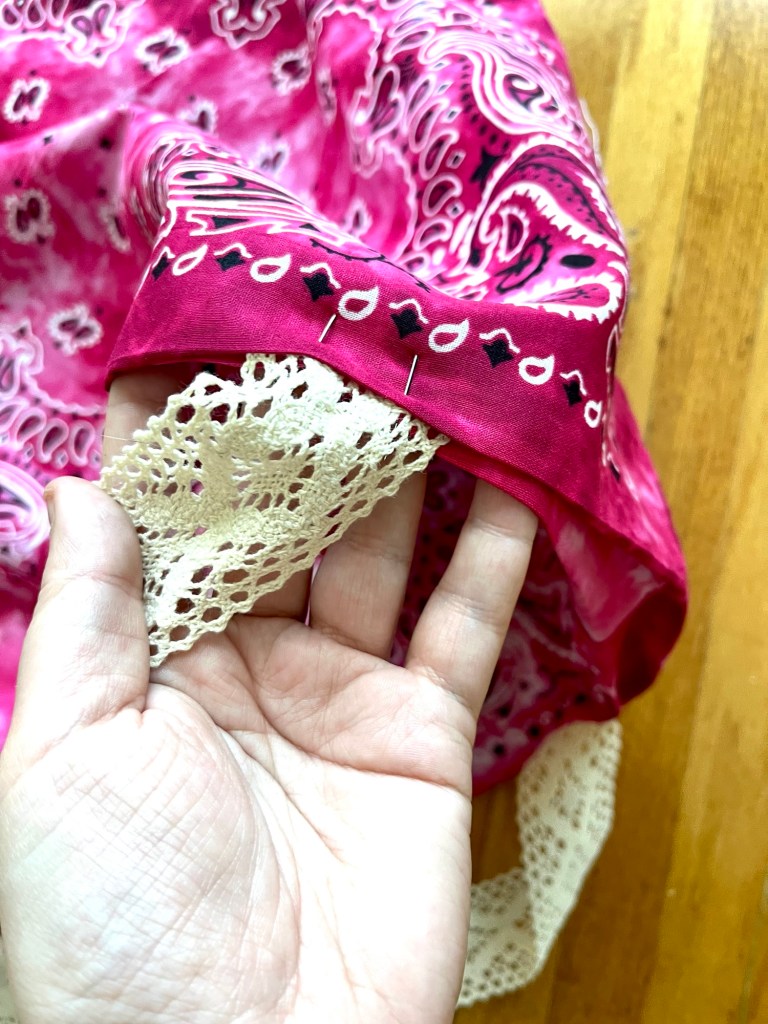
With the pieces pinned in place, sew a top stitch around the top edge of your bag.
Cut any loose thread and you are done.

