Spring has sprung and its probably a bad time to start talking about winter wear. However, I can’t resist a good deal and this wool was on sale from $8CAD to $3.97CAD. Time to get prepared for next year.
Loops yarn is advertised as easy to work with, no tools are needed. Now I may have knit a few rectangles in my day, but knitting is not my best skill. I am currently hand knitting a giant blanket and I’m into the technique so I was excited to see how this would come out.
I bought 3 balls of yarn. I followed the instructions and started with 14 loops. the 15th loop gets pulled through the 14th loop and that creates the second row and then you just keep going back down that row. You don’t turn your work over, you just keep going down the line and when you reach the end start a new row and head back.
Since this wool has an ombre color to it, I did have to take that into account when starting the second ball of yarn, I couldn’t just take the end, I had to find where the colour matched up. To start a new ball, I tied the end of the working yarn to the end of the new ball and just sort of continued going. Later I weaved the ends back into the knit.
Once your scarf is as long as you want it, to finish start on the opposite side as the working yarn, reach through the first loop and pull the second loop through, then pull the next loop through and just keep going down the line. When you get to the last loop pull the yarn end through and sew if needed.
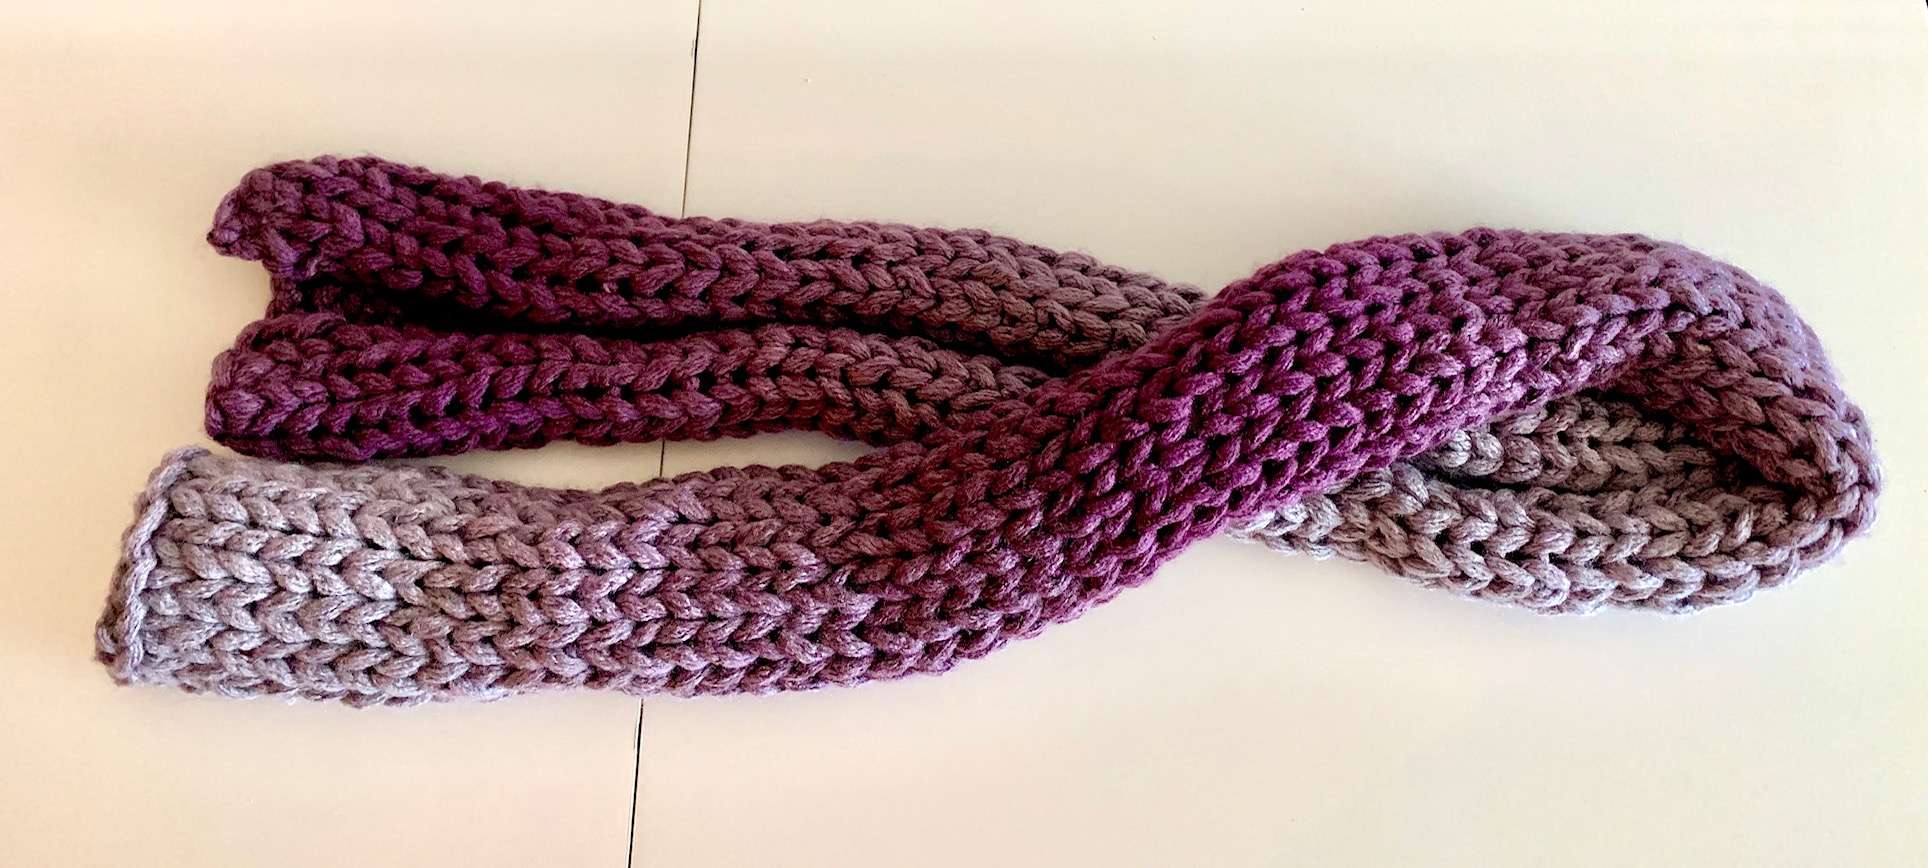
This was easy. Really easy and surprisingly fast. It was so quick to finish, there was no struggle with it. Having the loops preset made the size of the stitches even, which gave it a professional finish. That strength could be a downside though since you dont have control over the loop size, and I usually prefer it tighter. Despite that, I was incredibly impressed.
The was one issue that came up. The starting row edge just didn’t look good on the back. I ended up cutting the thread holding the wool and following the finishing “cast off” step above. It worked really well and gave it the full knit look.


Once you have the desired length you can stop there and have a scarf with just 2 balls of yarn. I did end up adding the fringe and I absolutely love it. The texture takes it to the next level. I used twice as much yarn as it recommended but i wanted the fringe to be big. That’s where I used the majority of the 3rd ball of yarn.
The scarf took only a few hours. I would consider this a gateway to knitting projects. It has a lot of potential for new knitters who need some confidence and it would be a great project for children. I think it could create a lot of interest in knitting as a hobby and I am looking forward to trying other projects and tutorials to see what else it can do. I would recommend it to any beginner.


Hmm, interesting. I’m not sure if it would be a gateway to knitting, though. Only in the sense that it might give a little confidence boost to someone who thinks they can’t do it, and thus might try the “real thing”. Might be a gateway to loom knitting, since that is a bit closer to what this does.
I like your idea of re-doing the starting edge so that it matches the ending edge by snipping the threads and doing a cast-off.
LikeLike
You are 100% correct. More similar to loom knitting or hand knitting.
LikeLike
Hand knitting? Oh, you mean finger knitting, yes?
LikeLike