Being new to using Cricut, I know there’s a lot of different directions I can go with it. Lately I’ve been trying to make my own cards. I have three examples, they are similar. One cut out piece with an insert. I’m trying to master this before adding additional cuts.
I love the idea of making my own cards, it’s more personal, I get control how it looks. I’m excited about the possibilities. Also, I really want the cards to be cost efficient so the paper I used were 8 by 5.5 sheets I purchased at the dollar store. This pack came with a few different colour options and envelopes so that saves a step.
The first card was a mother’s day card. It was also my first attempt, I’ve had nothing but luck cutting vinyl but for this project I ran into a couple hurdles.
First getting it to cut at all. I had the card set up, picked a design from Cricut Access but when I was ready to cut it kept asking for a scoring wheel. I had no idea this existed, let alone that i would need one. It makes sense, a score wheel would mark the paper so it would fold easily. However, its not in the budget at this point to buy another tool. The work around is to choose customize instead of cut when you pick the project. There should be a score layer in the project, it you delete that the go to cut it will let you start.
Second problem, the blade was cutting the card all over the place. I stopped it, checked where it was placed in the project, checked my mat, everything seemed fine and then again the blade cut into my mat at the wrong place. This was frustrating I wasted a lot of paper. Eventually I figured out before you cut, when you review the paper placement, there is an option for paper size, change it to the size closest to what you have. Once I changed the paper size I was good to go, this card turned out great.

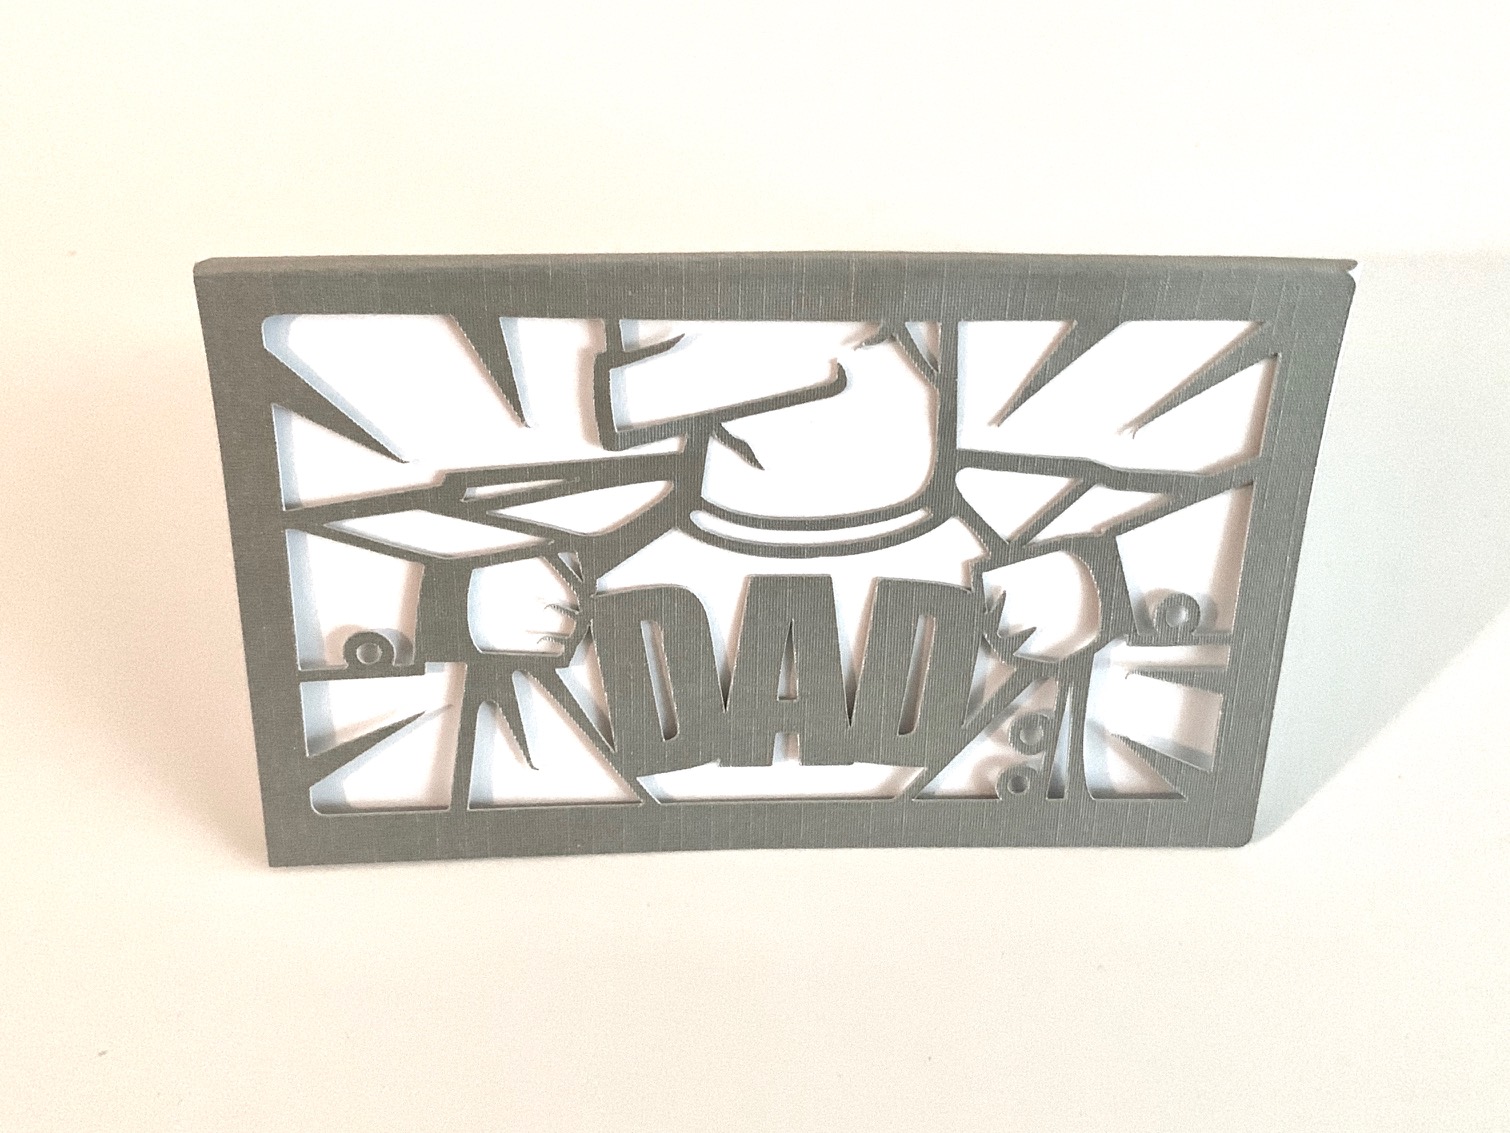
The next card I made was for father’s day. After working through the first card I was overly confident going into this one. First I needed to resize the design it was a bit too big for the paper I was using. I also changed the orientation. The problem was I wasn’t paying attention when I switched to the cut view, for whatever reason it had switched the orientation of the paper back and again I cut into my mat. I should have noticed that change. The lesson here is to always check what you are doing. It’s a measure twice cut once scenario.
The third card went smoothly except it came off of the matte curled. I was able to fix it but as it turns out, with paper I should be peeling the mat off, not peeling the paper which will prevent curling.

Despite a few challenges, the cards look great and I’m excited to try ones with more layers and eventually designing my own. Although these problems seem minor, I’m hoping reading this will save others time. That’s the challenging and yet rewarding part of DIY’ing, it’s not always smooth sailing but those are the times you learn the most.
