A few years ago I went to a class with some friends and made a macrame plant hanger. Ever since then I’ve had big dreams to make a gigantic wall hanging. I’m not quite there yet, I just have to take it one step at a time. I did find some cord at dollarama and took the opportunity to start learning a few knots. Once I have more under my belt I will post everything I have learned. Until then I’m starting small and although this didn’t turn out exactly as I wanted it, it’s still worth sharing. I think the biggest issue I ran into on this was the cord was pretty thick for this keychain. It still gives a good idea of where I was going.
To make this you will need some macrame cord and a metal ring that will fit well with a keyring. The next step is to cut a piece cord double the length you want. Actually I recommend giving yourself a little extra from what you want, you will be trimming this down at the end. For the width, it’s the same thing, cut a few pieces twice the length of the width you want plus a tiny extra for trimming.
Take the one length piece and place the ring on top then pull the ends through. That will be your first knot.


Now take two width pieces. The first one place underneath the length piece as pictured below.
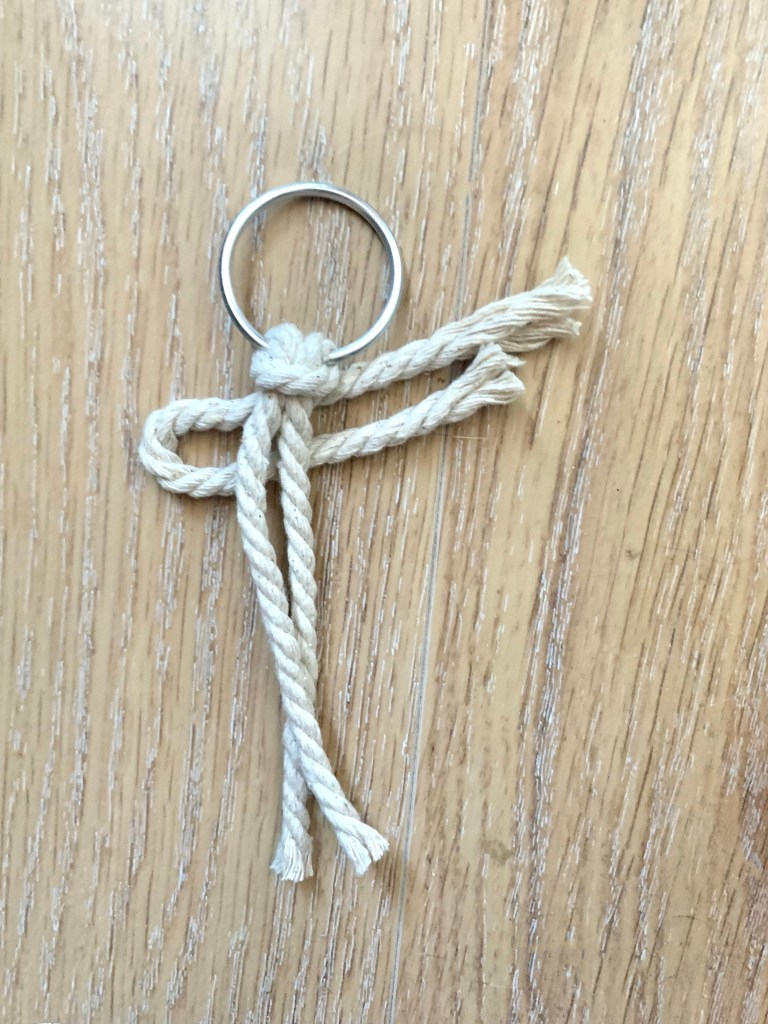
The other width piece will go under the first width piece, then over the length piece then in the loop of the first piece. It doesn’t make a lot of sense until you see it in the picture.
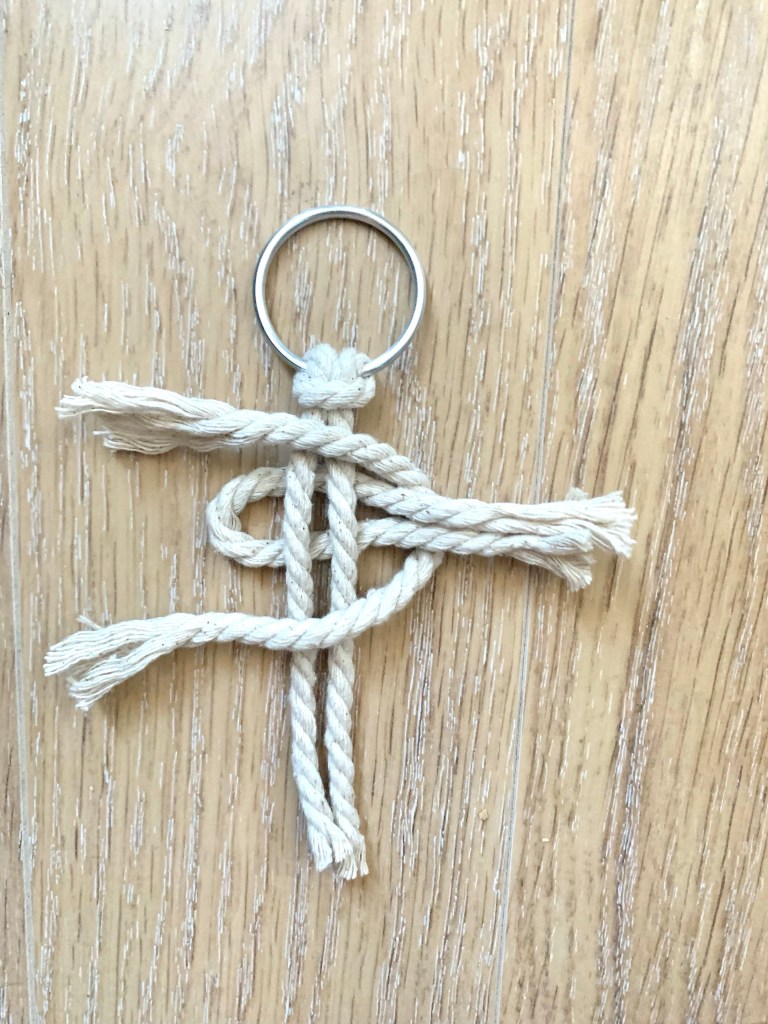
The good news is that’s the only type of knot you will be doing for the remainder. So continue adding knots until you are about 3/4 to the bottom. I did alternate the direction of the knot, but I’ve seen versions with the knots tied the same way each time. It’s just your preference.

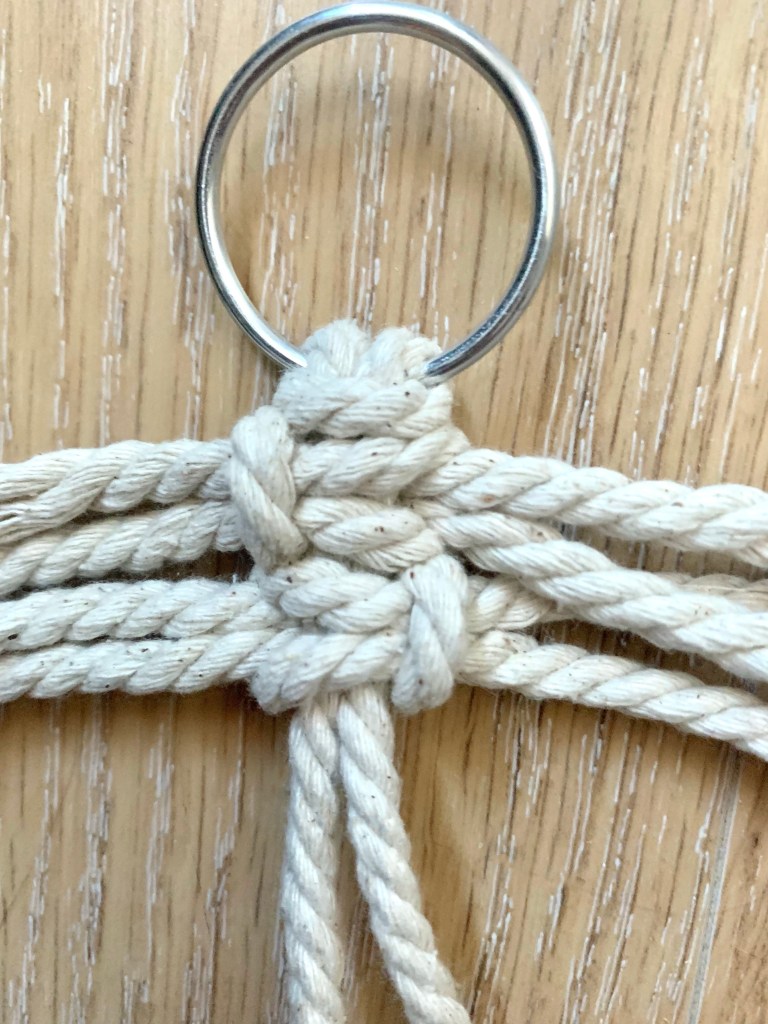

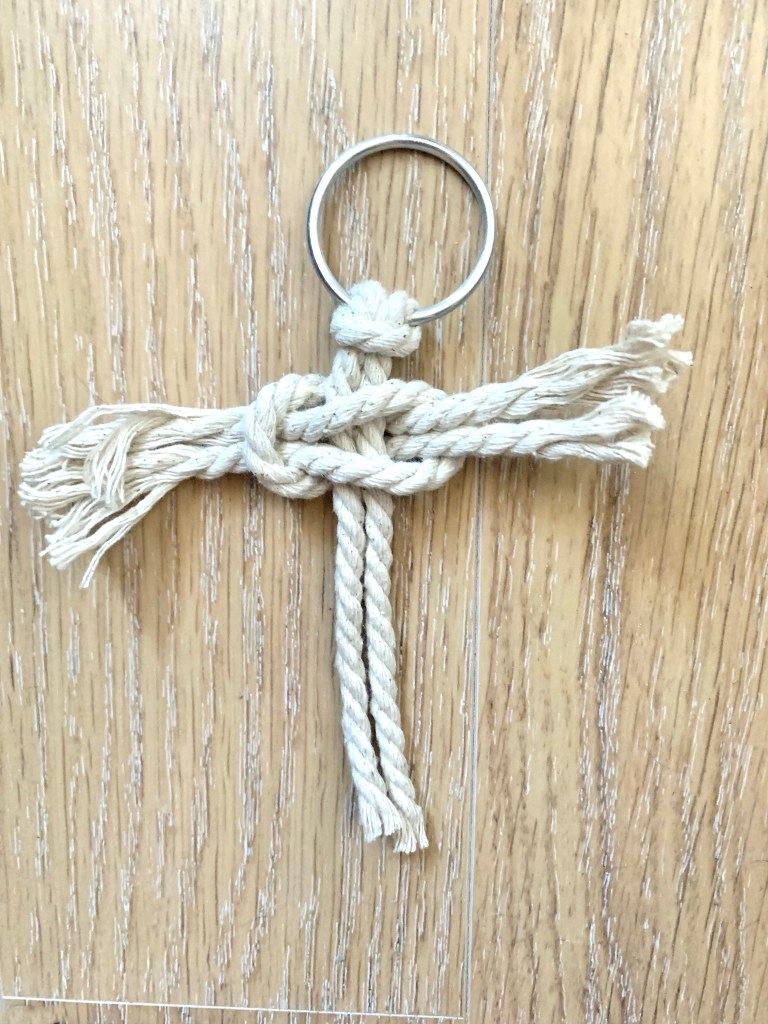
With your knots complete, you can start unbraiding the cord. Then take a comb and brush it out. The nice thing about the knot we were doing is it will be very full once it’s brushed out.


Last step is to trim the feather into the shape you want. Use good scissors, mine were fairly dull and created a lot of issues. If you don’t know what shape you want, you can always look up a feather template as an option. I winged it, it might have been a mistake.

Once you are done trimming, that’s it! I definitely want to try a few more of different shapes and sizes. I struggled with trimming it, so I think i’d want to make it a bit larger to get the exact shape I was going for.
However, it’s worth sharing, this is easy enough project to start with and get used using the cord. Plus it may be something to remember down the line when working with larger pieces.
