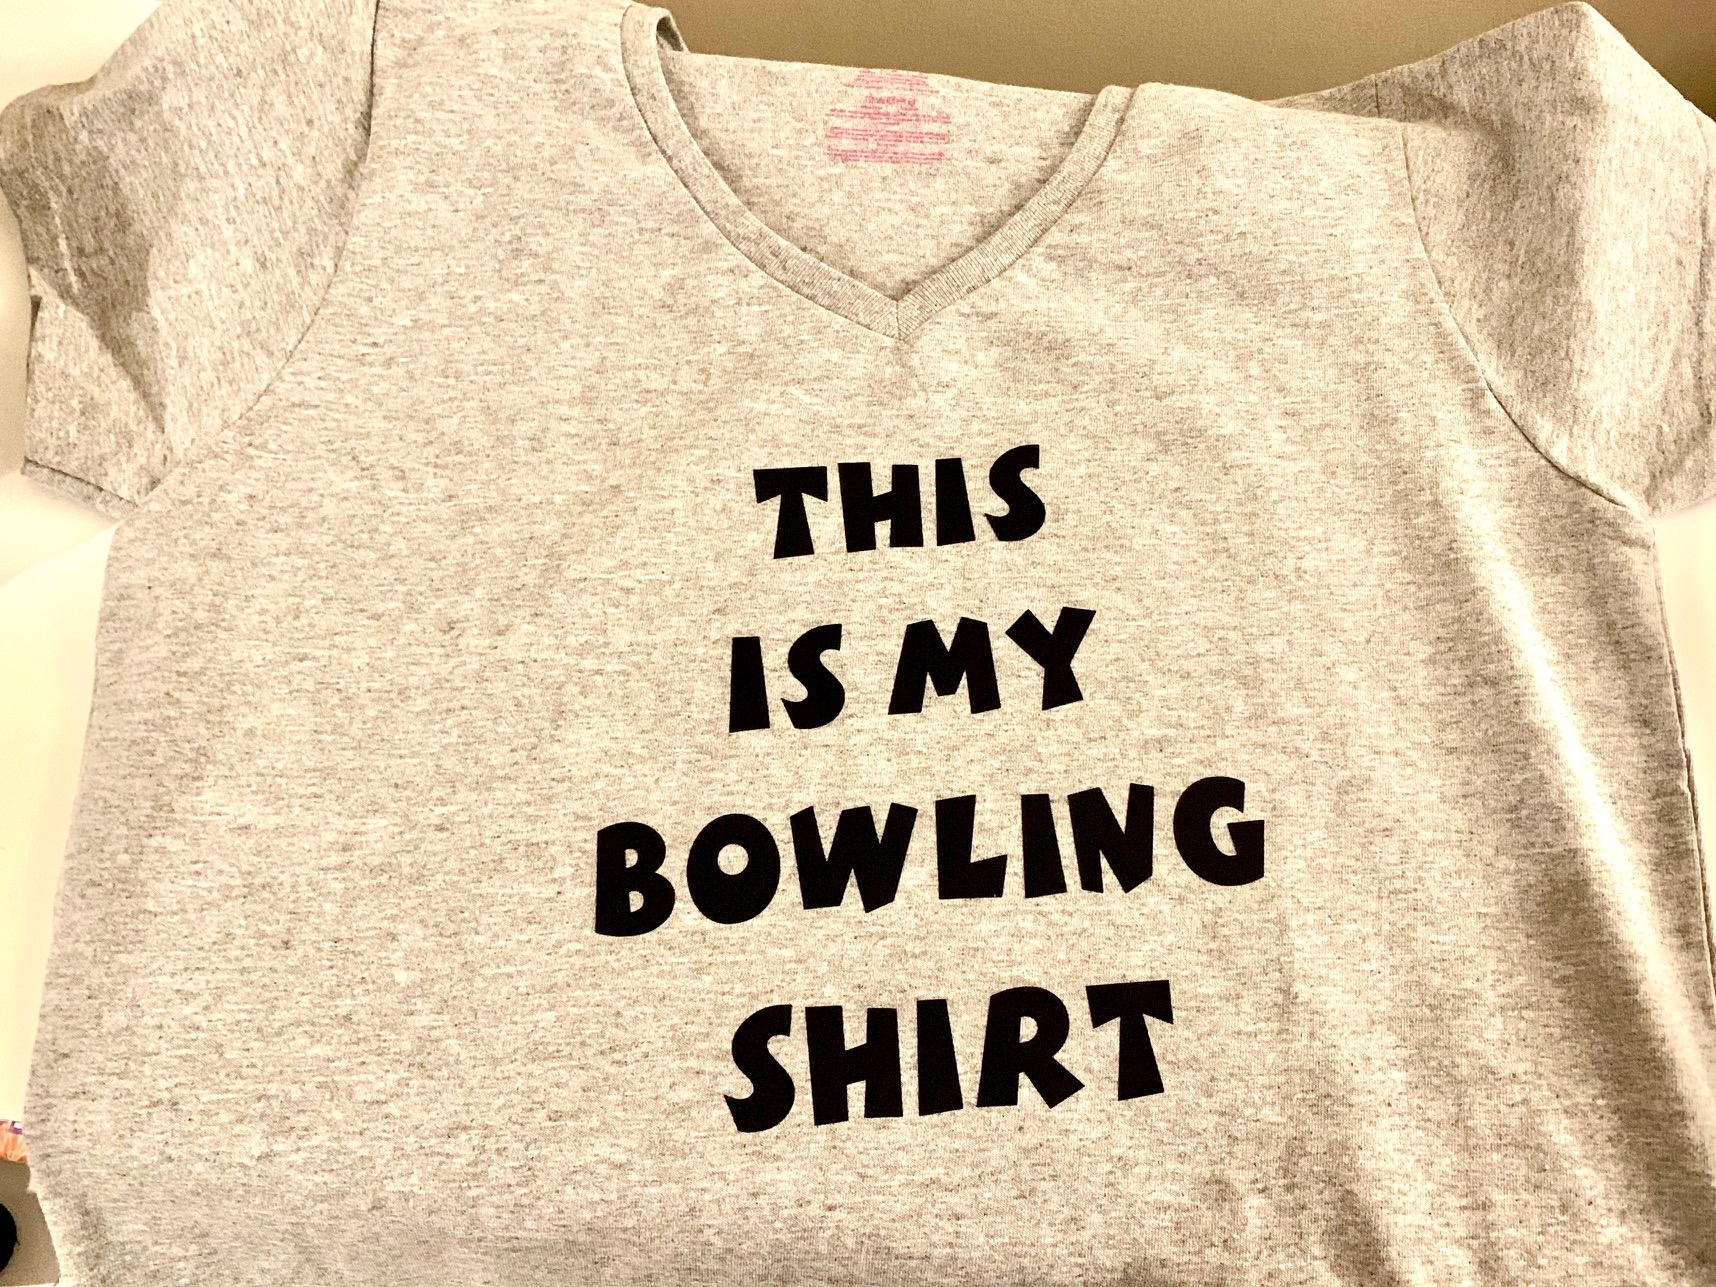
I was going bowling, and really wanted to use this opportunity make a shirt with the cricut machine. All I had to work with was a grey shirt, a dream and a surprisingly large amount of iron on vinyl options.
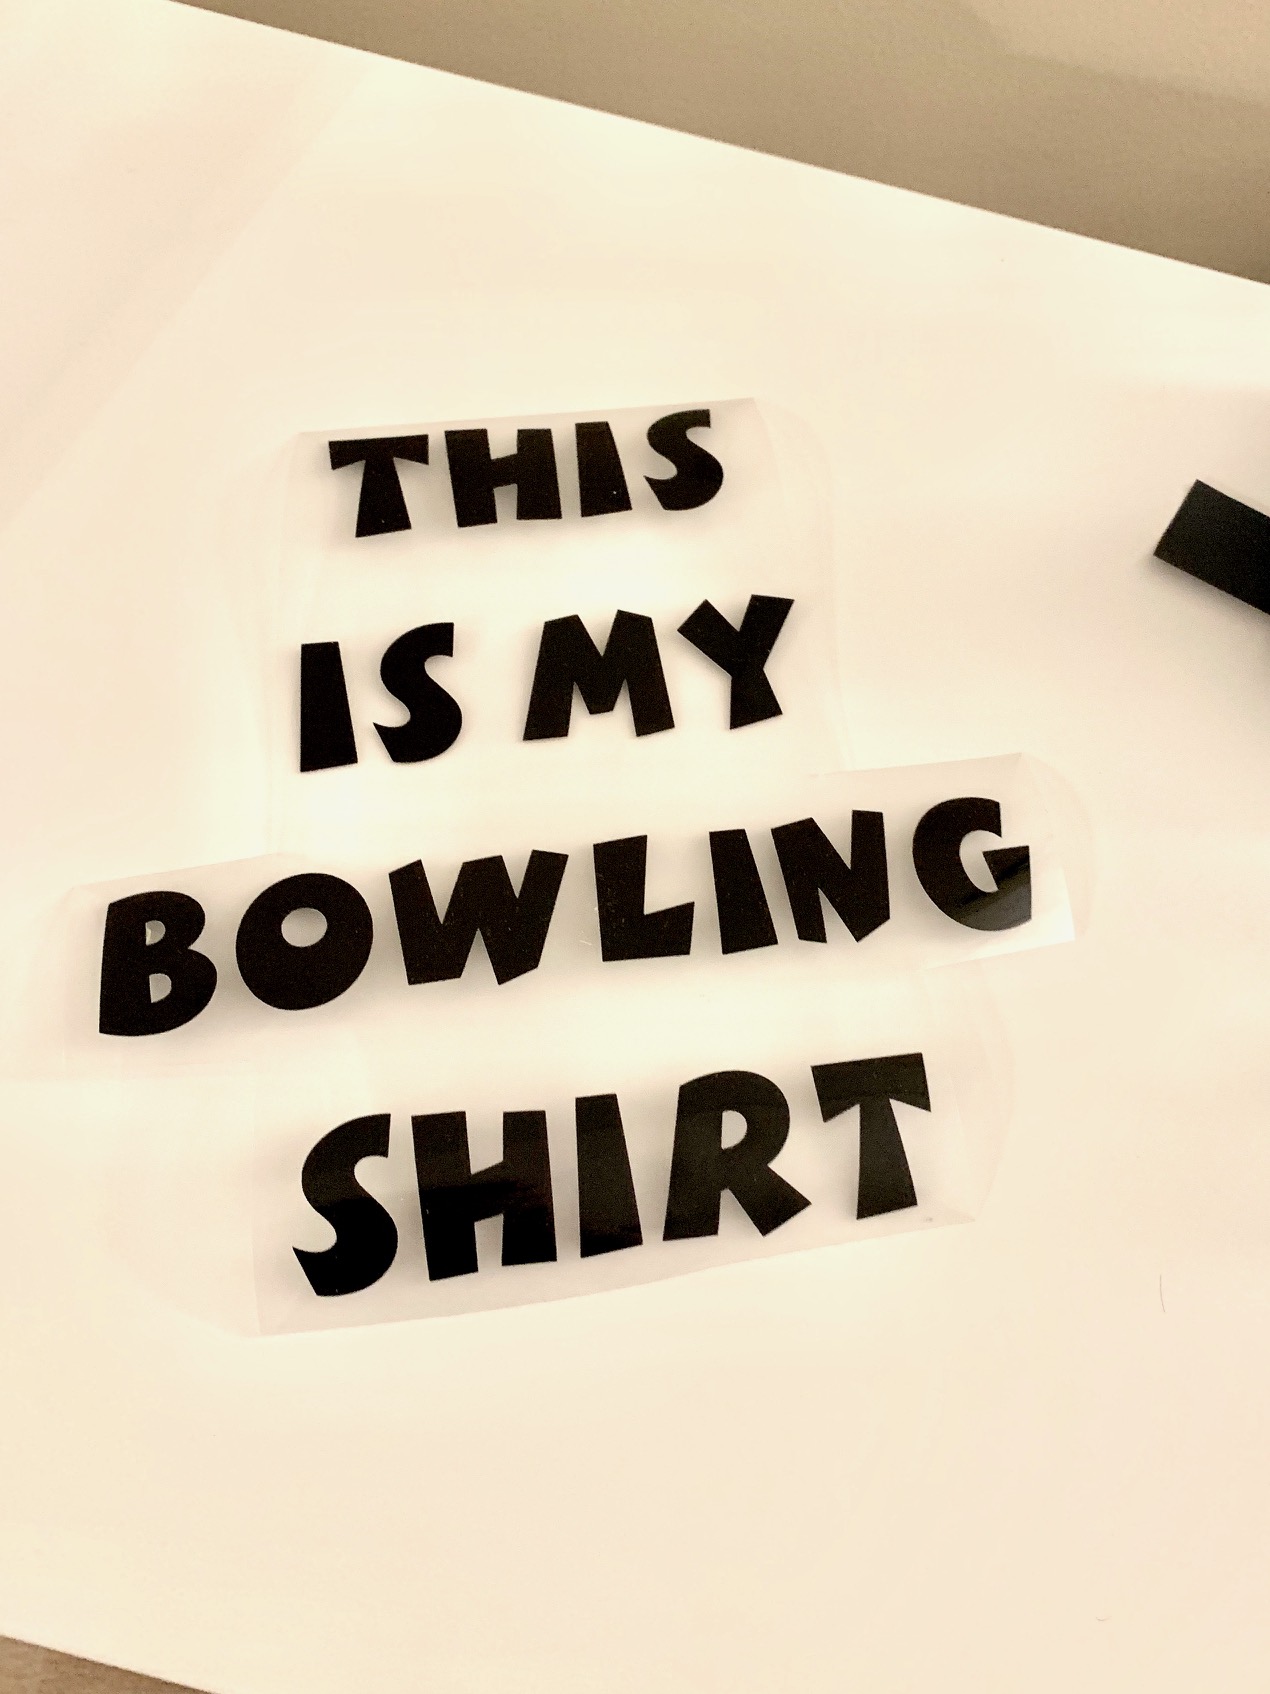
After spending more time than I’d like to admit trying to think of a good bowling pun, I gave up and just settled on typing “This is my bowling shirt” and calling it a day.
In design space I set up the size I wanted for the text and searched through the fonts. I have a free month of cricut access and as I was doing this became a bit worried for the future, most fonts I like I’d have to purchase if I don’t end up renewing my subscription. So thats a bit upsetting. In this case though I have the world at my fingertips.
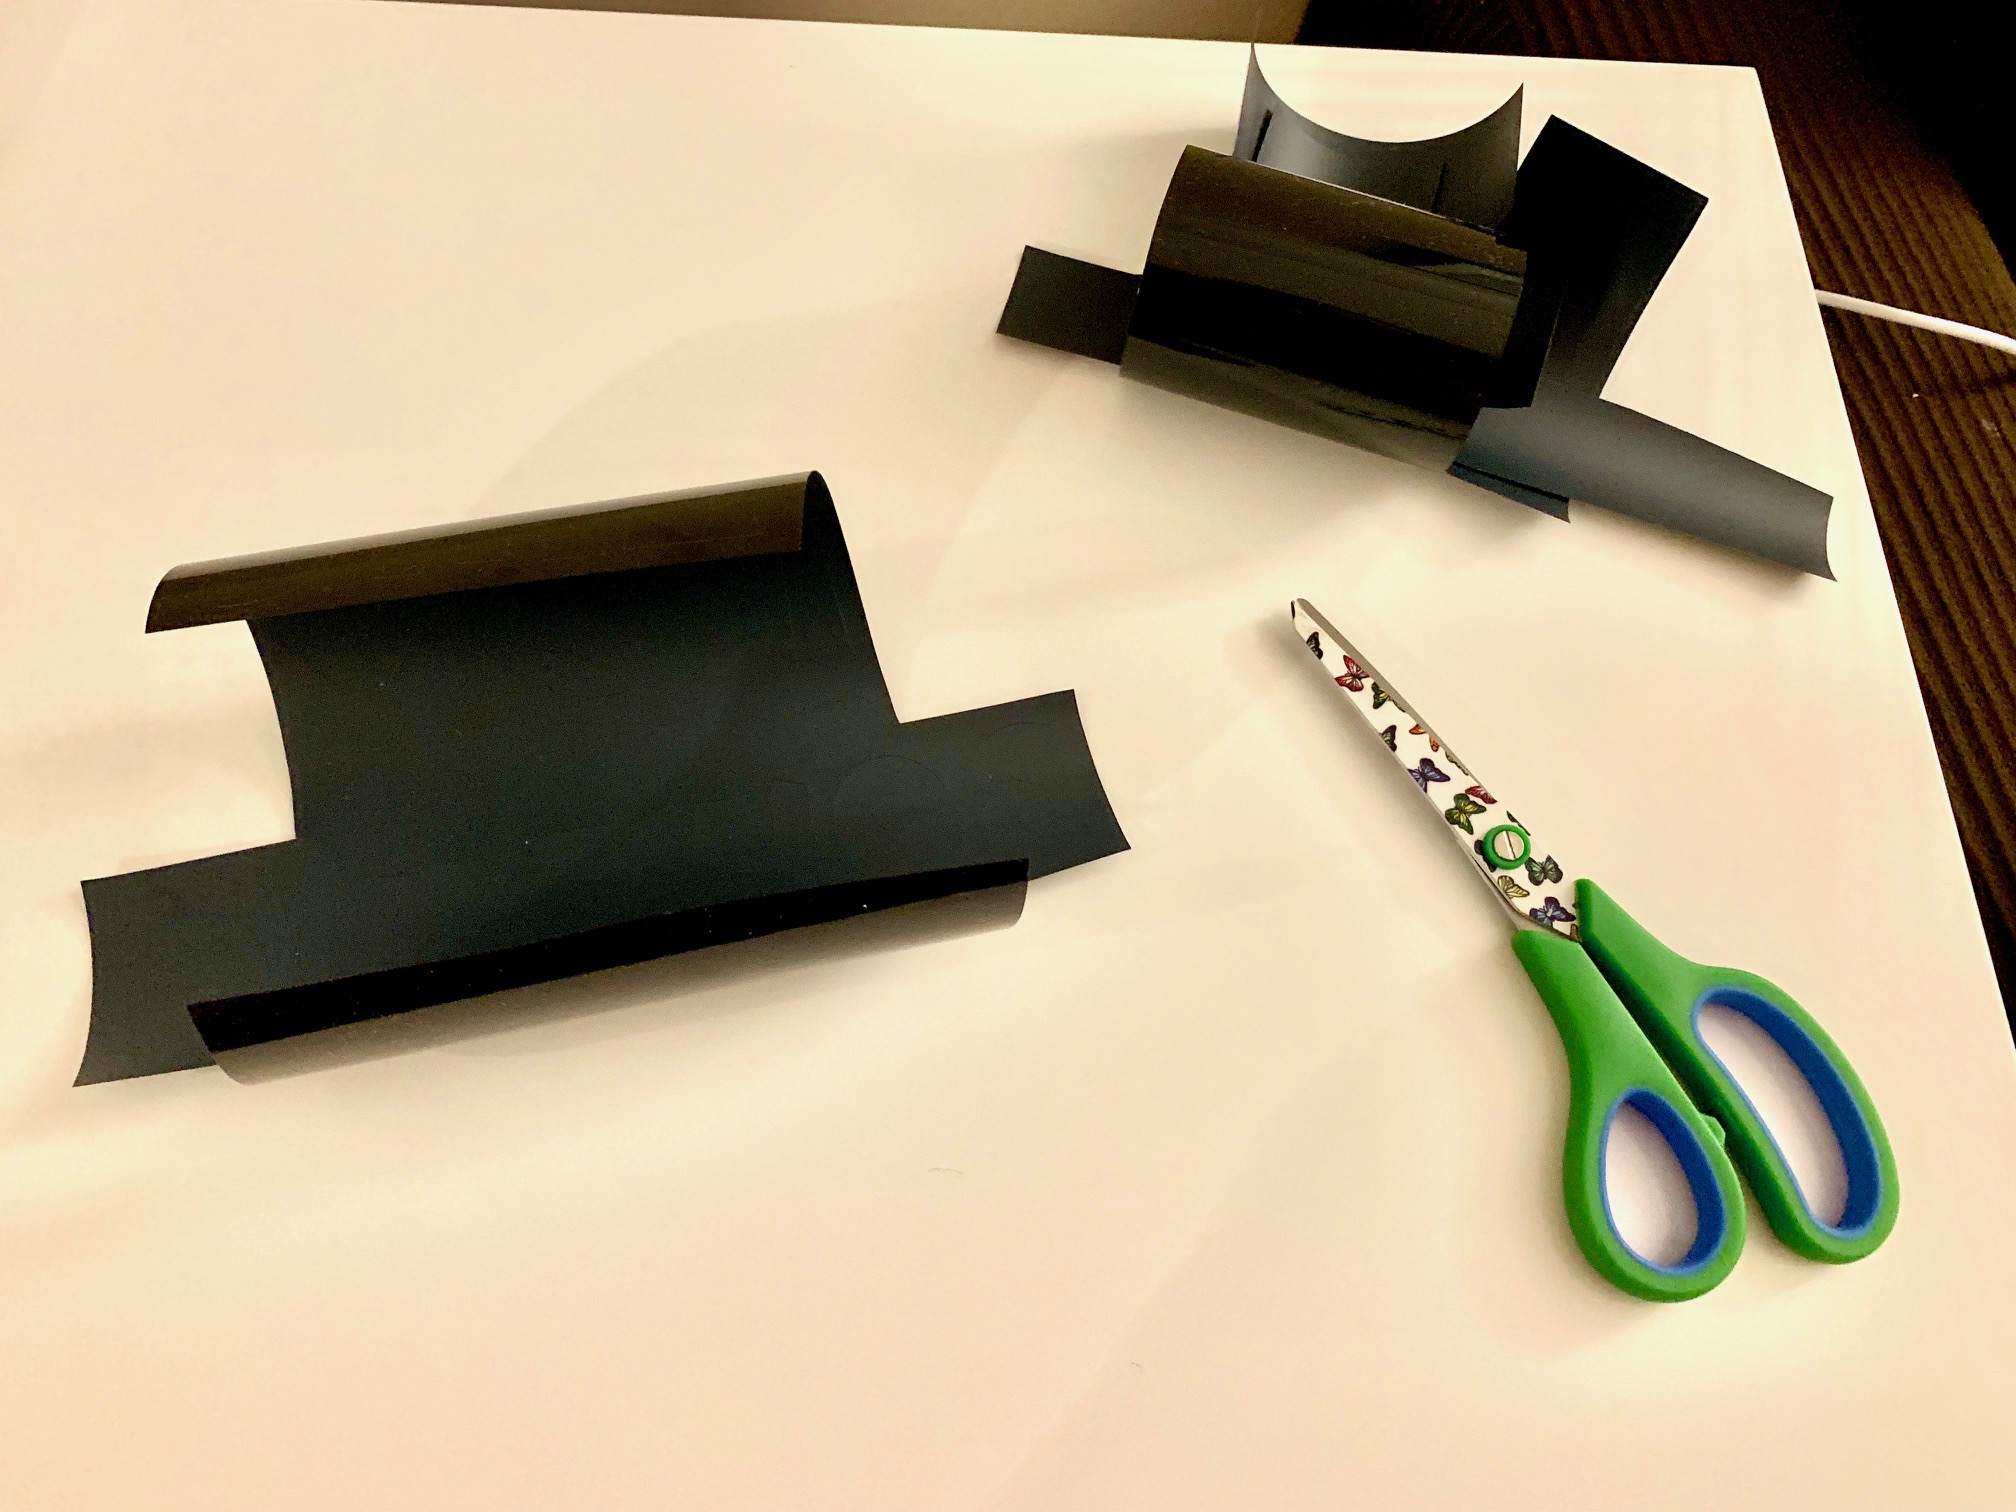
The cut was easy, the machine worked like a dream. When I picked iron on as my source, there was an option to mirror the text which is necessary since the text will be backwards when you place it. “Weeding” it afterwards was more of a challenge than I expected. Weeding is where you get rid of the excess vinyl. The stuff you don’t want to see on the shirt. First I cut the larger pieces that weren’t in the cut so I could use those on a later project. If I learned anything from watching every cricut themed youtube video, this is where all my hoarding skills come in handy. You can use a lot of these little scraps on different projects. Once that was out of the way pulling the rest of the vinyl wasn’t as relaxing as I imagined, the vinyl is a bit stretchy and didn’t lift up as easily as I had hoped. Mostly an issue on letters that had little pieces to remove. Luckily I had the weeding tools from the Easypress bundle, I dont know what I would have done without them. Despite my complaining, the whole process didn’t take long at all. It was one colour and very basic but it was still a lot faster than I imagined.
Once the weeding was done I put it aside and turned on the easypress. I put the easy press on the shirt for a few seconds to get out any moisture. Placed my text where I wanted it on the shirt, plastic side up, then pressed for 20 seconds at 325 degrees. Then turned it over and heated the other side for 15 seconds. Next time I might leave it on for 30 seconds on the first side, we’ll see how this test stands up in the wash first. After it had cooled a bit I pulled up the plastic and it looked great. My first impression, I am ecstatic about how this turned out. It looks flawless.
The shirt should be washed in cold water inside out, I’m going to start throwing it in the wash just to see how many times it can go before it starts peeling or wearing out. So far this has been really promising.
Since first writing this post I’ve made other shirts with text and pictures. There’s really endless possibilities. Between different vinyl Options and being able to design anything your heart desires. Even years later I am still creating with the cricut.

