I’m always looking for quick sewing projects, especially when I need a break from something larger or more complex. I thought a sleep mask would be fun, fast and useful. The nice thing about this process, you can add your own take and although i used a Cricut and Sewing Machine, you can easily use scissors to cut the pieces and it’s small enough to hand sew if you don’t have a machine.
Depending on how crazy you want to get, this project could take an hour or maybe less. Obviously it’s great for yourself but also great as a small gift, it could be a nice way to add personality into something like a spa gift certificate or soap basket.
For this project you need:
- 2 pieces of fabric, can be different this mask is reversible
- 1 piece of batting
- a template – this can be hand drawn
- elastic
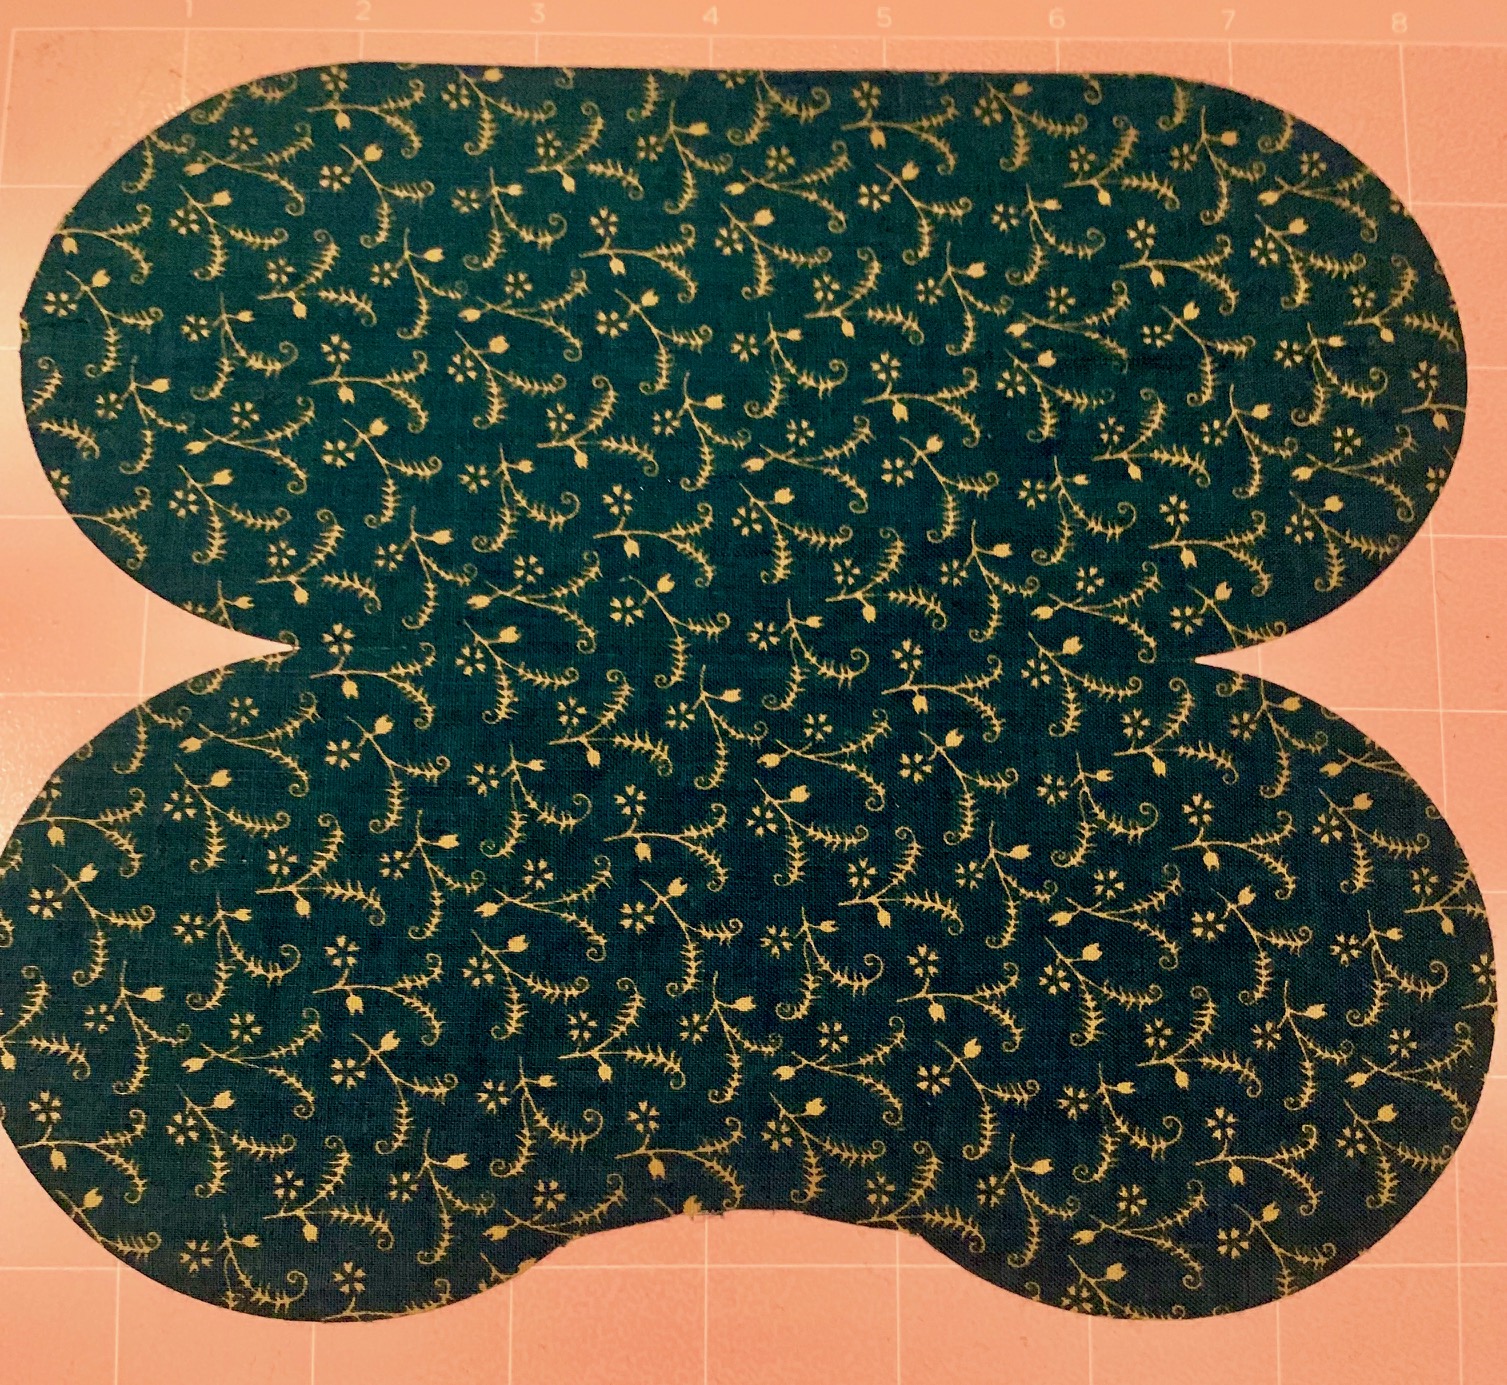
I cut this using the eye mask template in Cricut Access. Partly because I was feeling lazy and didn’t want to cut the fabric myself and partly because I wanted to test out how well the Cricut maker would handle the fabric. I really haven’t used it for that yet. I skipped the vinyl “eyes” in that pattern and went with my own idea instead. This was relatively smooth except when I put the fabric tool in. It seemed jam but didn’t alert me to why. If you get an error try taking the tool out and placing it in again. That seemed to fix the problem.
If you don’t have a Cricut, it’s just as easy to cut a template yourself, draw your own sleep mask on either paper or cardboard, Using that template cut two pieces of fabric and a piece of batting. Dark fabrics are preferred since you are trying to block out light. This mask measures 7.5 inches by just over 3 inches finished with a curve for the nose, remember to leave room for seam allowance. I cut about 12 inches of elastic, and my mask is a bit loose, so use your own judgement when cutting a piece.
Now that all the pieces are cut, I pinned in the elastic on the right side of the fabric, I also pinned the middle of it to keep the excess out of the way. Next I placed the fabric right side together with the batting on top and sewed the pieces together around the edge with a straight stitch. I left a hole at the nose curve to be able to turn the mask right side out.


After the sewing was done, I turned the mask rightside out and sewed up around the nose where the hole had been. At this point the basic mask is finished. Other options include sewing a border either stitched, or adding cording or lace. Any embellishment would work, just keep in mind it needs to be comfy when you are asleep. You can also add fabric around the elastic if you choose.
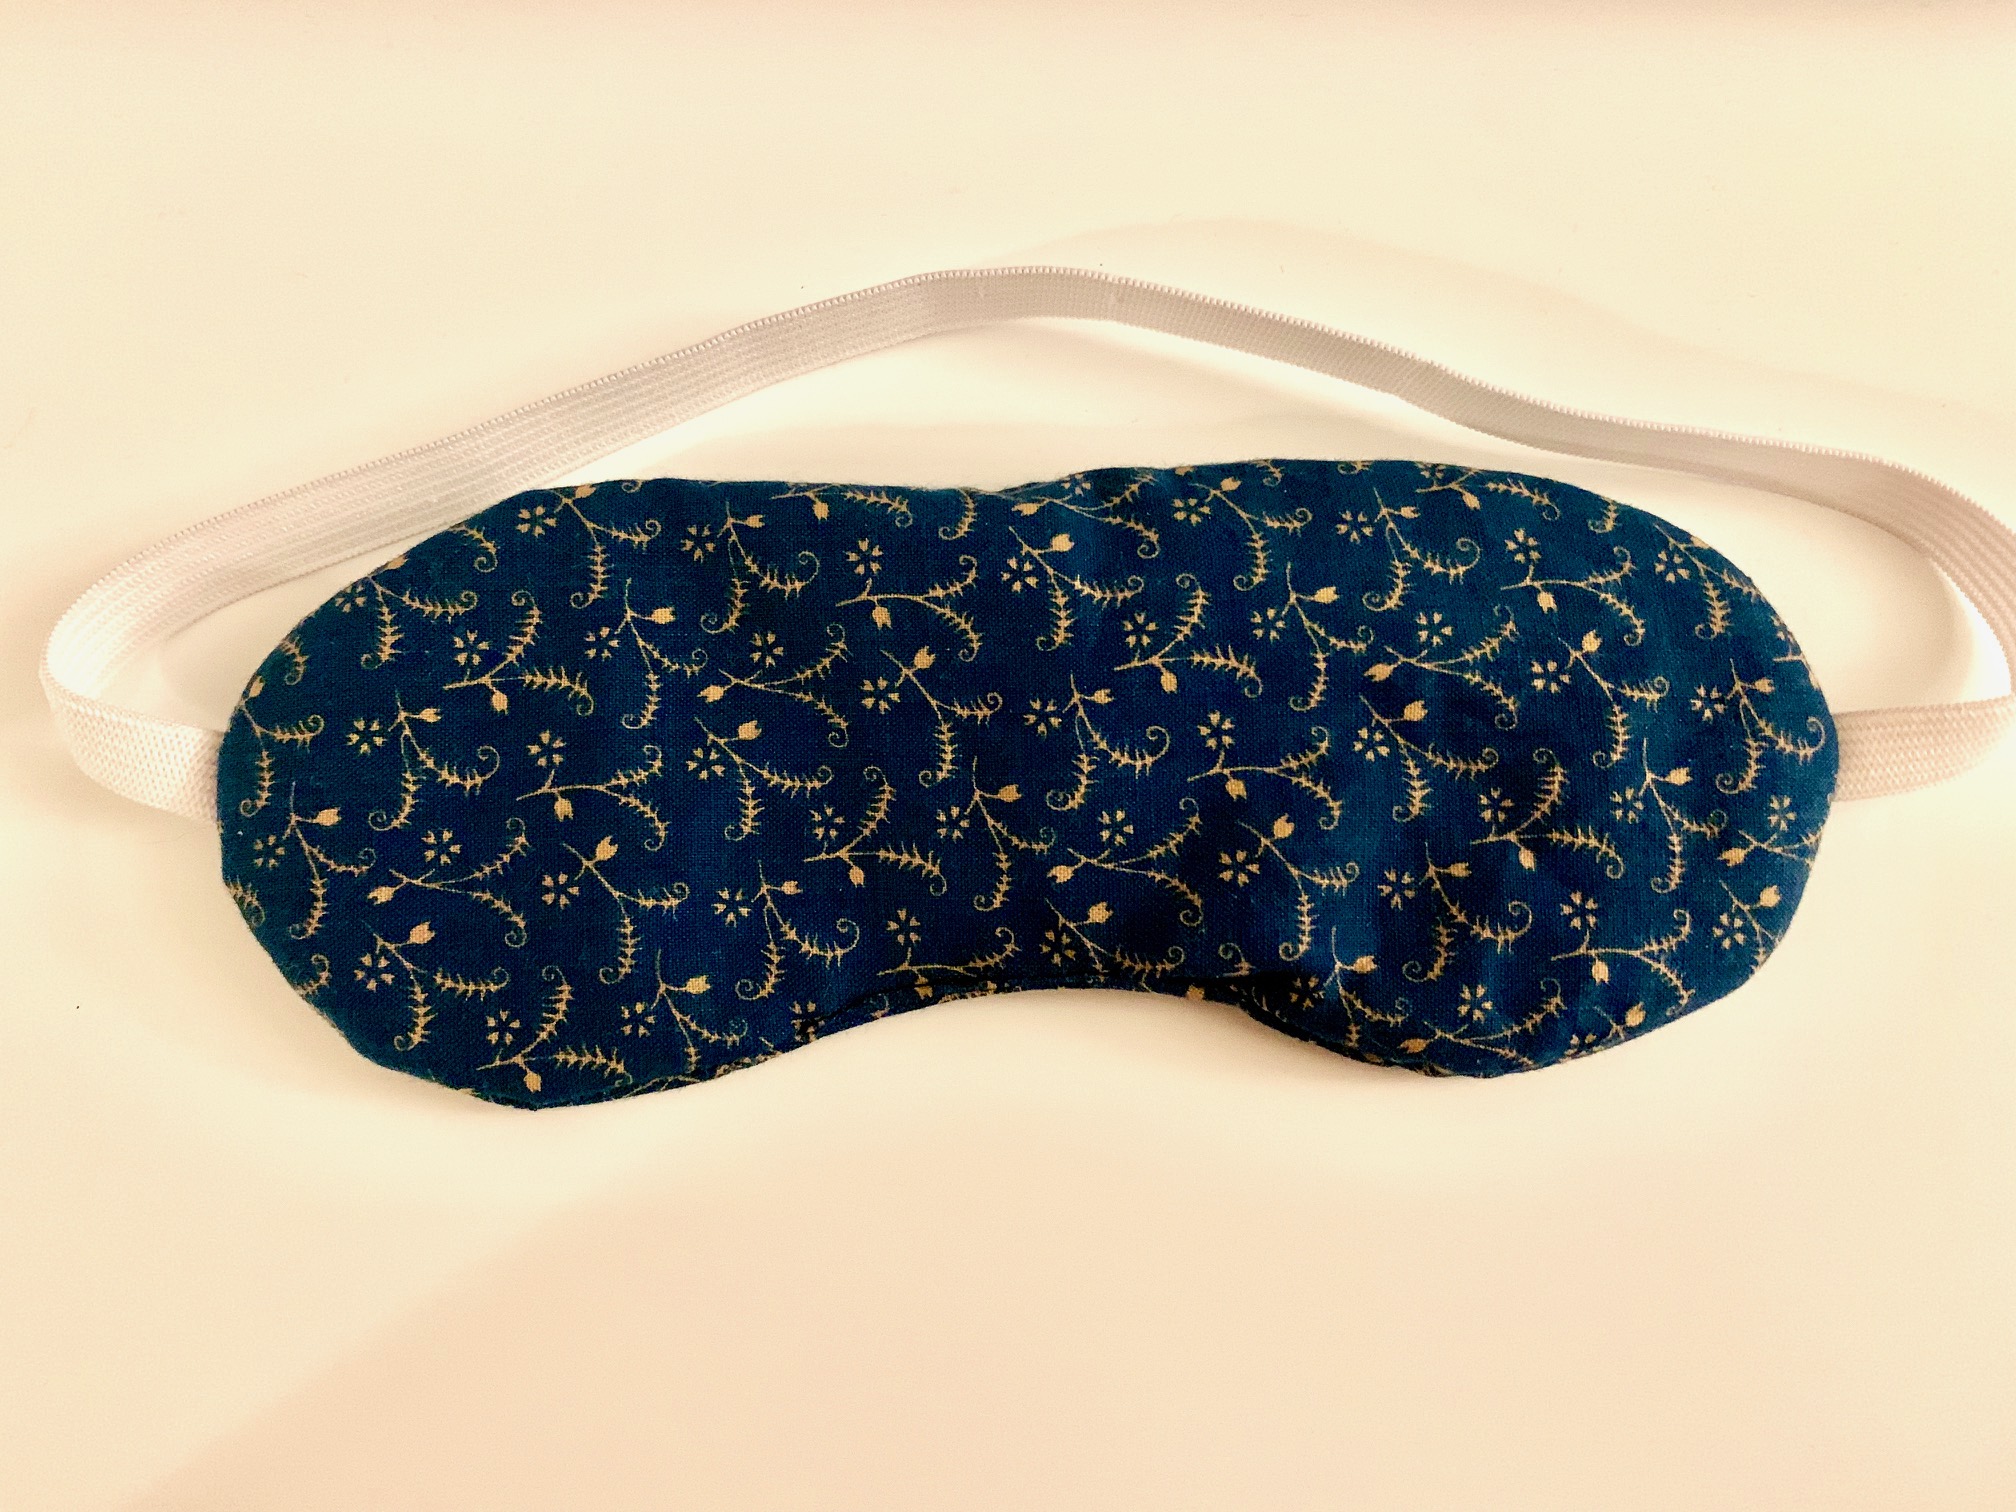
With the mask done, I still wanted to embellish a bit more so I cut a Simpson’s phrase out of gold iron on vinyl and heat transferred it to the mask.


With that I was finished, a funny and cute mask ready to wear.
