Let me start with a disclaimer, this doesn’t look as great as I imagined. I’ve never been great with sculpting, but I’ve been seeing a lot of polymer clay charms and pendants lately and I really wanted to give it a shot. Although, these don’t look fantastic, I see the potential for what it could be. Sometimes that’s all you need.
So what is polymer clay?
Polymer Clay actually doesn’t contain any clay materials, but it comes as a gel like, clay texture that you bake to harden. Once hardened it feels like a plastic. Do not use anything you make to hold or serve food or beverages. Personally I want to just use it to make charms and small jewelry items.
The Donut Pendant
Supplies:
- Polymer Clay, white, brown, pink, purple
- Sculpting tools
- Disposable pan
- eye pins
For the supplies, I bought a cheap kit from amazon, with 26 colours. They come in these tiny squares, but you can still make a decent amount with it. The kit also came with some different plastic sculpting tools, very reminiscent from when I was a kid with play dough. I also bought some tin pie pans to bake these on. That is extremely important, any pans or utensils you use with polymer clay, can no longer be used for food, so this pie tin is now my designated clay pan and I’m only using the tools in the kit to sculpt with so nothing in the kitchen is contaminated. I also use an old toothbrush in case I want to add texture.
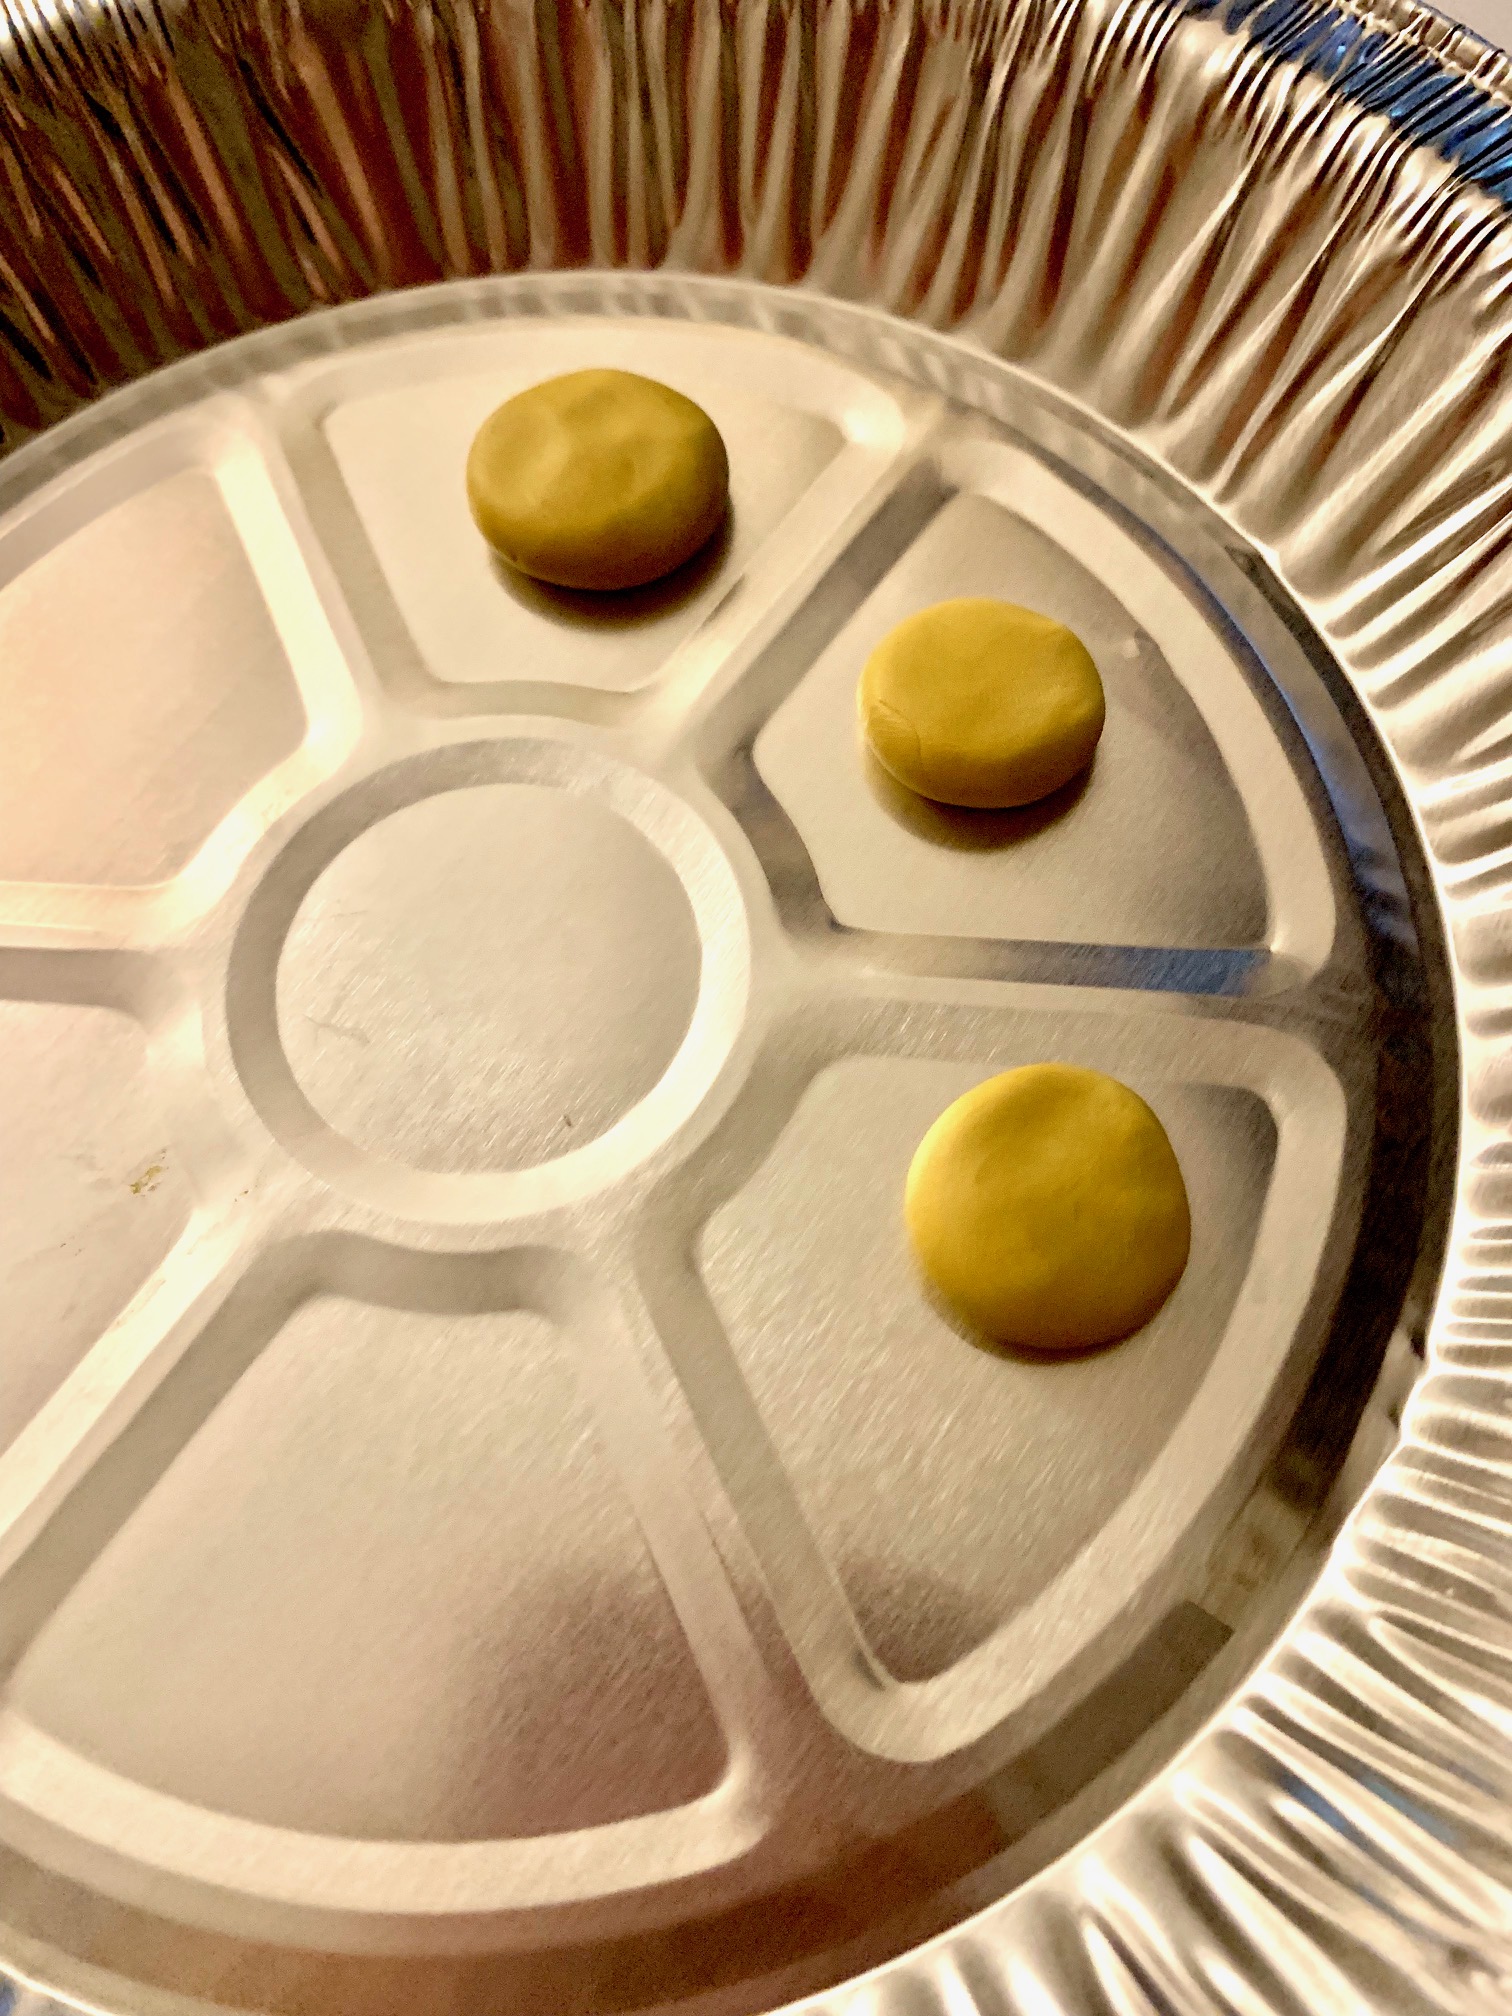
I chose a donut to start with because its fairly easy to sculpt. I mixed some brown with white clay together to get that donut base colour. I then rolled small pieces into a ball and flattened it a bit. This is what I call the donut base.
Next I took a small amount of pink clay rolled it into a smaller ball then stretched it out so that it would cover the top of the donut to be the icing. This wasn’t precise in anyway, I wanted the icing to be a bit uneven.
Once the icing was on the donut, I took the tool with the round edge and poked a hole in the middle. After smoothing out where it poked through the bottom I had decent looking little donut. To finish it off, I took some purple clay and rolled it into very tiny little rolls. then cut that into small pieces to act as sprinkles.

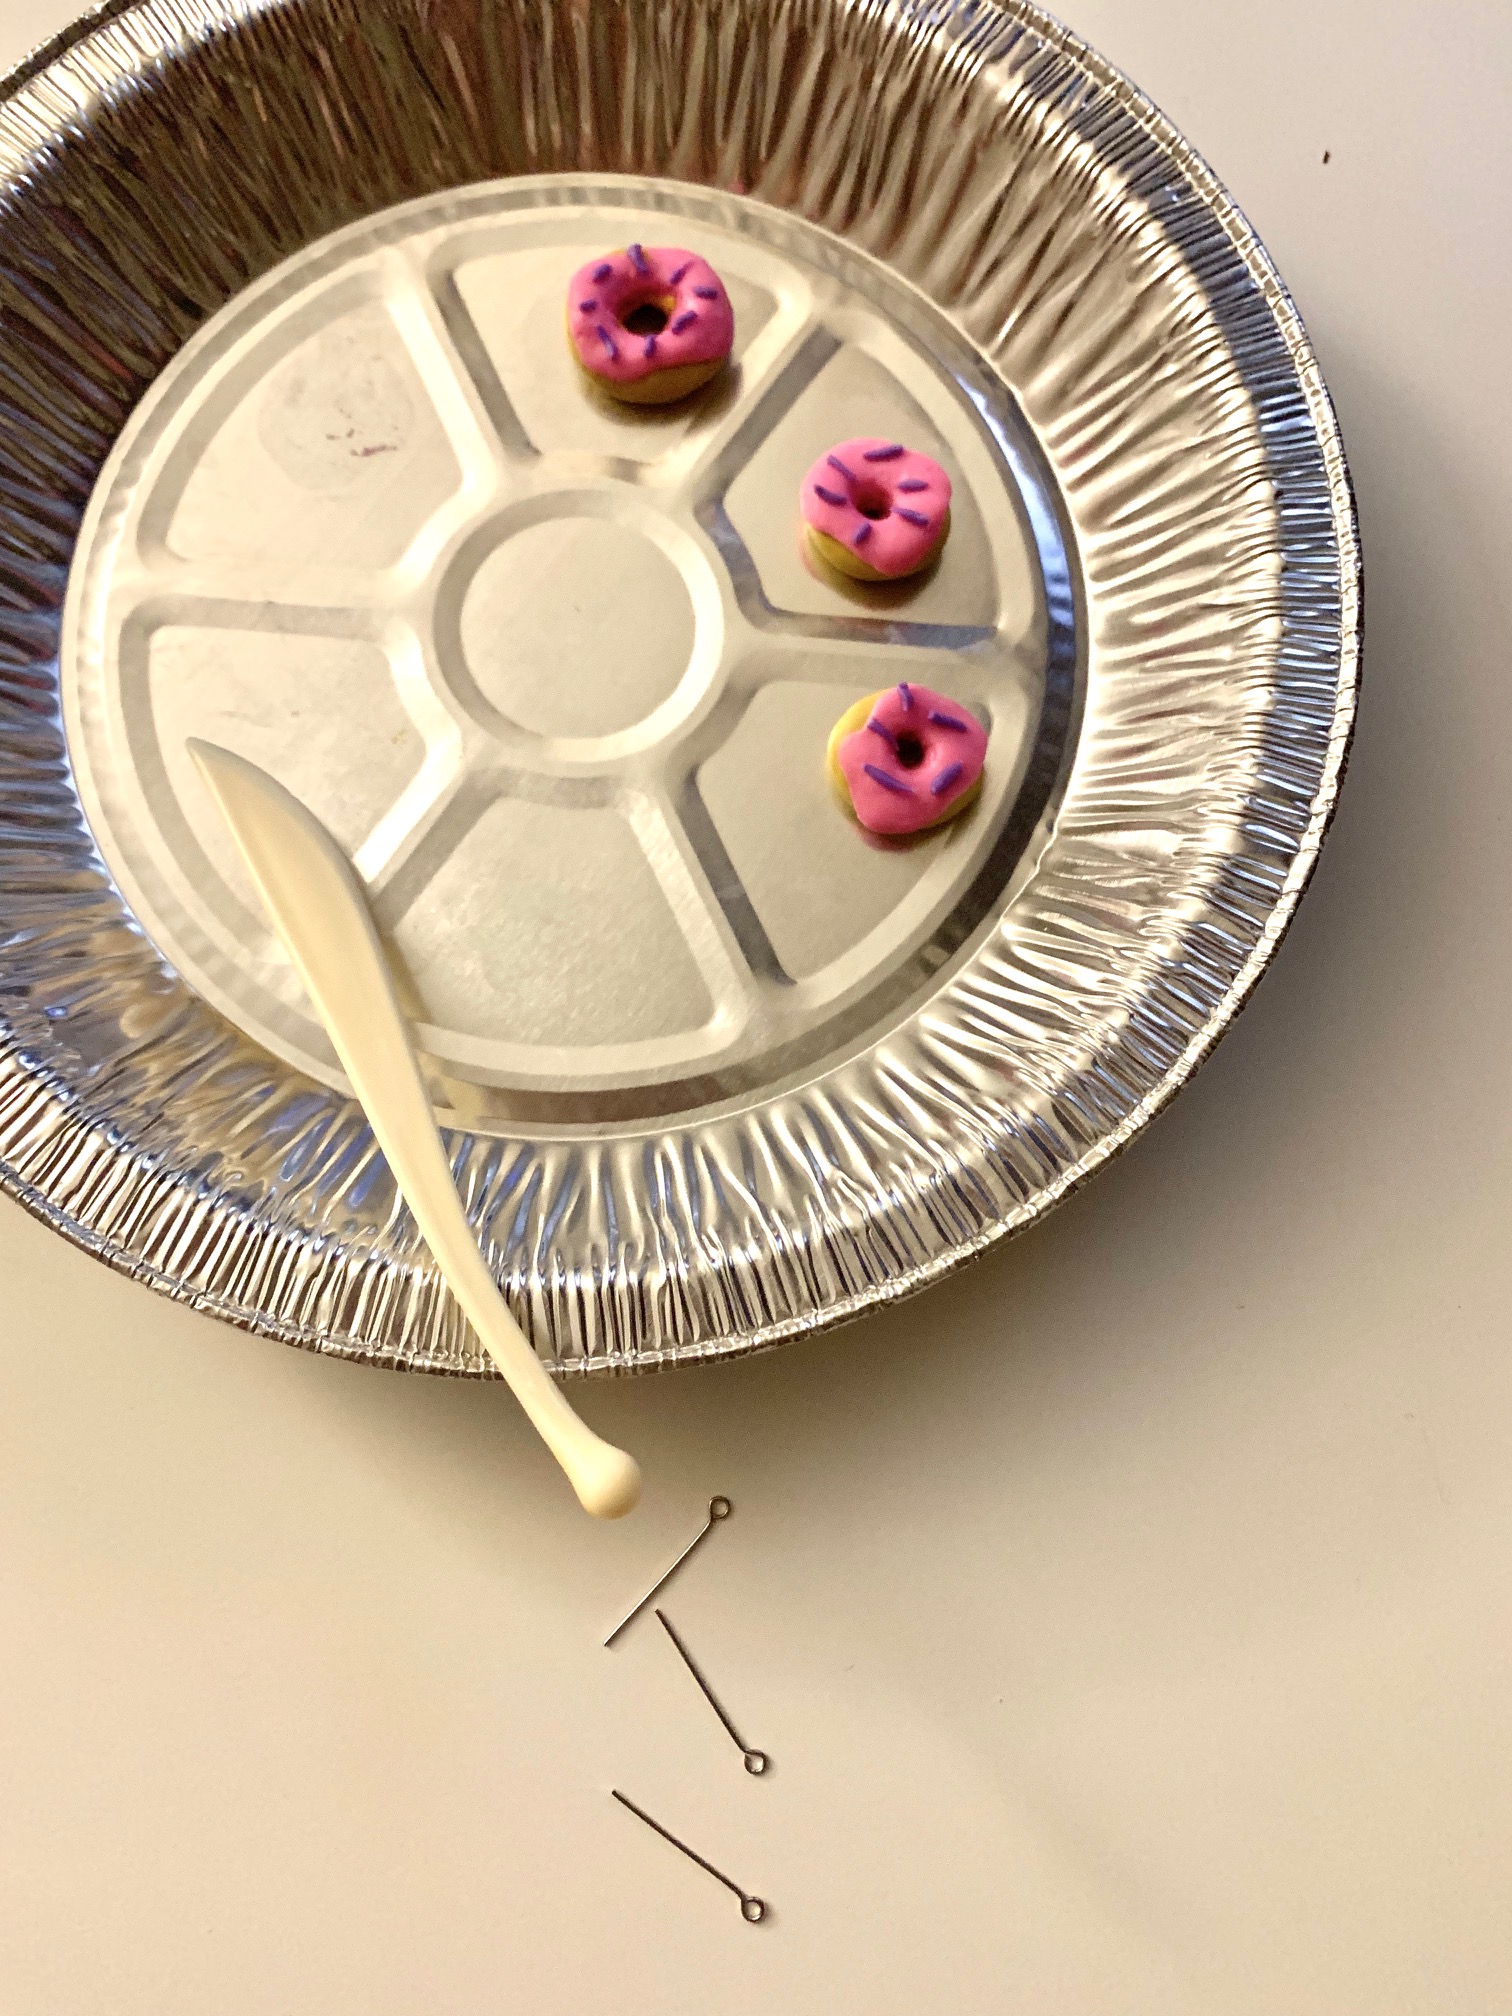
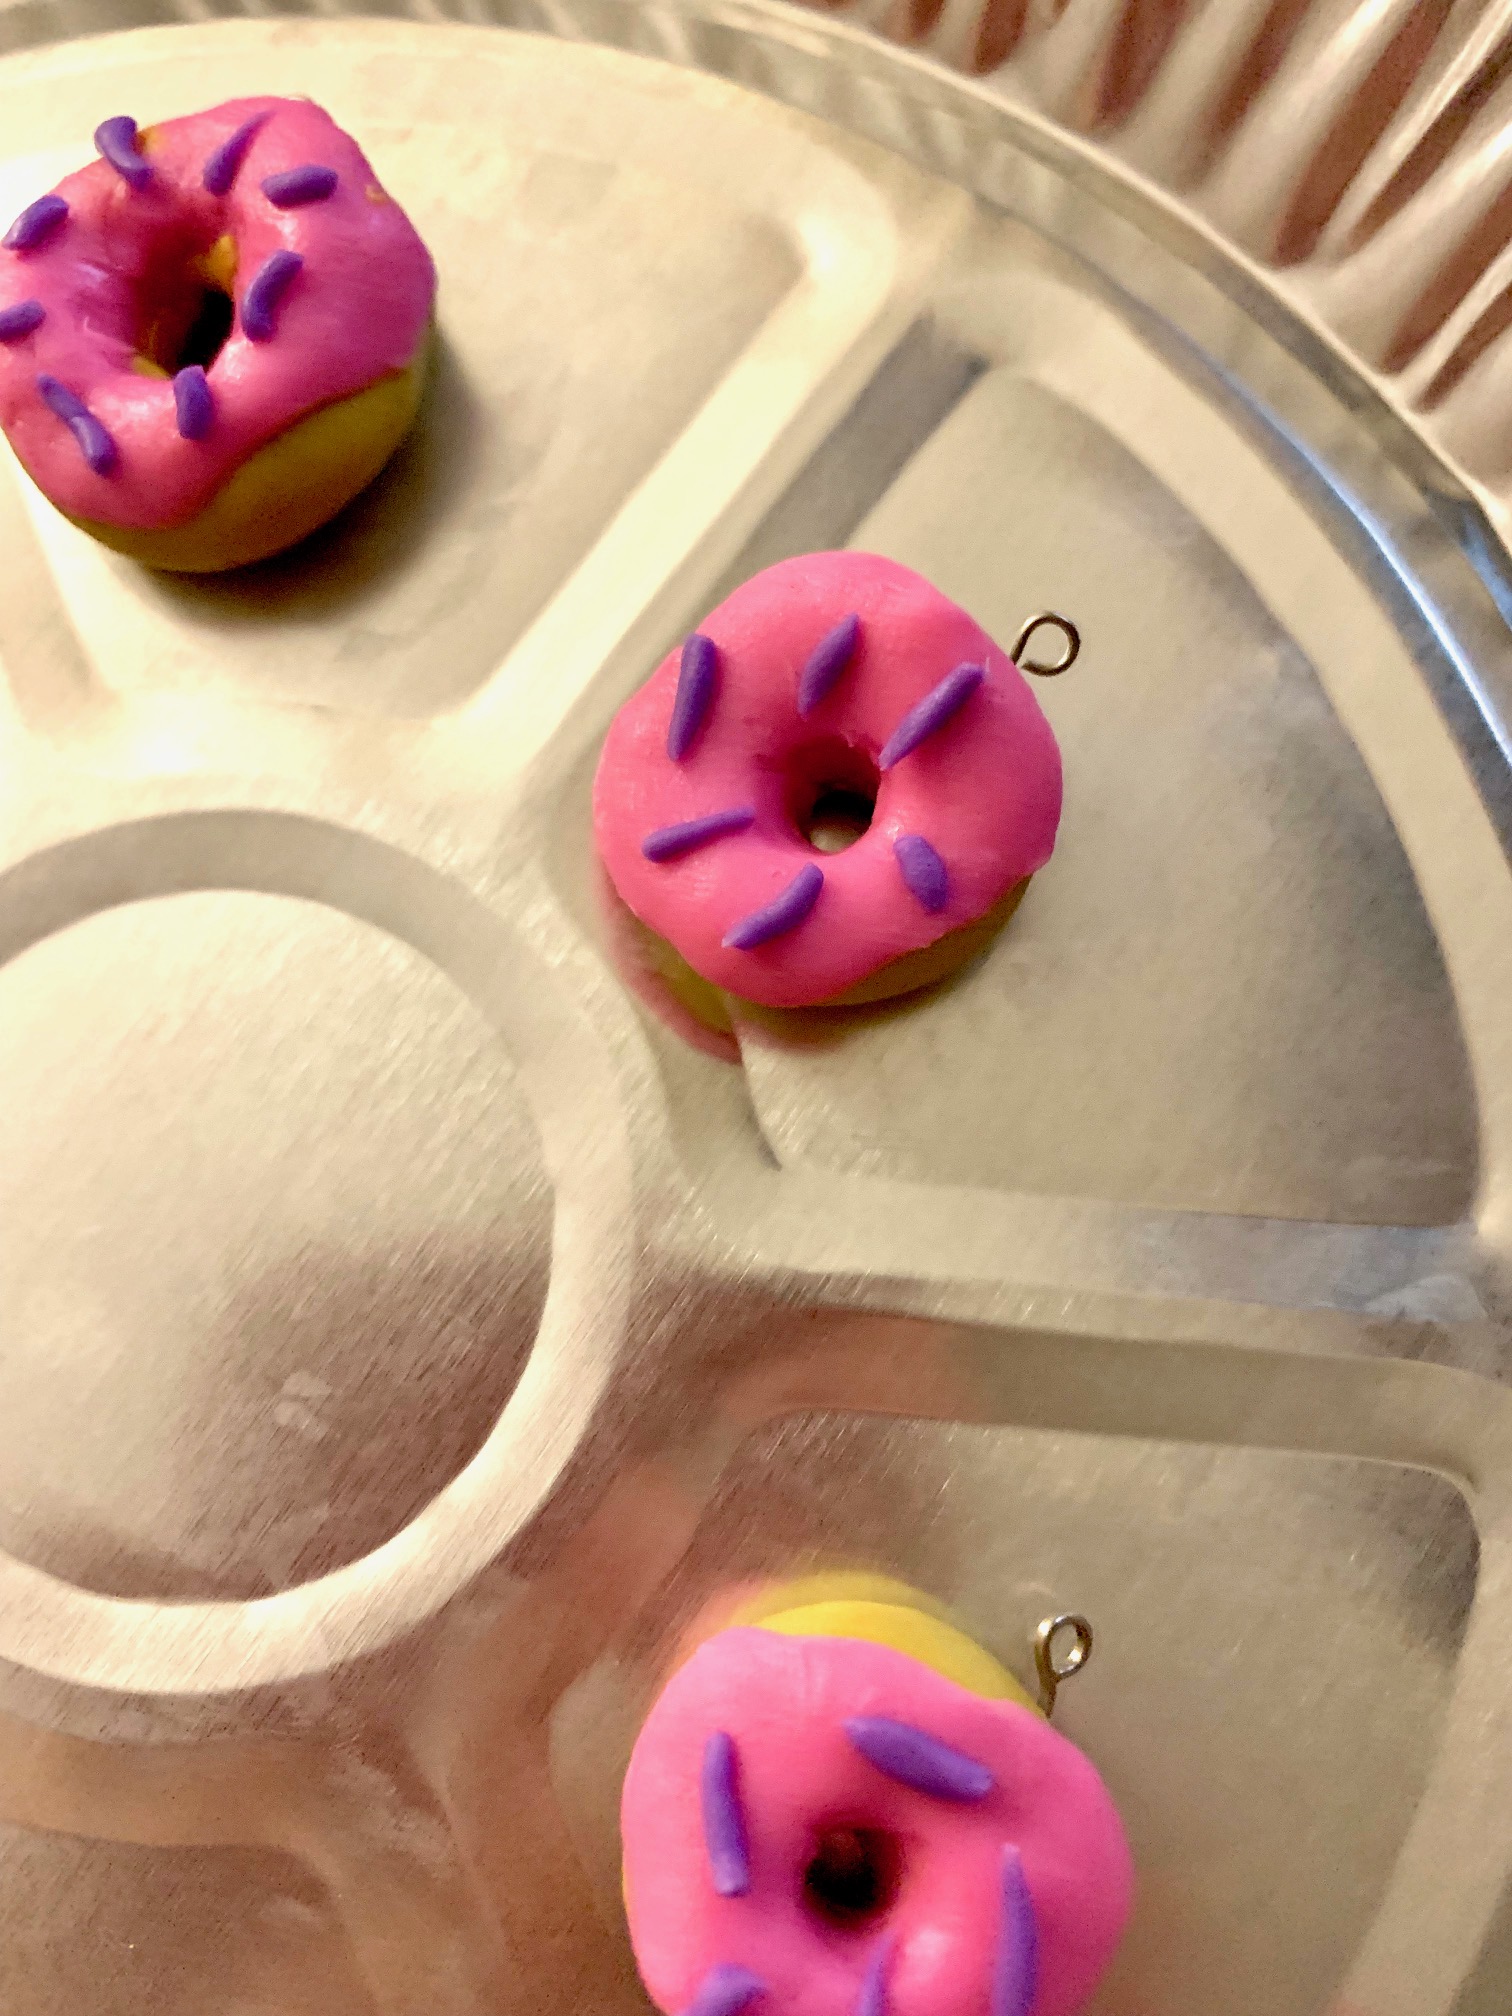
Once the sprinkles were on, I gently pushed in an eye pin and was ready to bake.
For this clay, the oven was preheated to 266 Fahrenheit and baked for 15 minutes. I ran the fan the entire time, you don’t want to inhale the fumes while this bakes so definitely have a fan on or window open.
It is pretty cool after it comes out of the oven, it looks virtually the same except now it feels like a plastic.
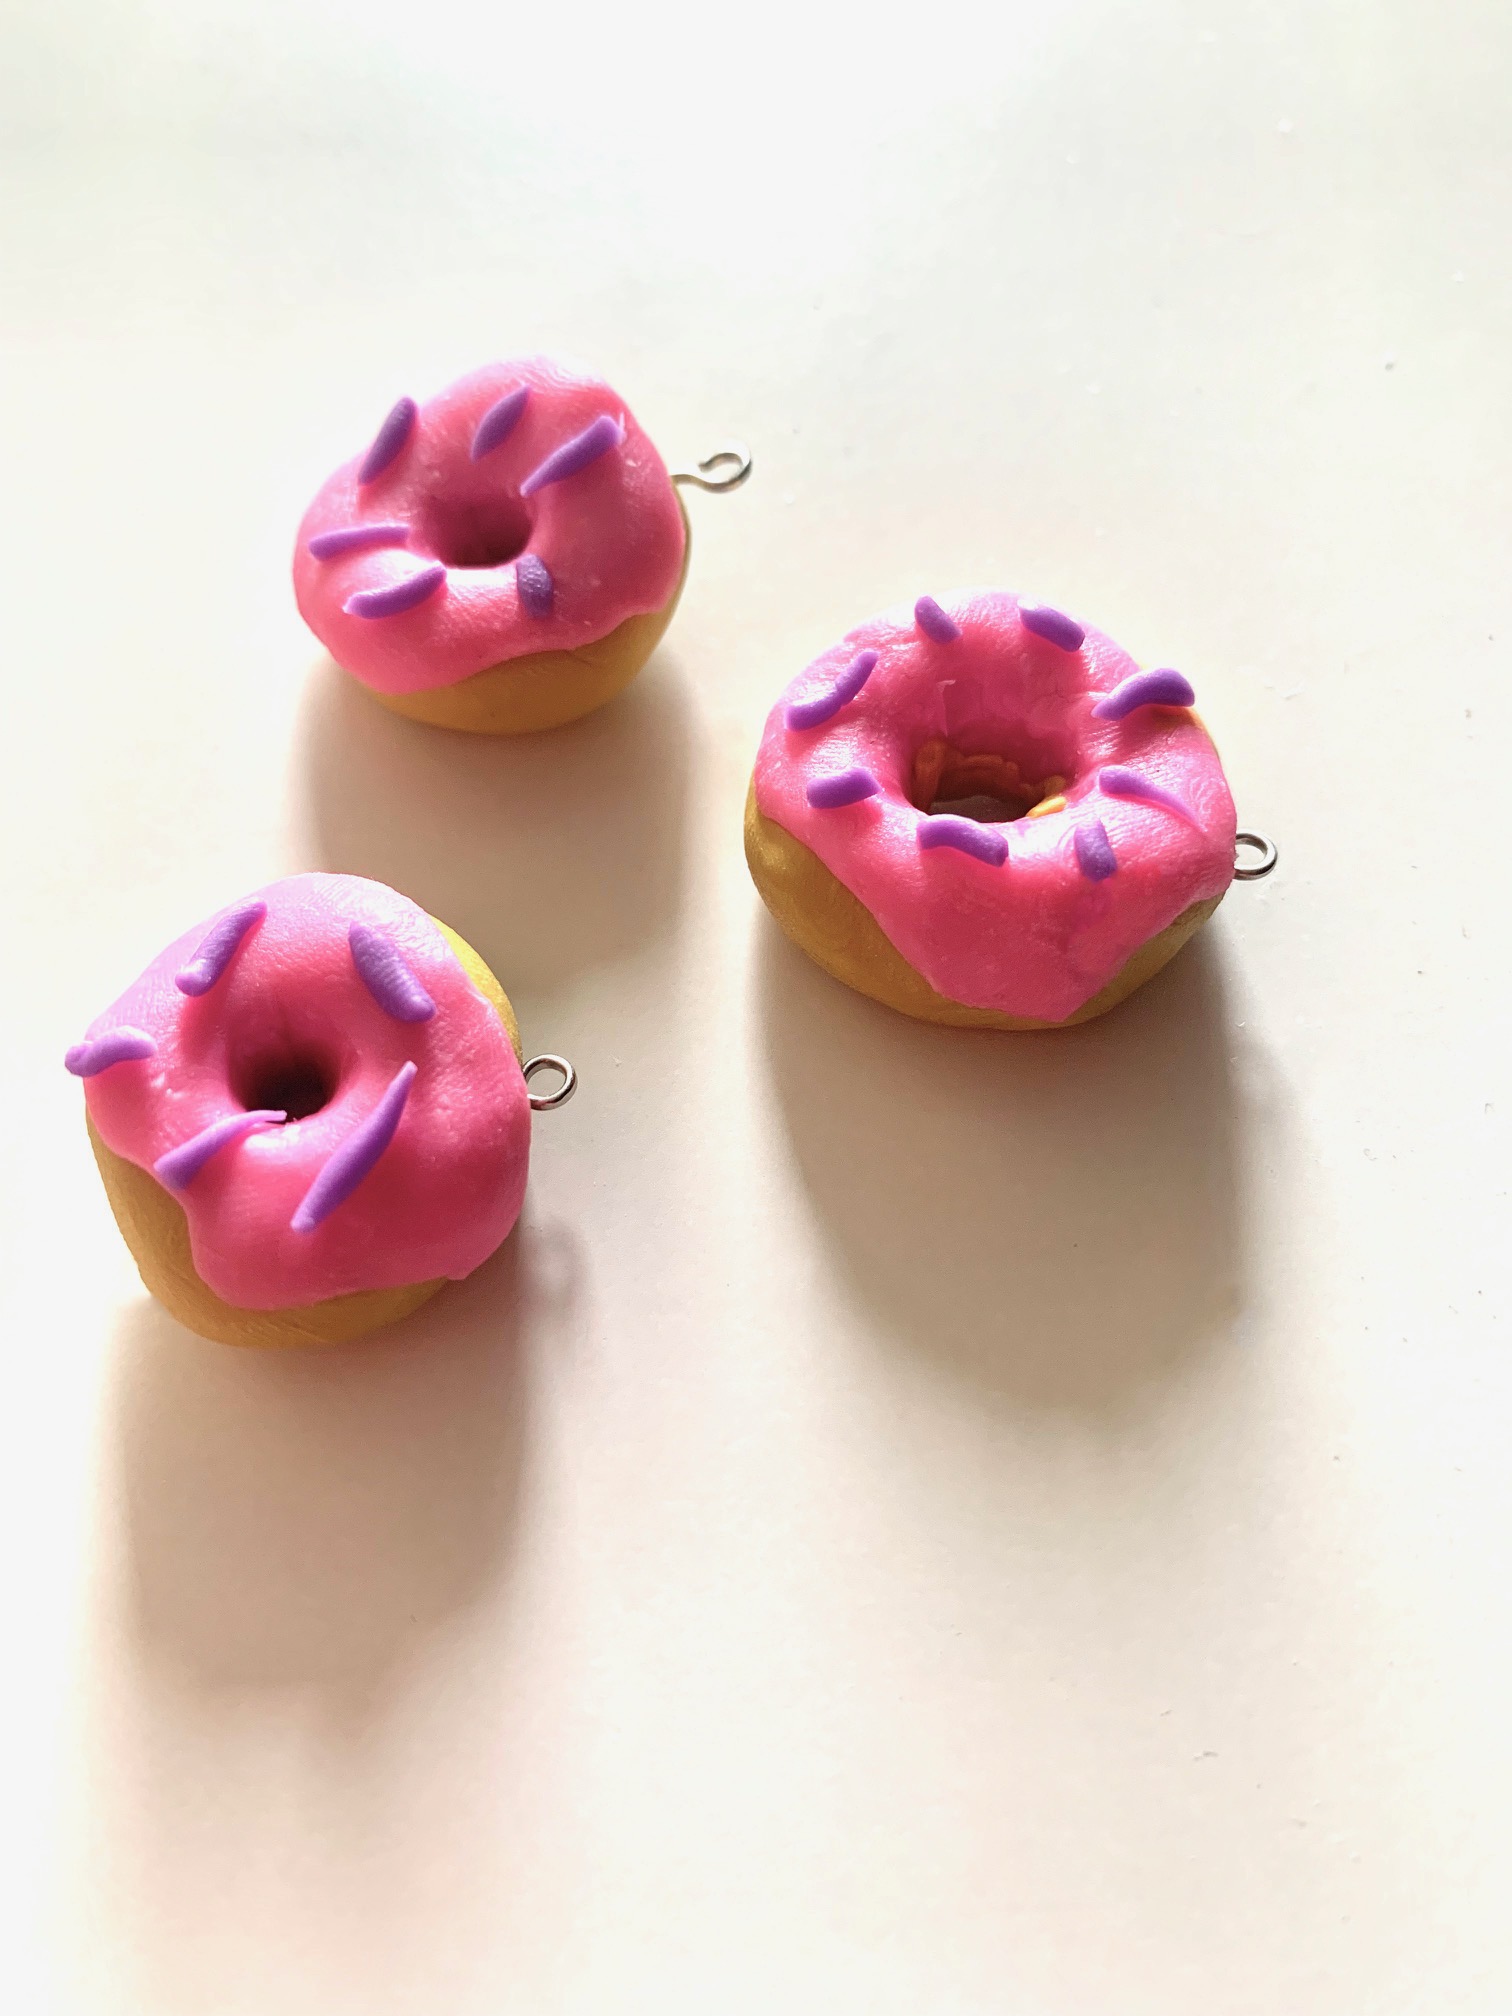
The final project is decent. It could be better. I did have one issue that created a lot of problems. The clay was too soft and sticky, so it didn’t move the way I wanted it to and I got my fingerprints everywhere. I’ve read suggestions that say you should put it in the fridge before you use it, stick it between two pieces of paper to soak up moisture or try using a bit of cornstarch. I also read that a spray of water will help smooth out fingerprints. I will definitely try those suggestions next time. If the clay was a bit firmer, it would have looked more put together.
Even with the fingerprints, I liked the result. Sure it could use improvements but, I don’t think this first attempt was horrible. It was a good test project to get a feel for the clay and what I need to know to work with it.
