I want to say this project is the perfect beginner project, so if you can’t crochet it may the one to make you learn. This looks great and is perfect for lounging around in your bathing suit. I made this one because I’ve seen a bunch of crochet bikini tops in stores and absolutely loved each and everyone. However, finding one that fit well was another story. The benefit of making your own is it will fit exactly the way you want it to, plus it will be only a fraction of the price.
I would recommend 100% cotton, although I ended up going with a pretty cheap big ball of yarn from Walmart, medium, size 5 hook recommended but I ended up using a size 6. For this one I kept it extremely basic, as long as you can chain stitch, slip stitch and single crochet you will be more than fine.
For my post, it’s less about the technical side and more about what I did to create mine. The nice thing with crochet projects, although there may be better ways to do things, there are a lot of ways to improvise or add on if needed to create something completely your own.
I found a couple youtube videos that boosted my confidence and I used as a starting point. Then I used a bit of trial and error to complete my look. You can find the most useful video here. It gave me all the basics to get through this.
To make the cups, start with a slip knot. Chain between 10 and 20. This is a personal preference, I would say 10 on the small side and 20 for large. Turn and single crochet all the way back to the top. At the top point, add 3 single crochets into the top stitch. Then continue single crochets down to the end. After the last stitch, chain 1 and turn around. Continue single crocheting with 3 in the top stitch for as many rows as you feel comfortable for cup coverage. I took a bikini top that i knew fit and and would compare it to my crochet cup until I got to the right size.
On your last row, when you get to the top start to chain as many as you’d like to created the strap. Single crochet back down into the row and continue to the end then bind off.

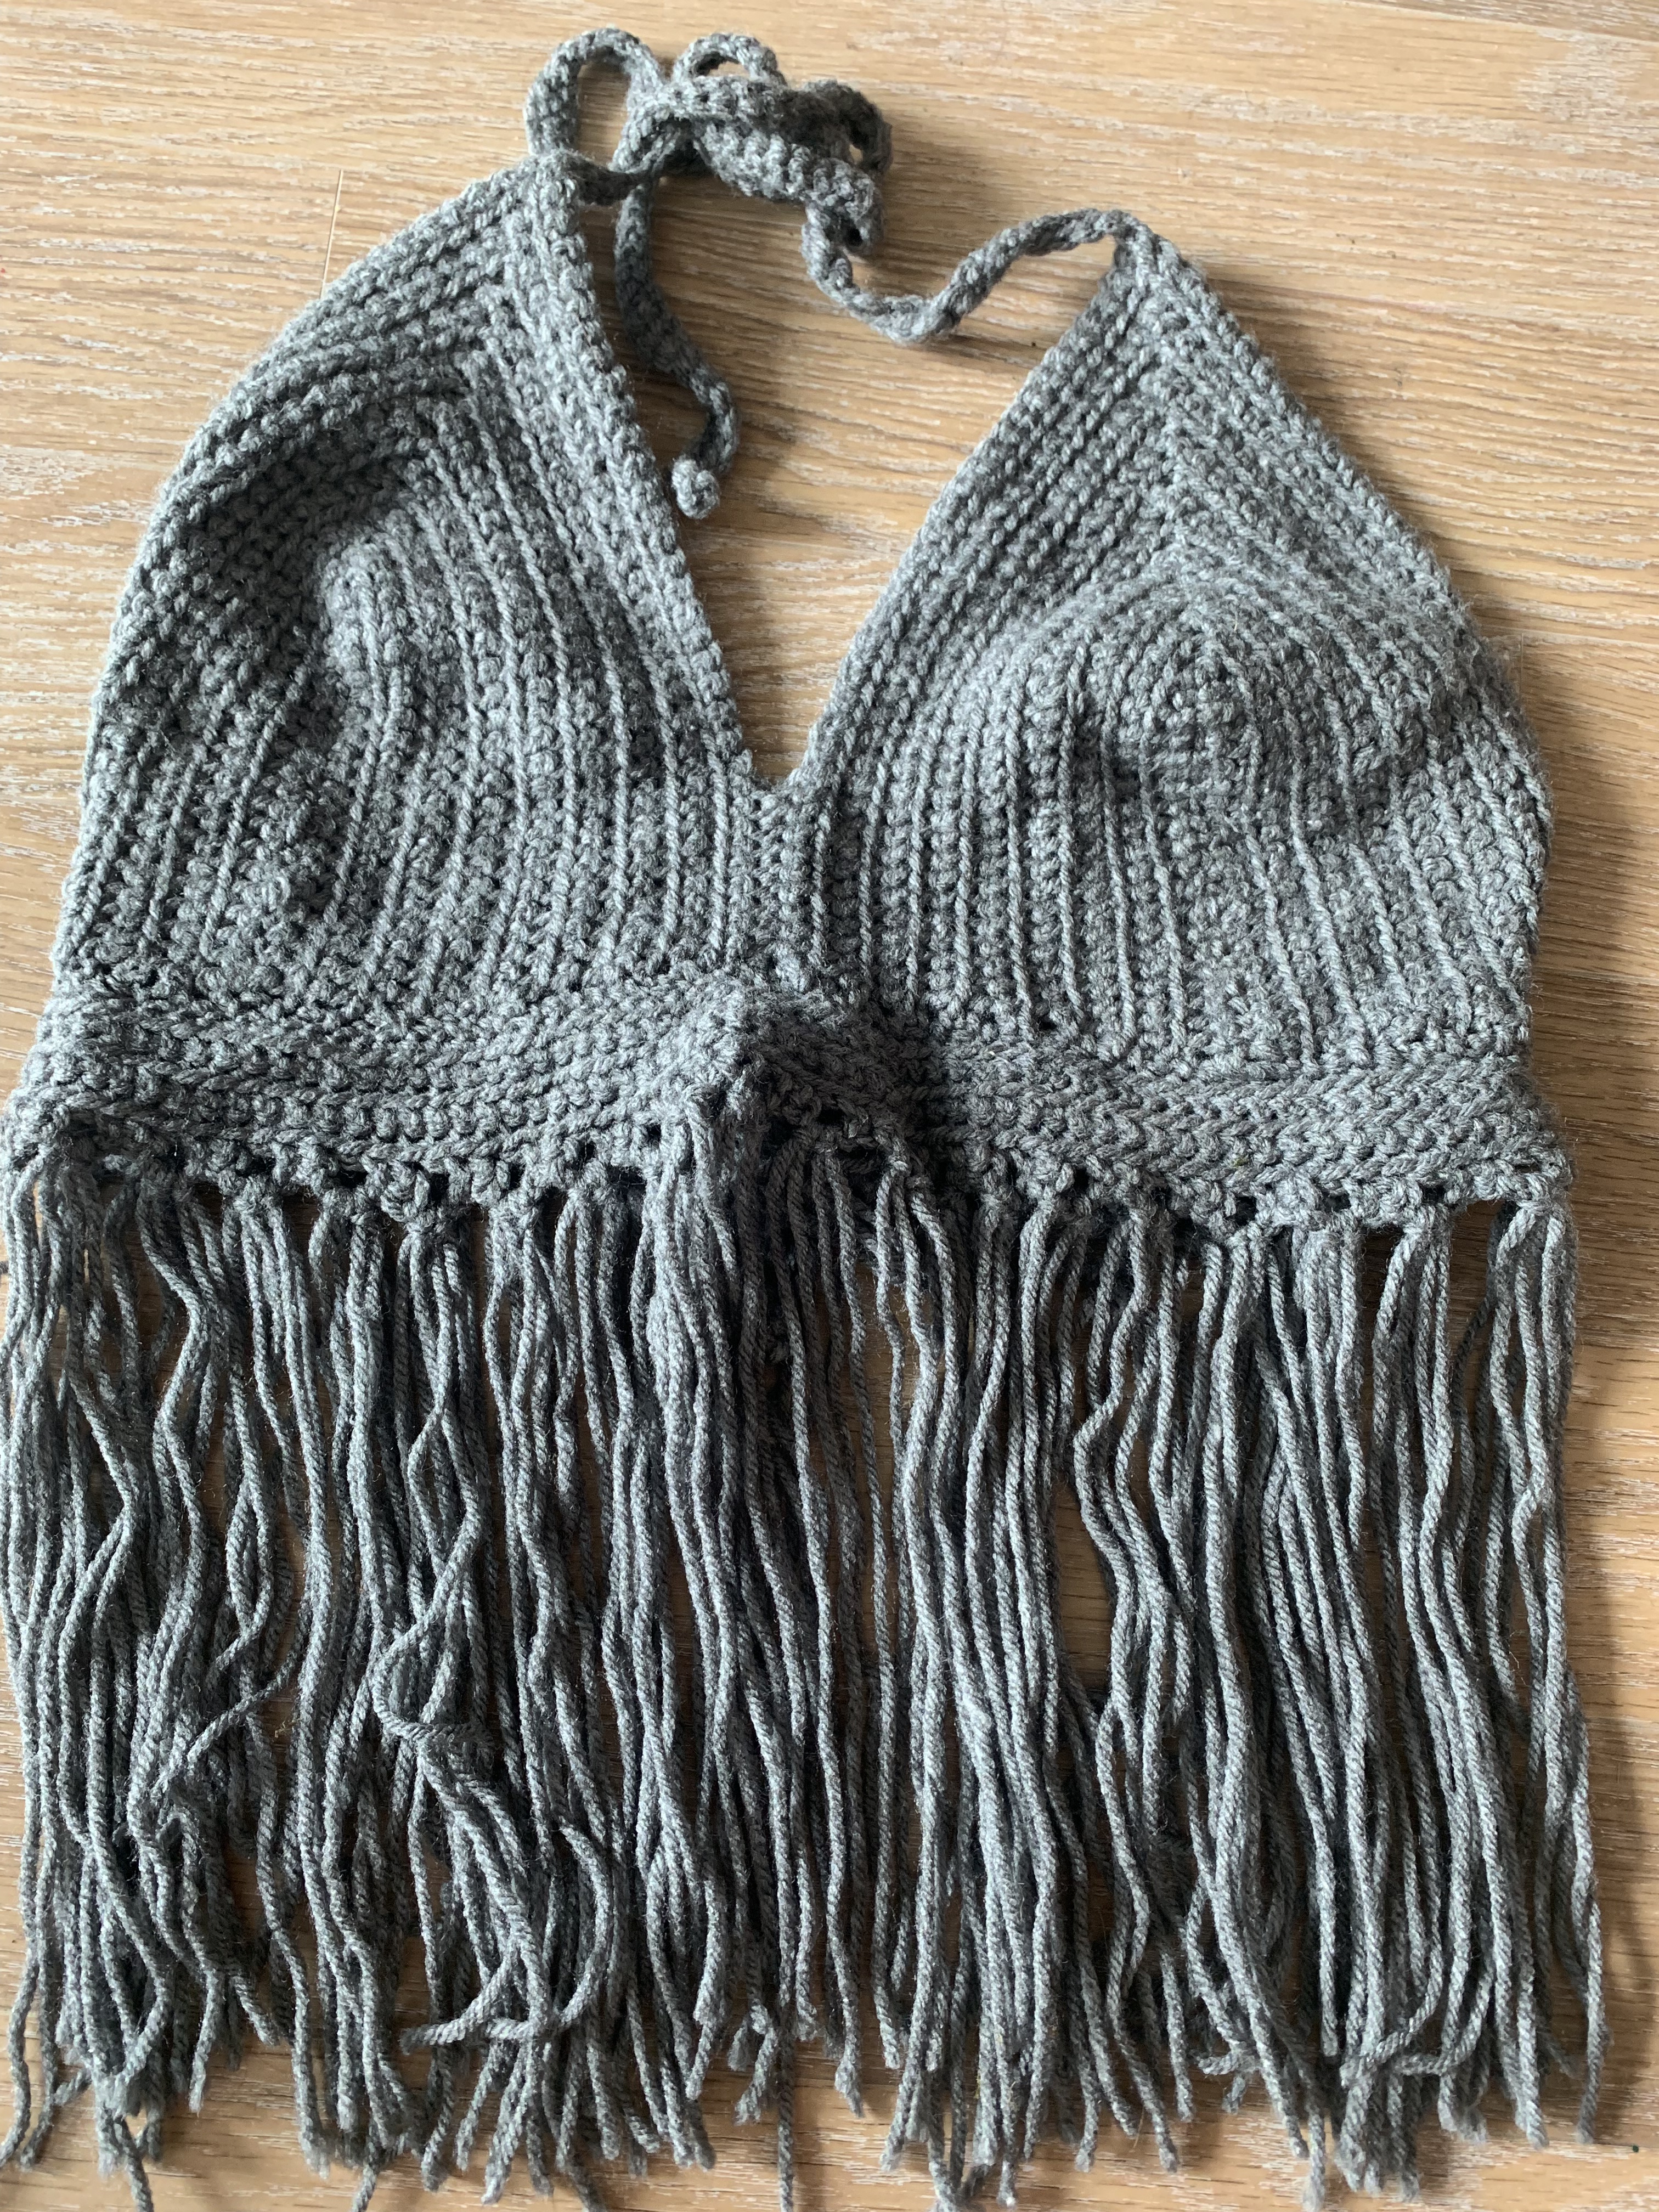
For mine, I ended up slip stitching the cups together in the middle a bit to be less of a deep v but you could just leave it if you prefer. I also added straps similar to the ones on the cups, to tie it on the back.

For the waist I measured myself to see how wide it would need to be. Then chain stitched to that length. I single crocheted rows to get the thickness I was looking for.
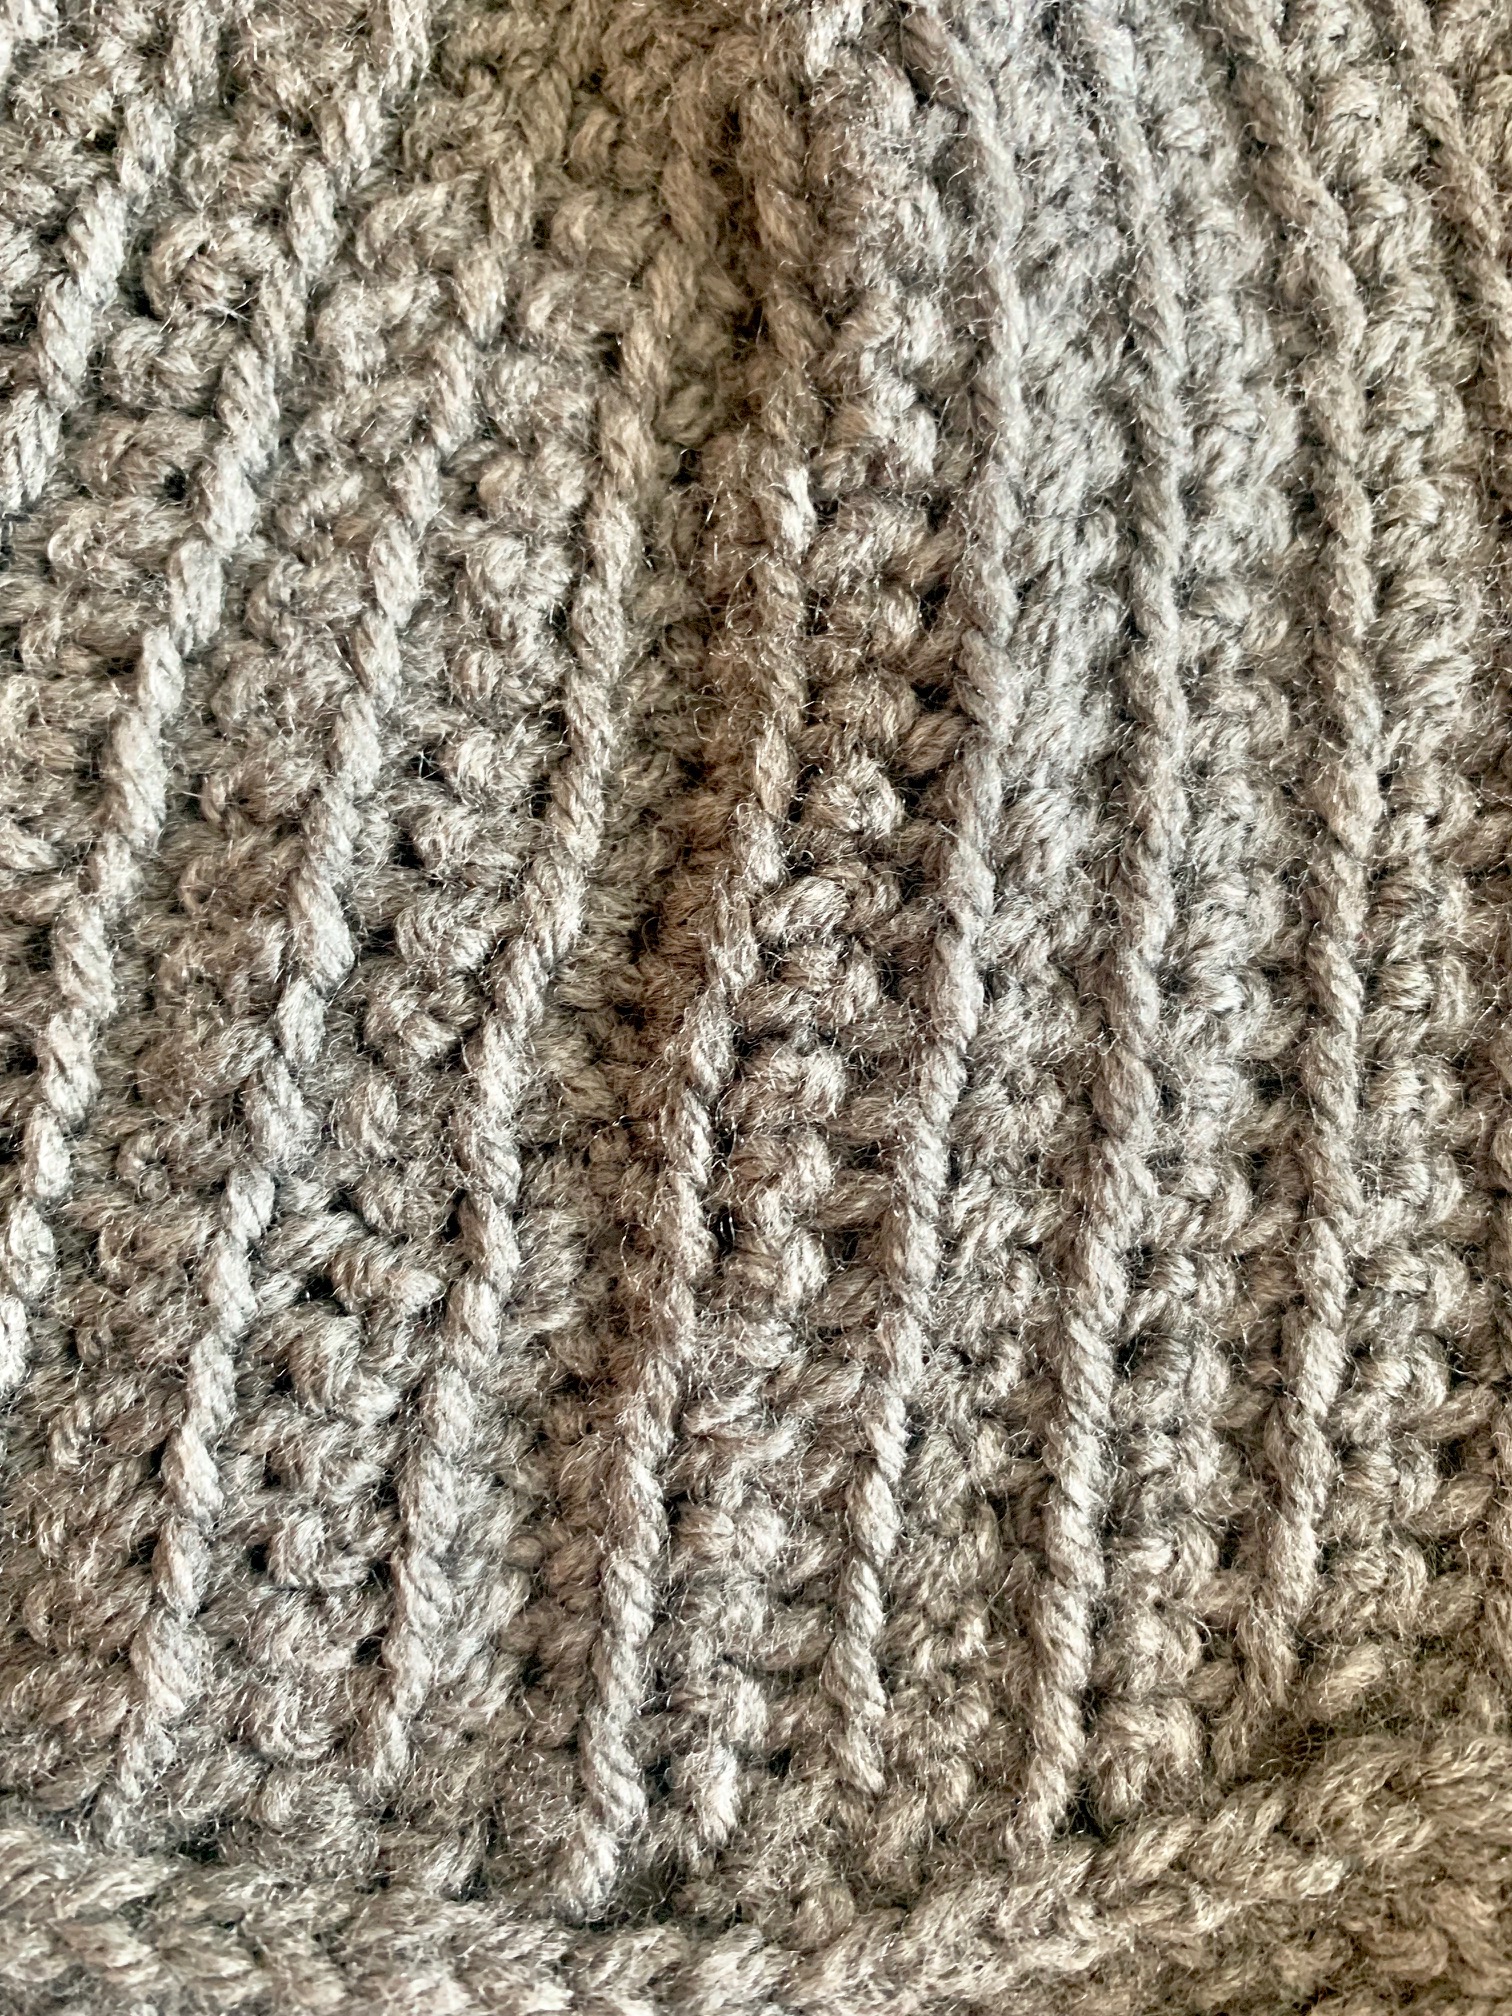
On my last row, I single crocheted 2, then chained 3 and skipped a stitch and single crotched two. I did this pattern all the way across the bottom. This gave a bit of a space to add fringe.
For connecting the cups to the waist band. I found the middle of the waist and lined it up to the cups, and slip stitched across to connect the pieces.
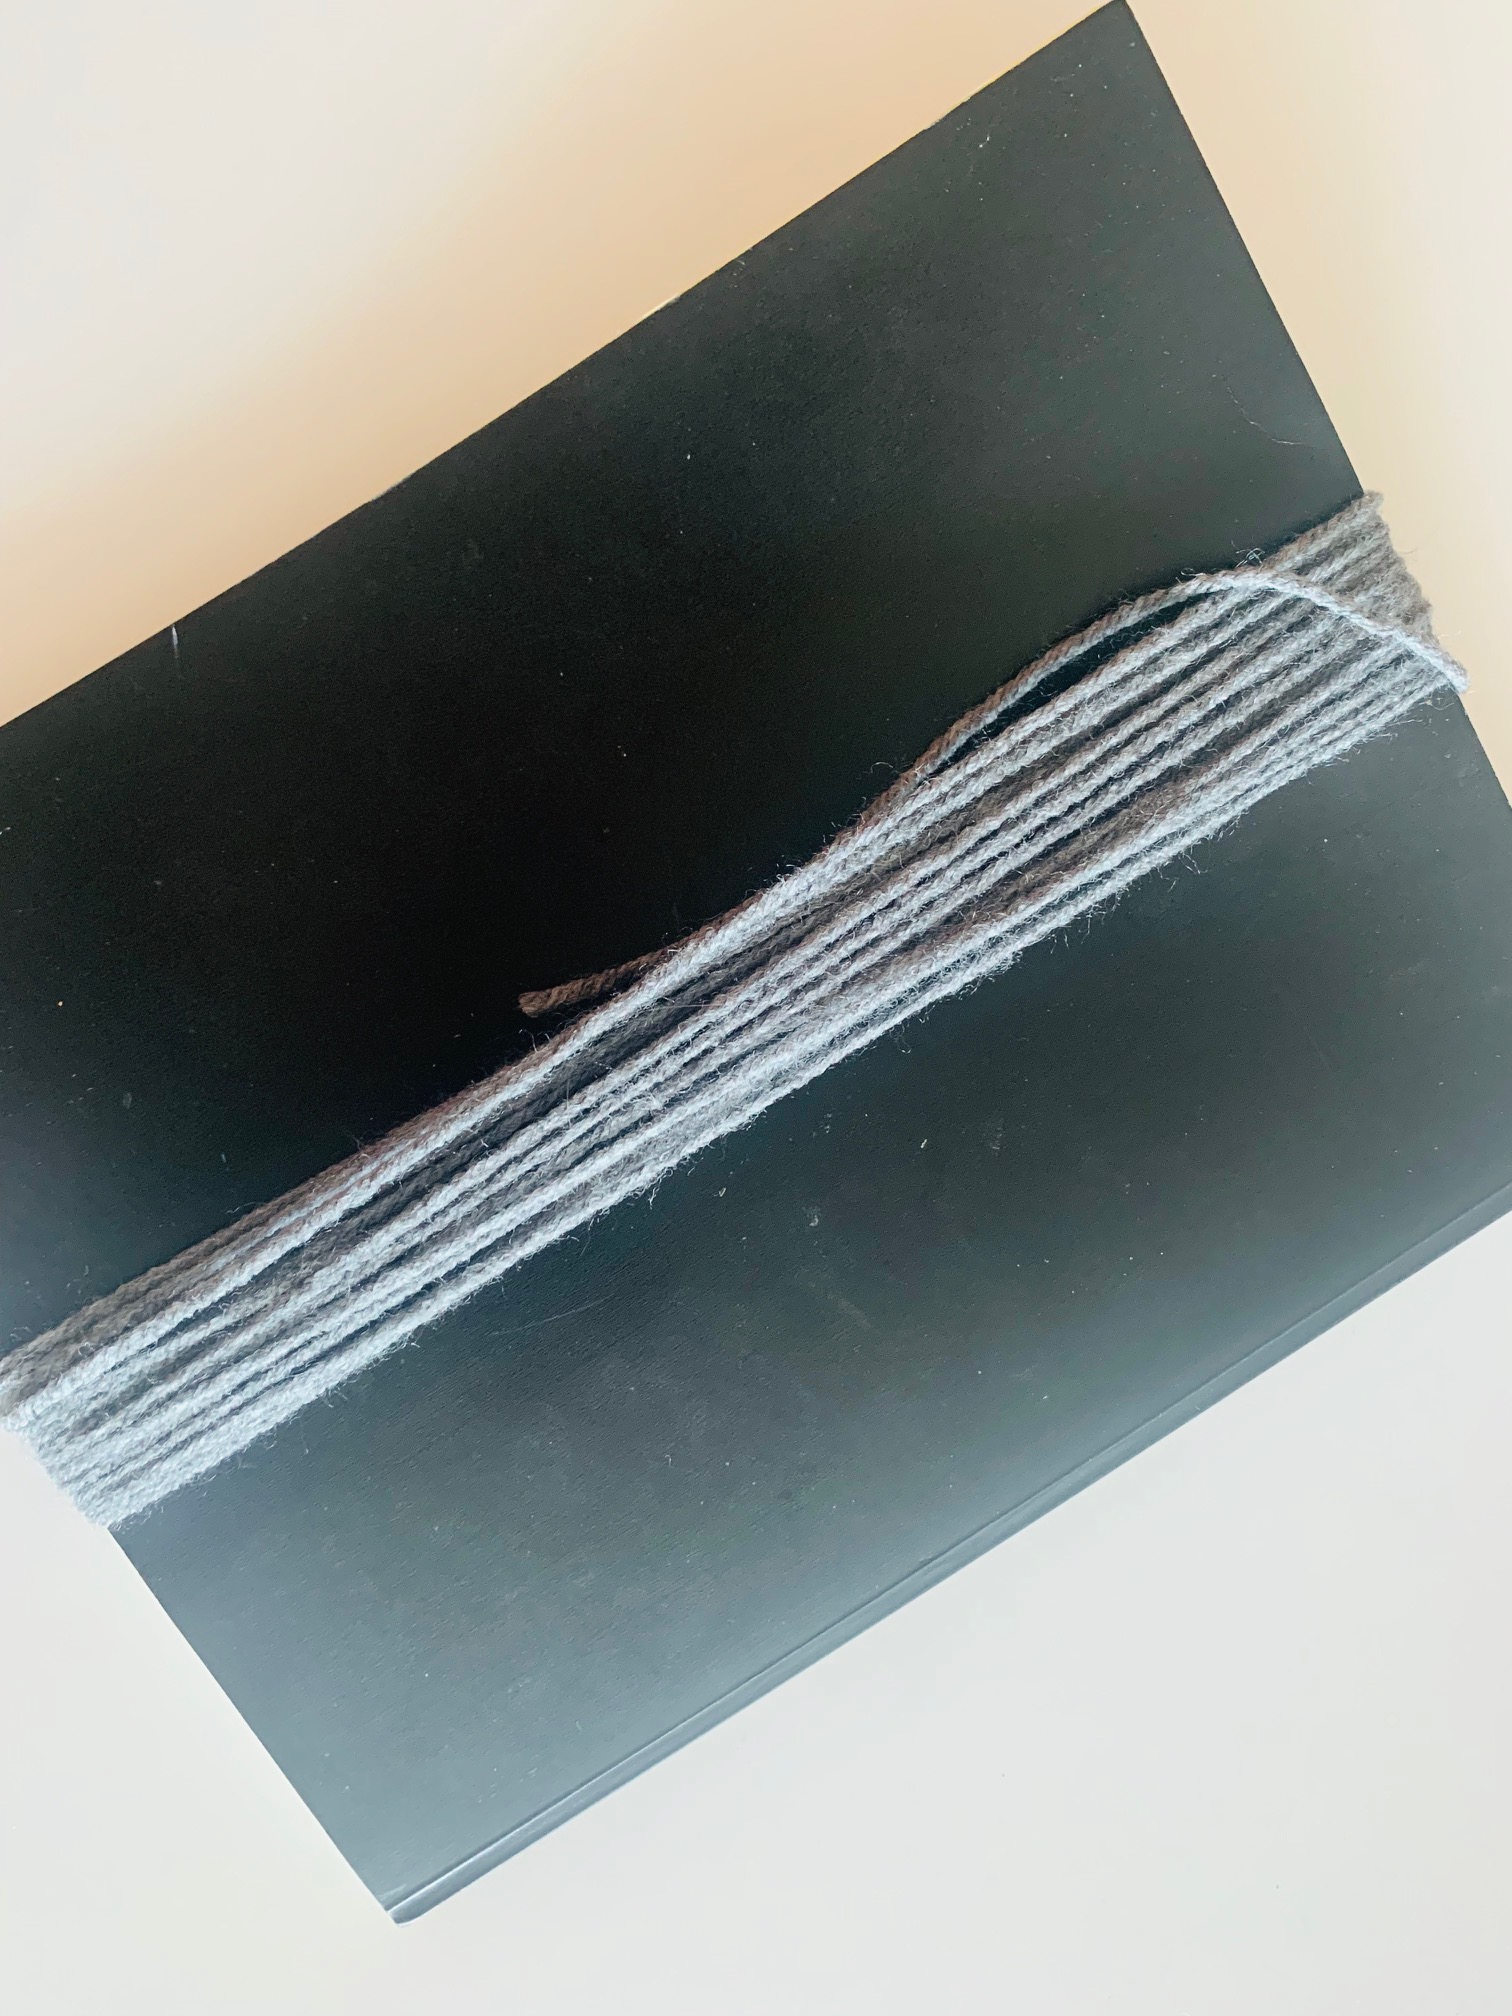
Two create the fringe pieces, I wrapped the yarn around a book several times and then cut one end. This was a quick way to get fairly even pieces. Each strand was folded in half, the middle was placed through the hole on the waist and then the ends were pulled through. I placed 2 strands in each opening.

The final step was to use a yarn needle to weave in all the loose ends.
That was it, honestly I can’t believe I was able to get this done before I went to the cottage. It looks so good, I’m already working on a second variation.