It’s September and colder weather will soon be on it’s way. So naturally it’s time to start thinking of keeping warm. These slippers are definitely cozy. It’s also a pretty good project that can be done over a weekend. I’m fairly new at crochet so to keep it really simple I’m only using a chain stitch and a single crochet.
For this Project I used a 6mm hook and one 5 oz ball of yarn. I started by chaining 6 and then single crocheting the row. Once I reached the end of the row I chained 2 and then started single crocheting up the other side. I’m not turning it over, just continuing around the edge. At the end of that row I chained two again.
After the chain two, I continued single crocheting to the end of the second row. At this point you will want to increase the rows so at the end of each side, single crochet 3 times into the end of row stitch. Do this at each end for about four rows. At that point I compared the width to my foot. Keep adding if the foot seems too small. If this is a gift for someone else, here is a link to a standard sizing chart that can be used for measurements. Write down as you go how many rows you increase and your total length to help match the second slipper.
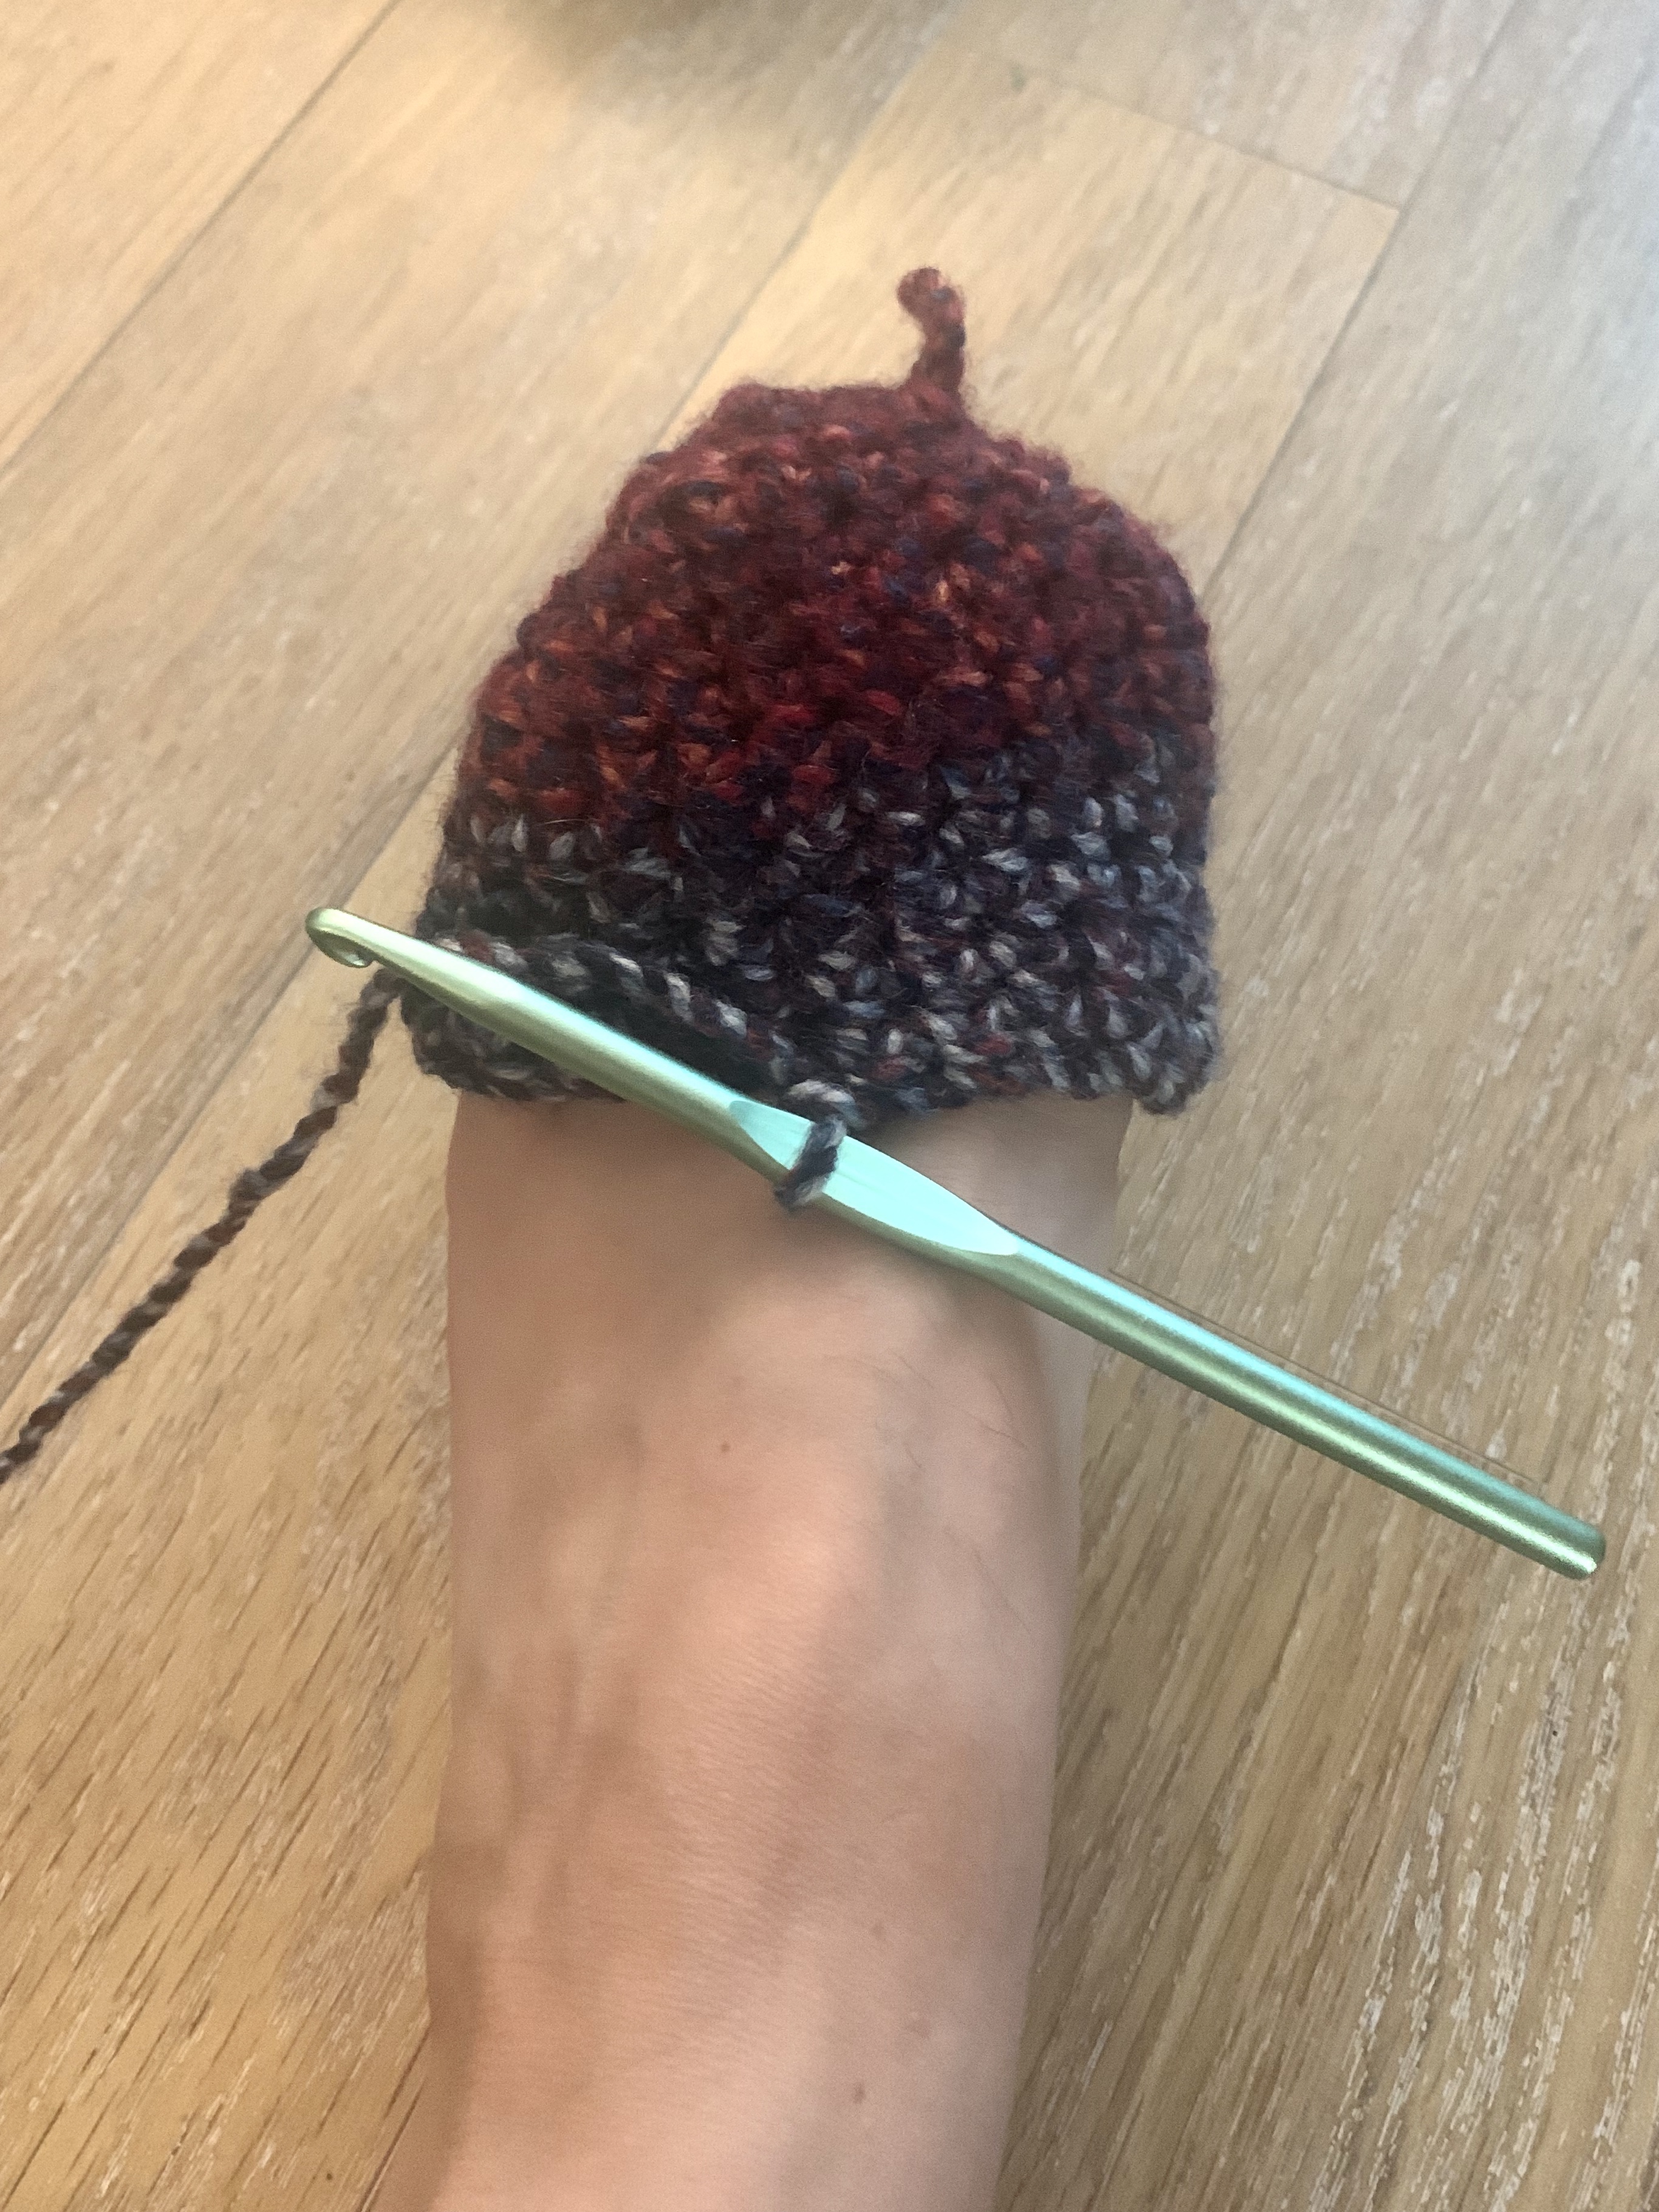
After the rows have been increased to the width of the foot, continue adding rows just by single crocheting all the way around the circled edge. Continue this until you are ready to start the opening for the foot. Since I was making this for myself I was able to tell I was at that point by trying it on. When it was long enough to reach my leg I know I ready for the next step.
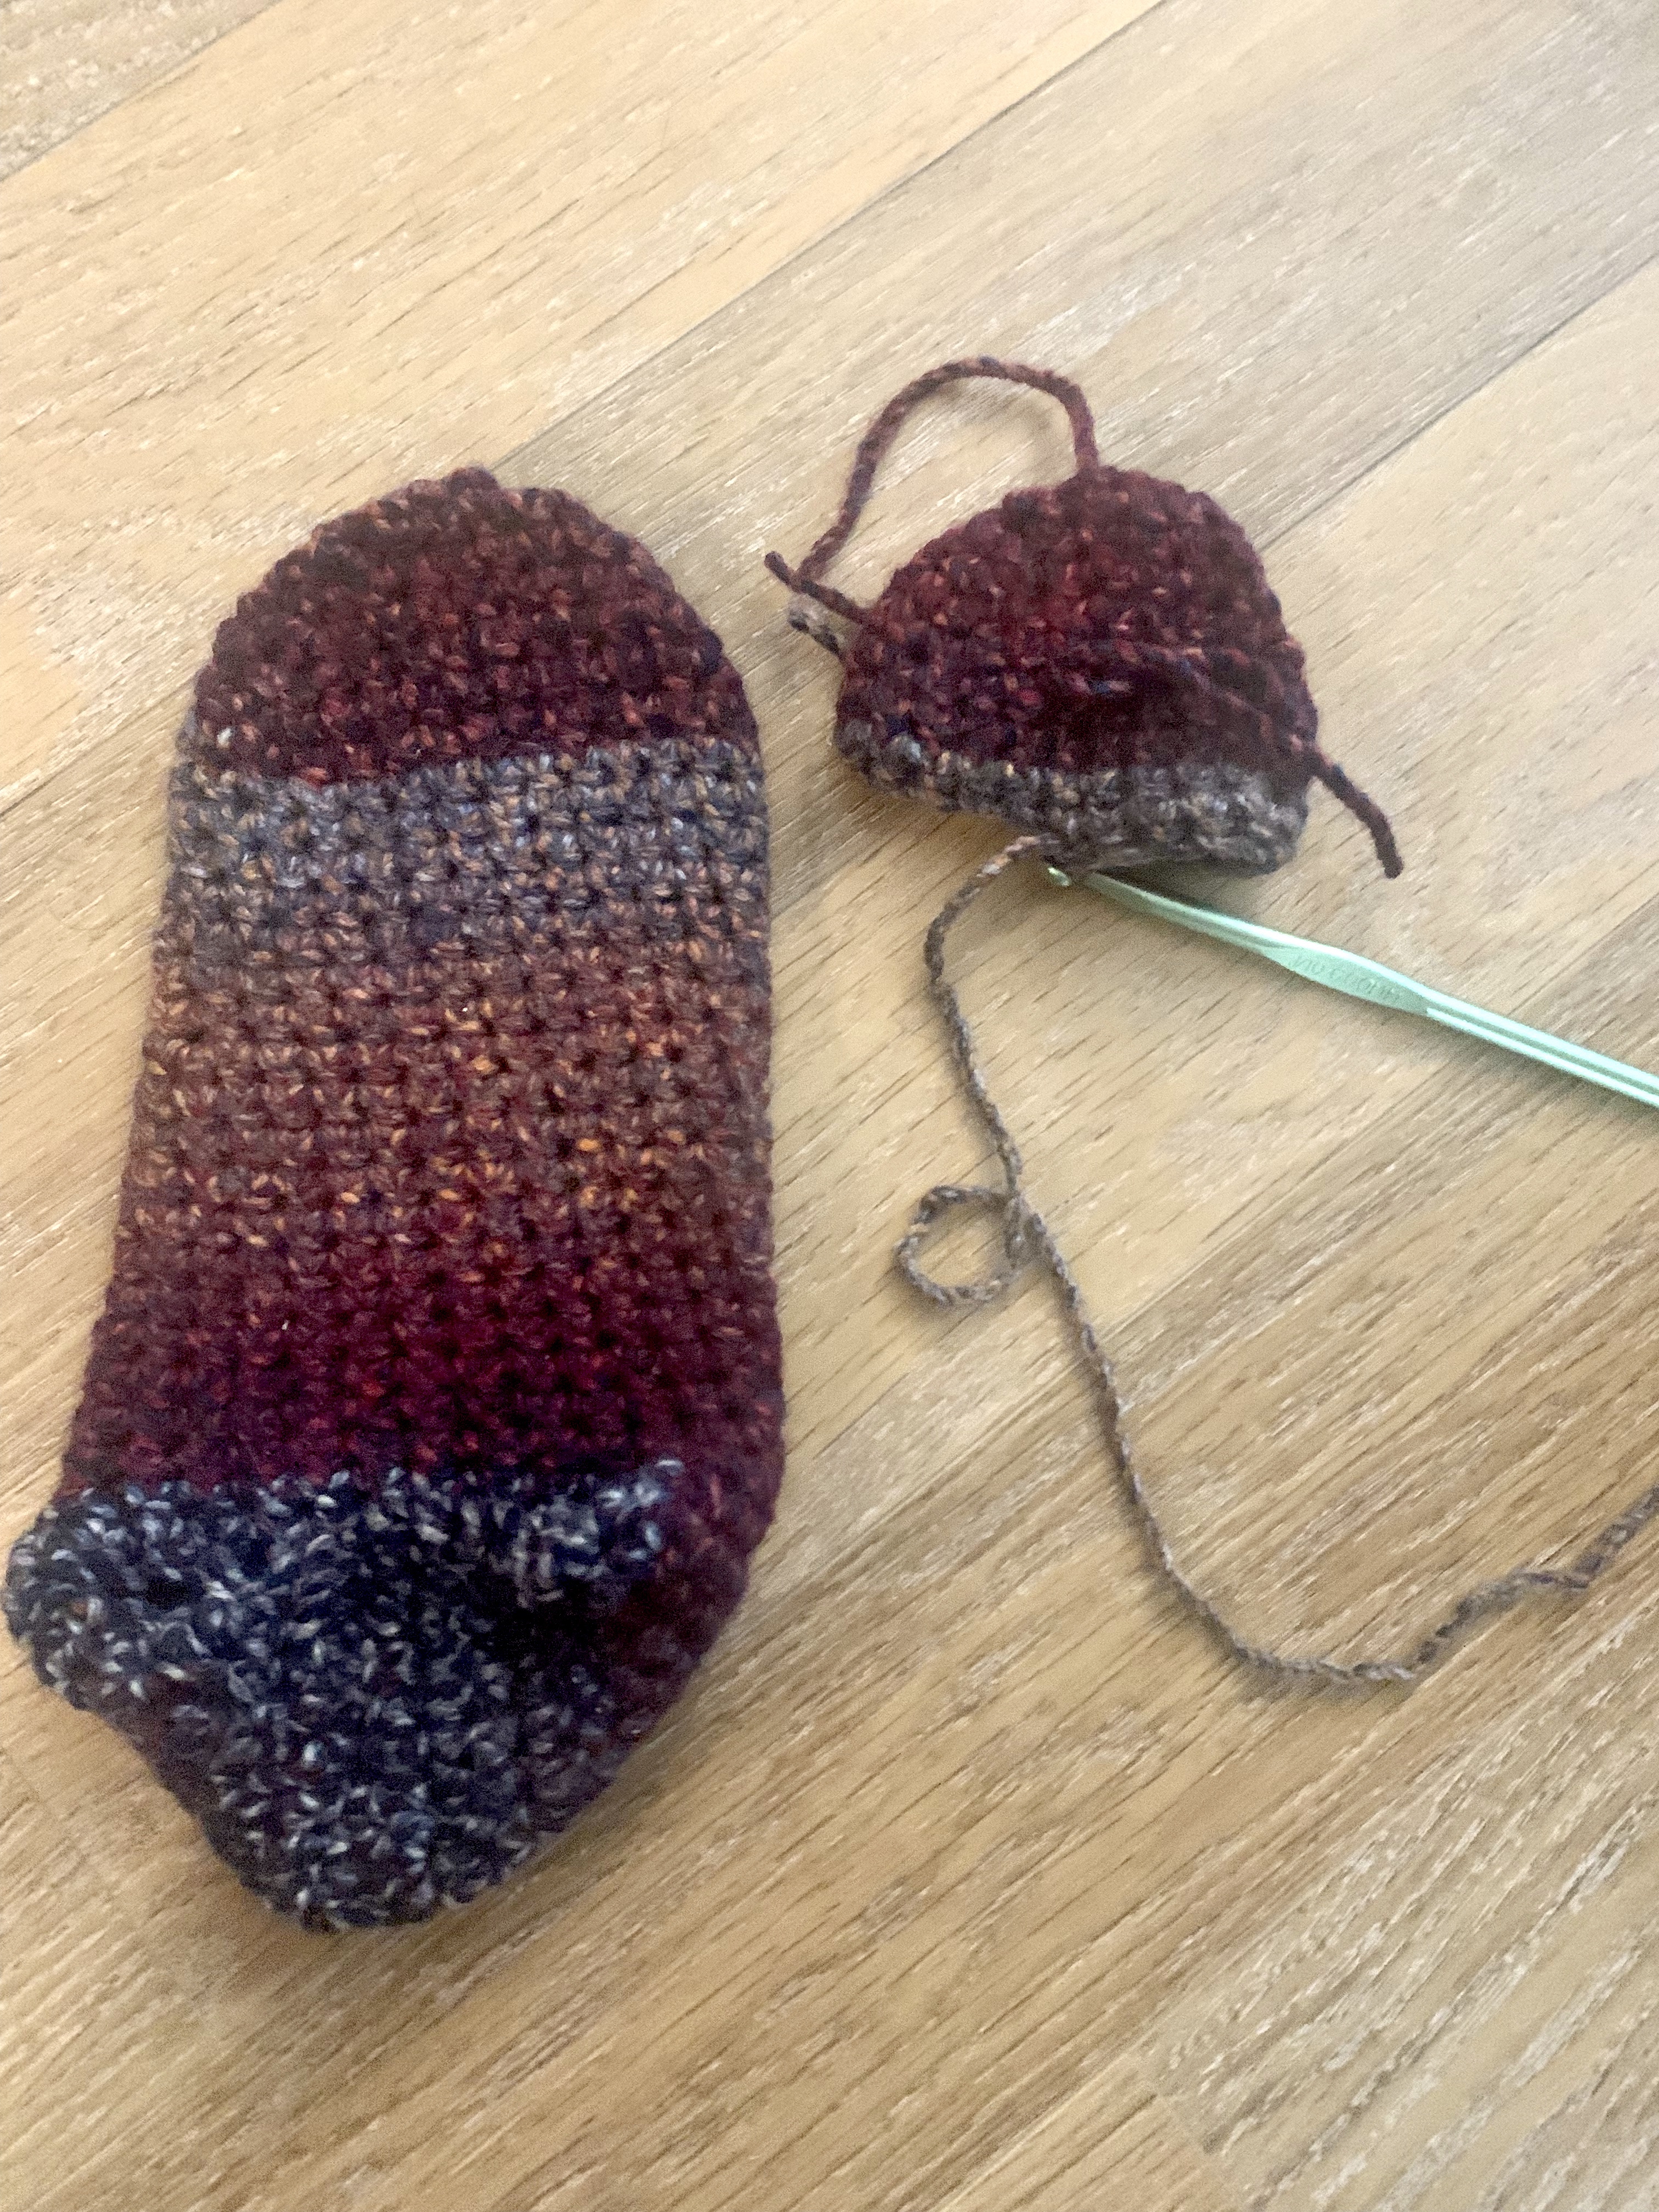
To create leg opening, you will want to single crochet a third of the row you are on. Just enough to be the bottom and the sides. Once you’ve crocheted the row, chain 1 and then turn your work and single crochet back. This part will be a flat square for now. Continue this until you have reached the desired foot length.
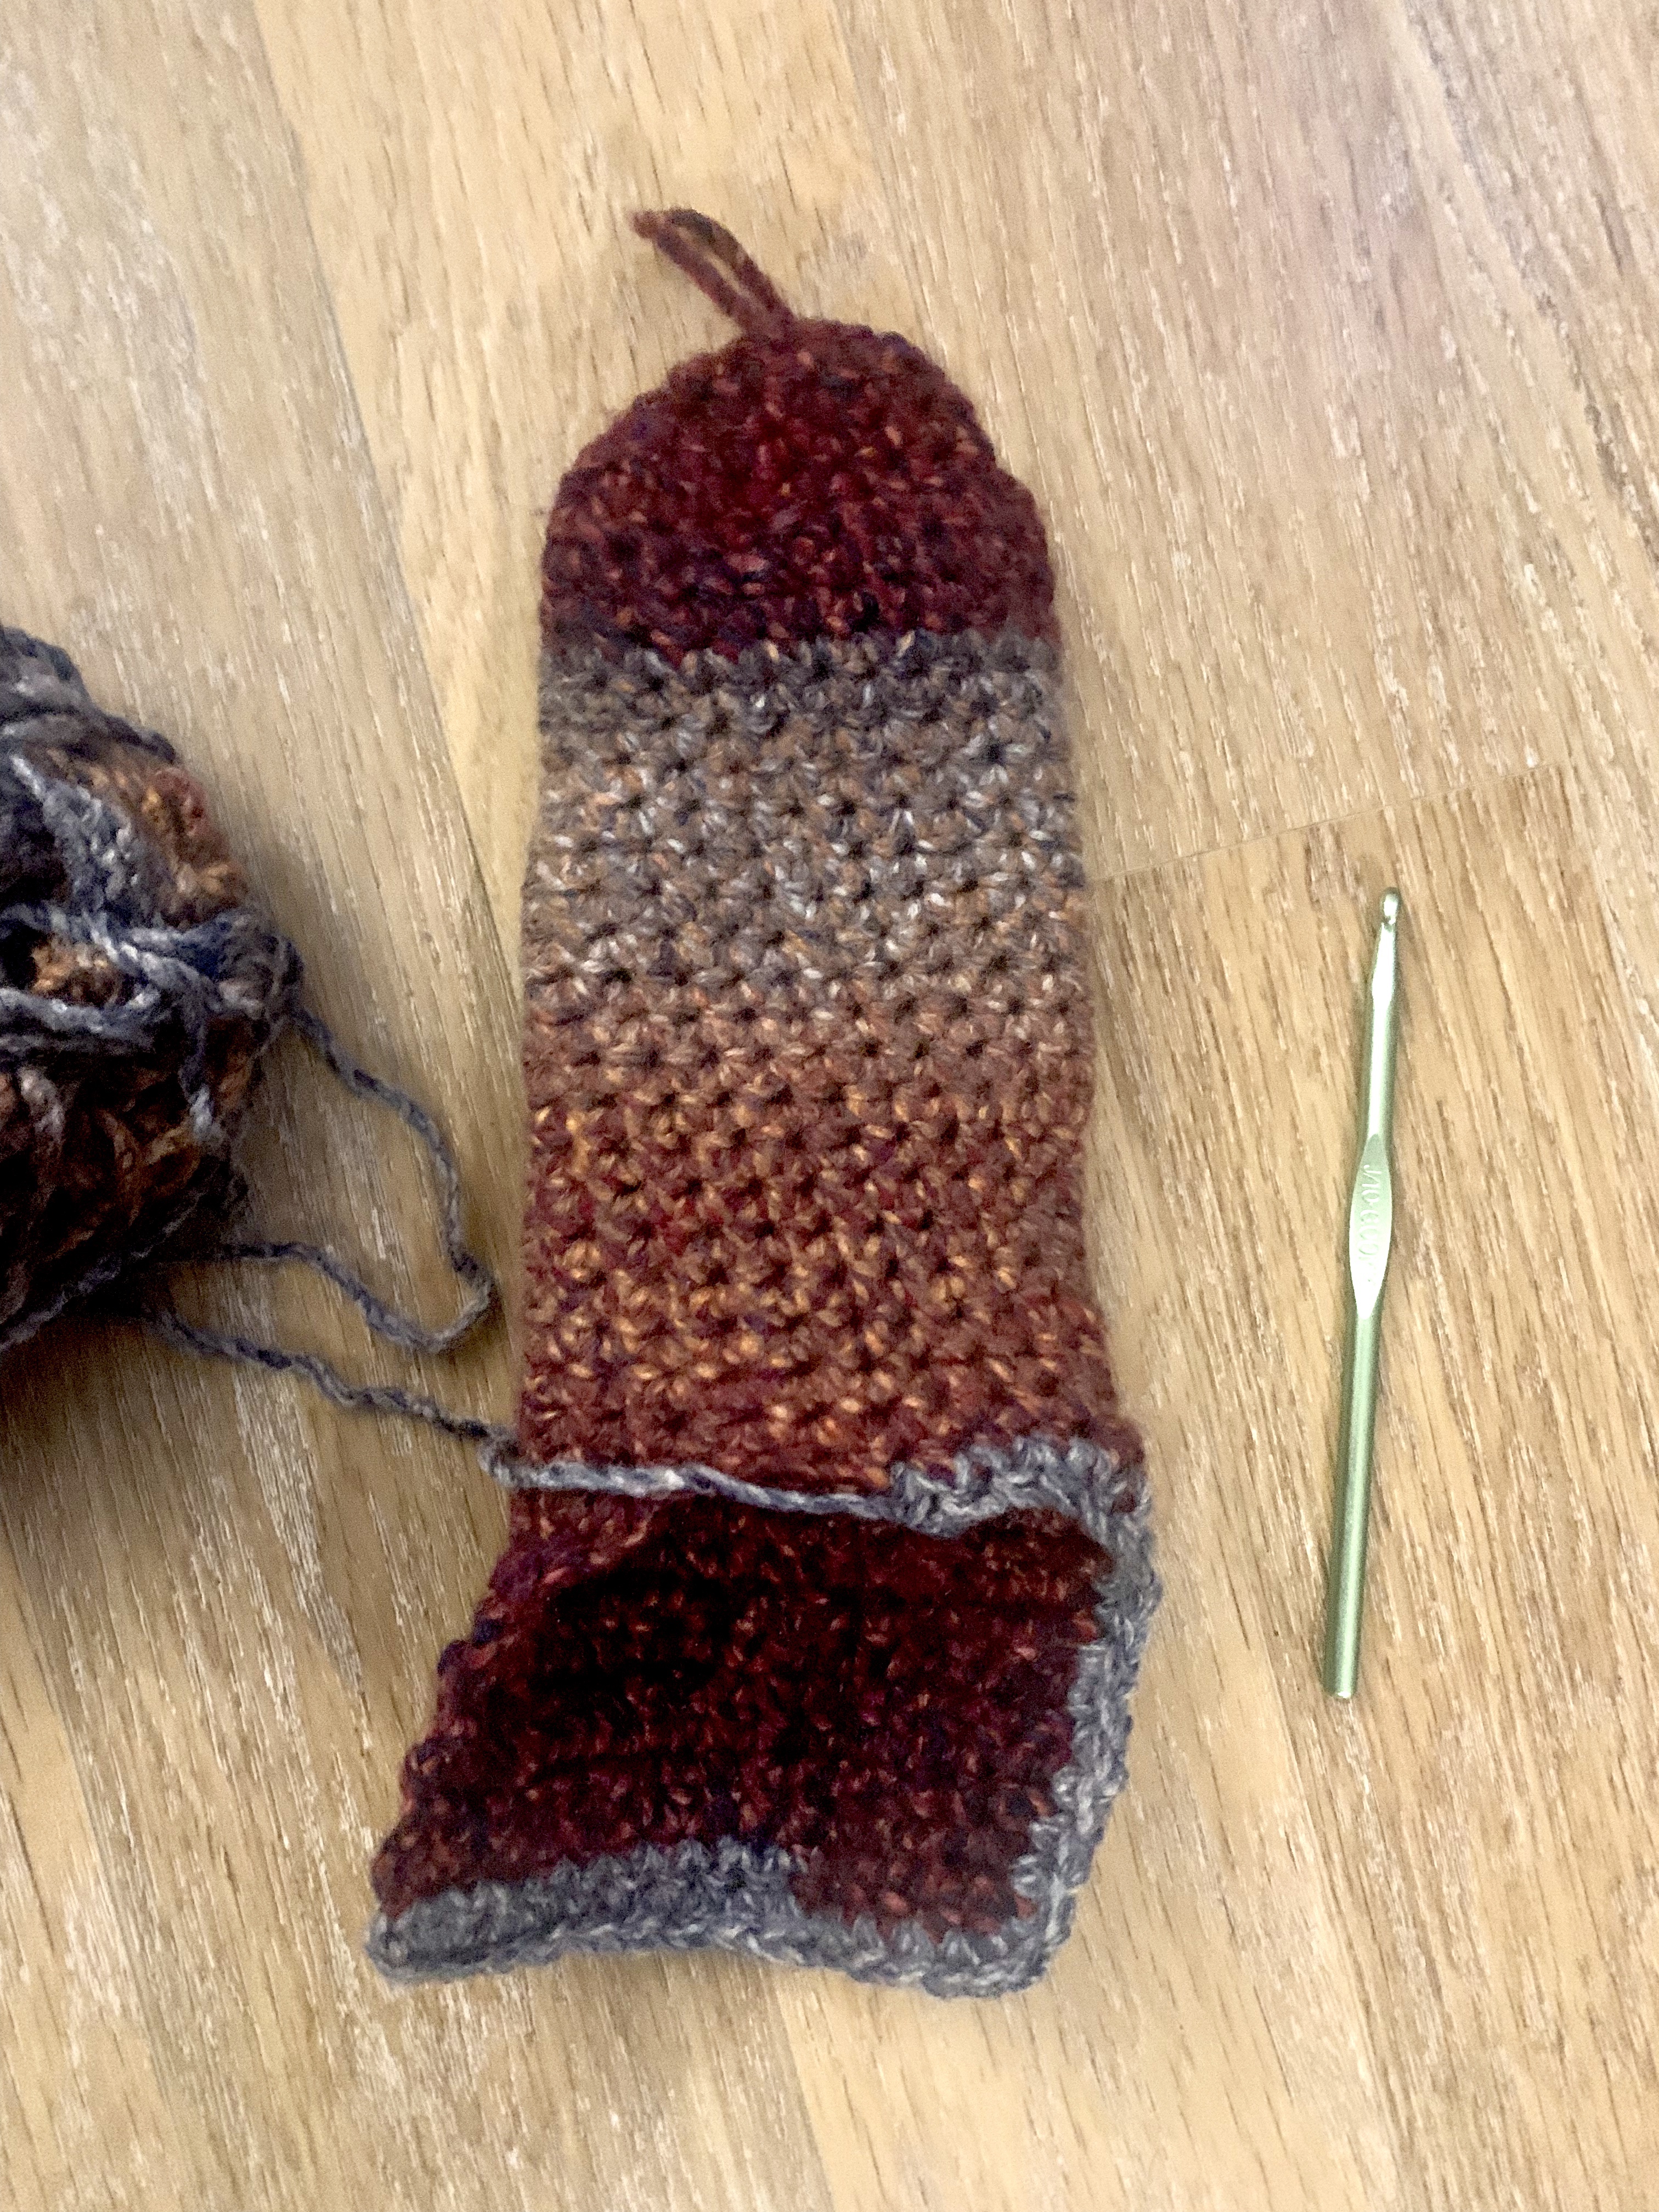
To complete the foot hole, single crochet around the top edge of the slipper all the way around and Then slip stitch to connect the two corners of the heel section. Do about 2 to 3 rows of that to give the slipper a finished look.
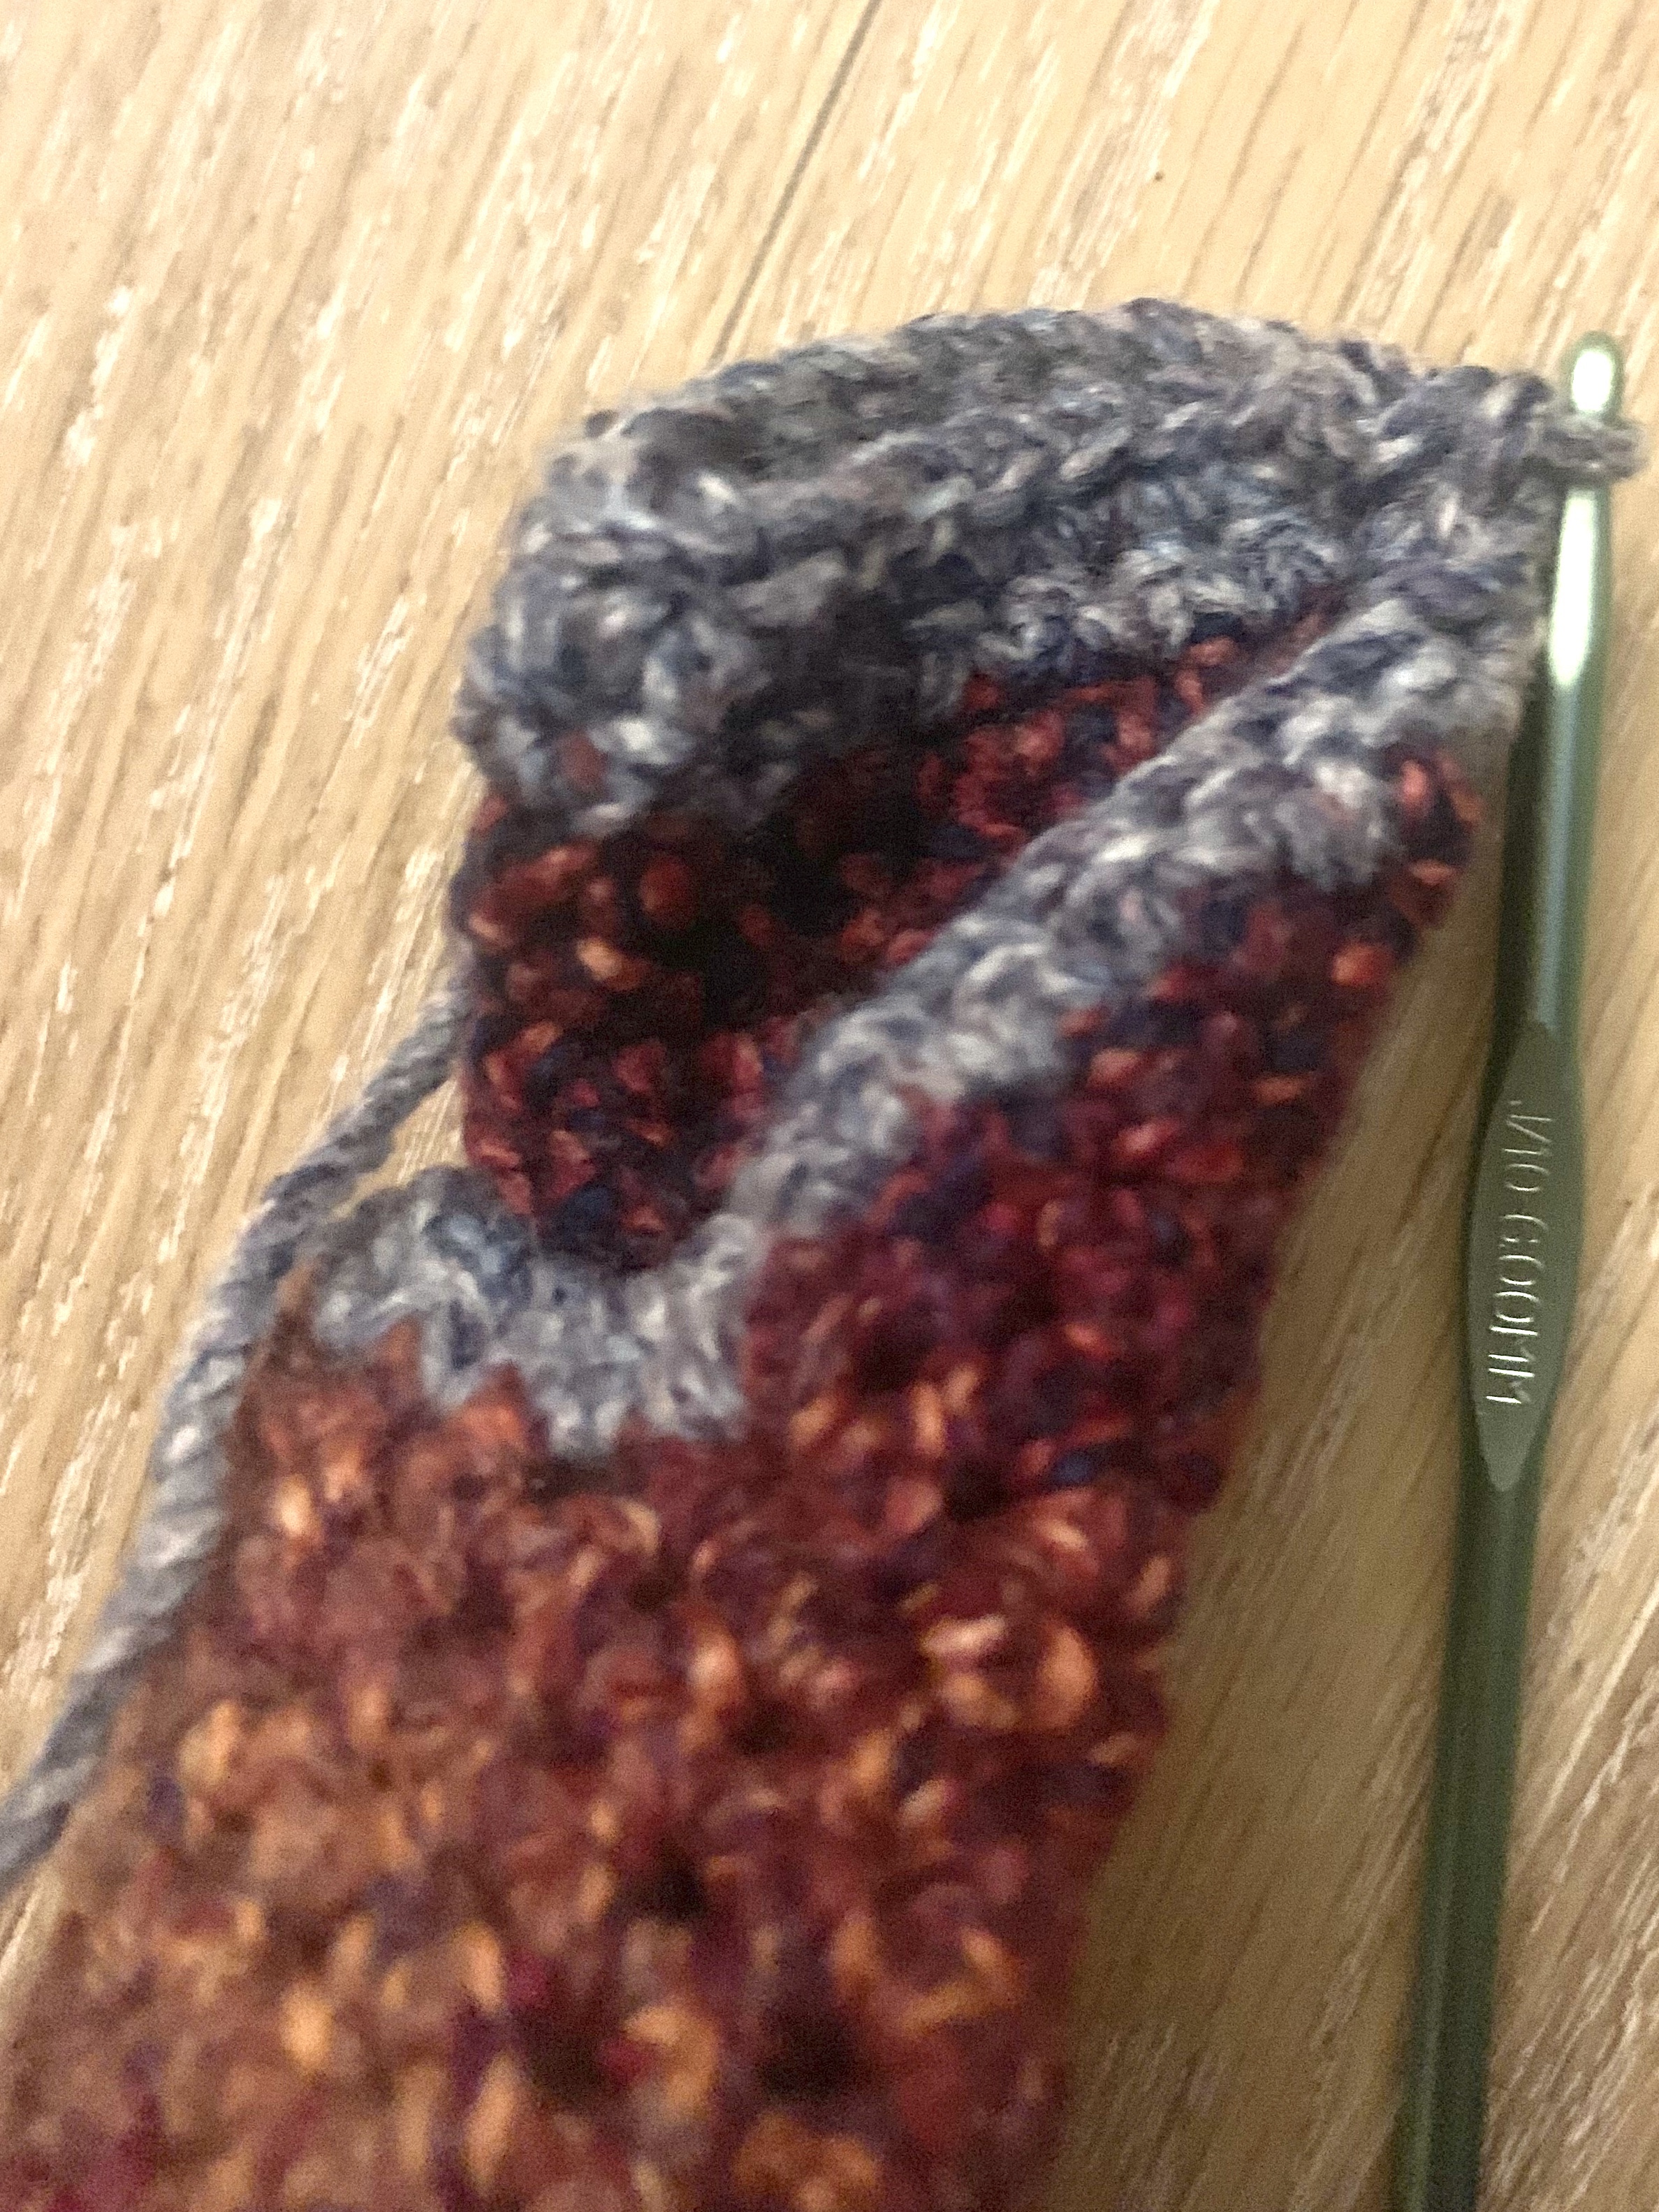
To connect the heel, which at this point should just be a hole. On your last row stop at the open heel turn And that section out and slip stitch down connecting the two sides. Flip that section back in, bind off and sew in any loose ends.
Use the information you wrote down for the rows to make a second identical one.
In case reading this is follow I wanted to find a YouTube option that could be referenced. Now there are so many youtube tutorials it can be a bit overwhelming. The one I have linked here is probably the closest to what I’m doing. The heel section is a slightly different, but it also talks about changing colour yarns so it’s definitely a good resource. Especially if you want to get a bit more in depth.
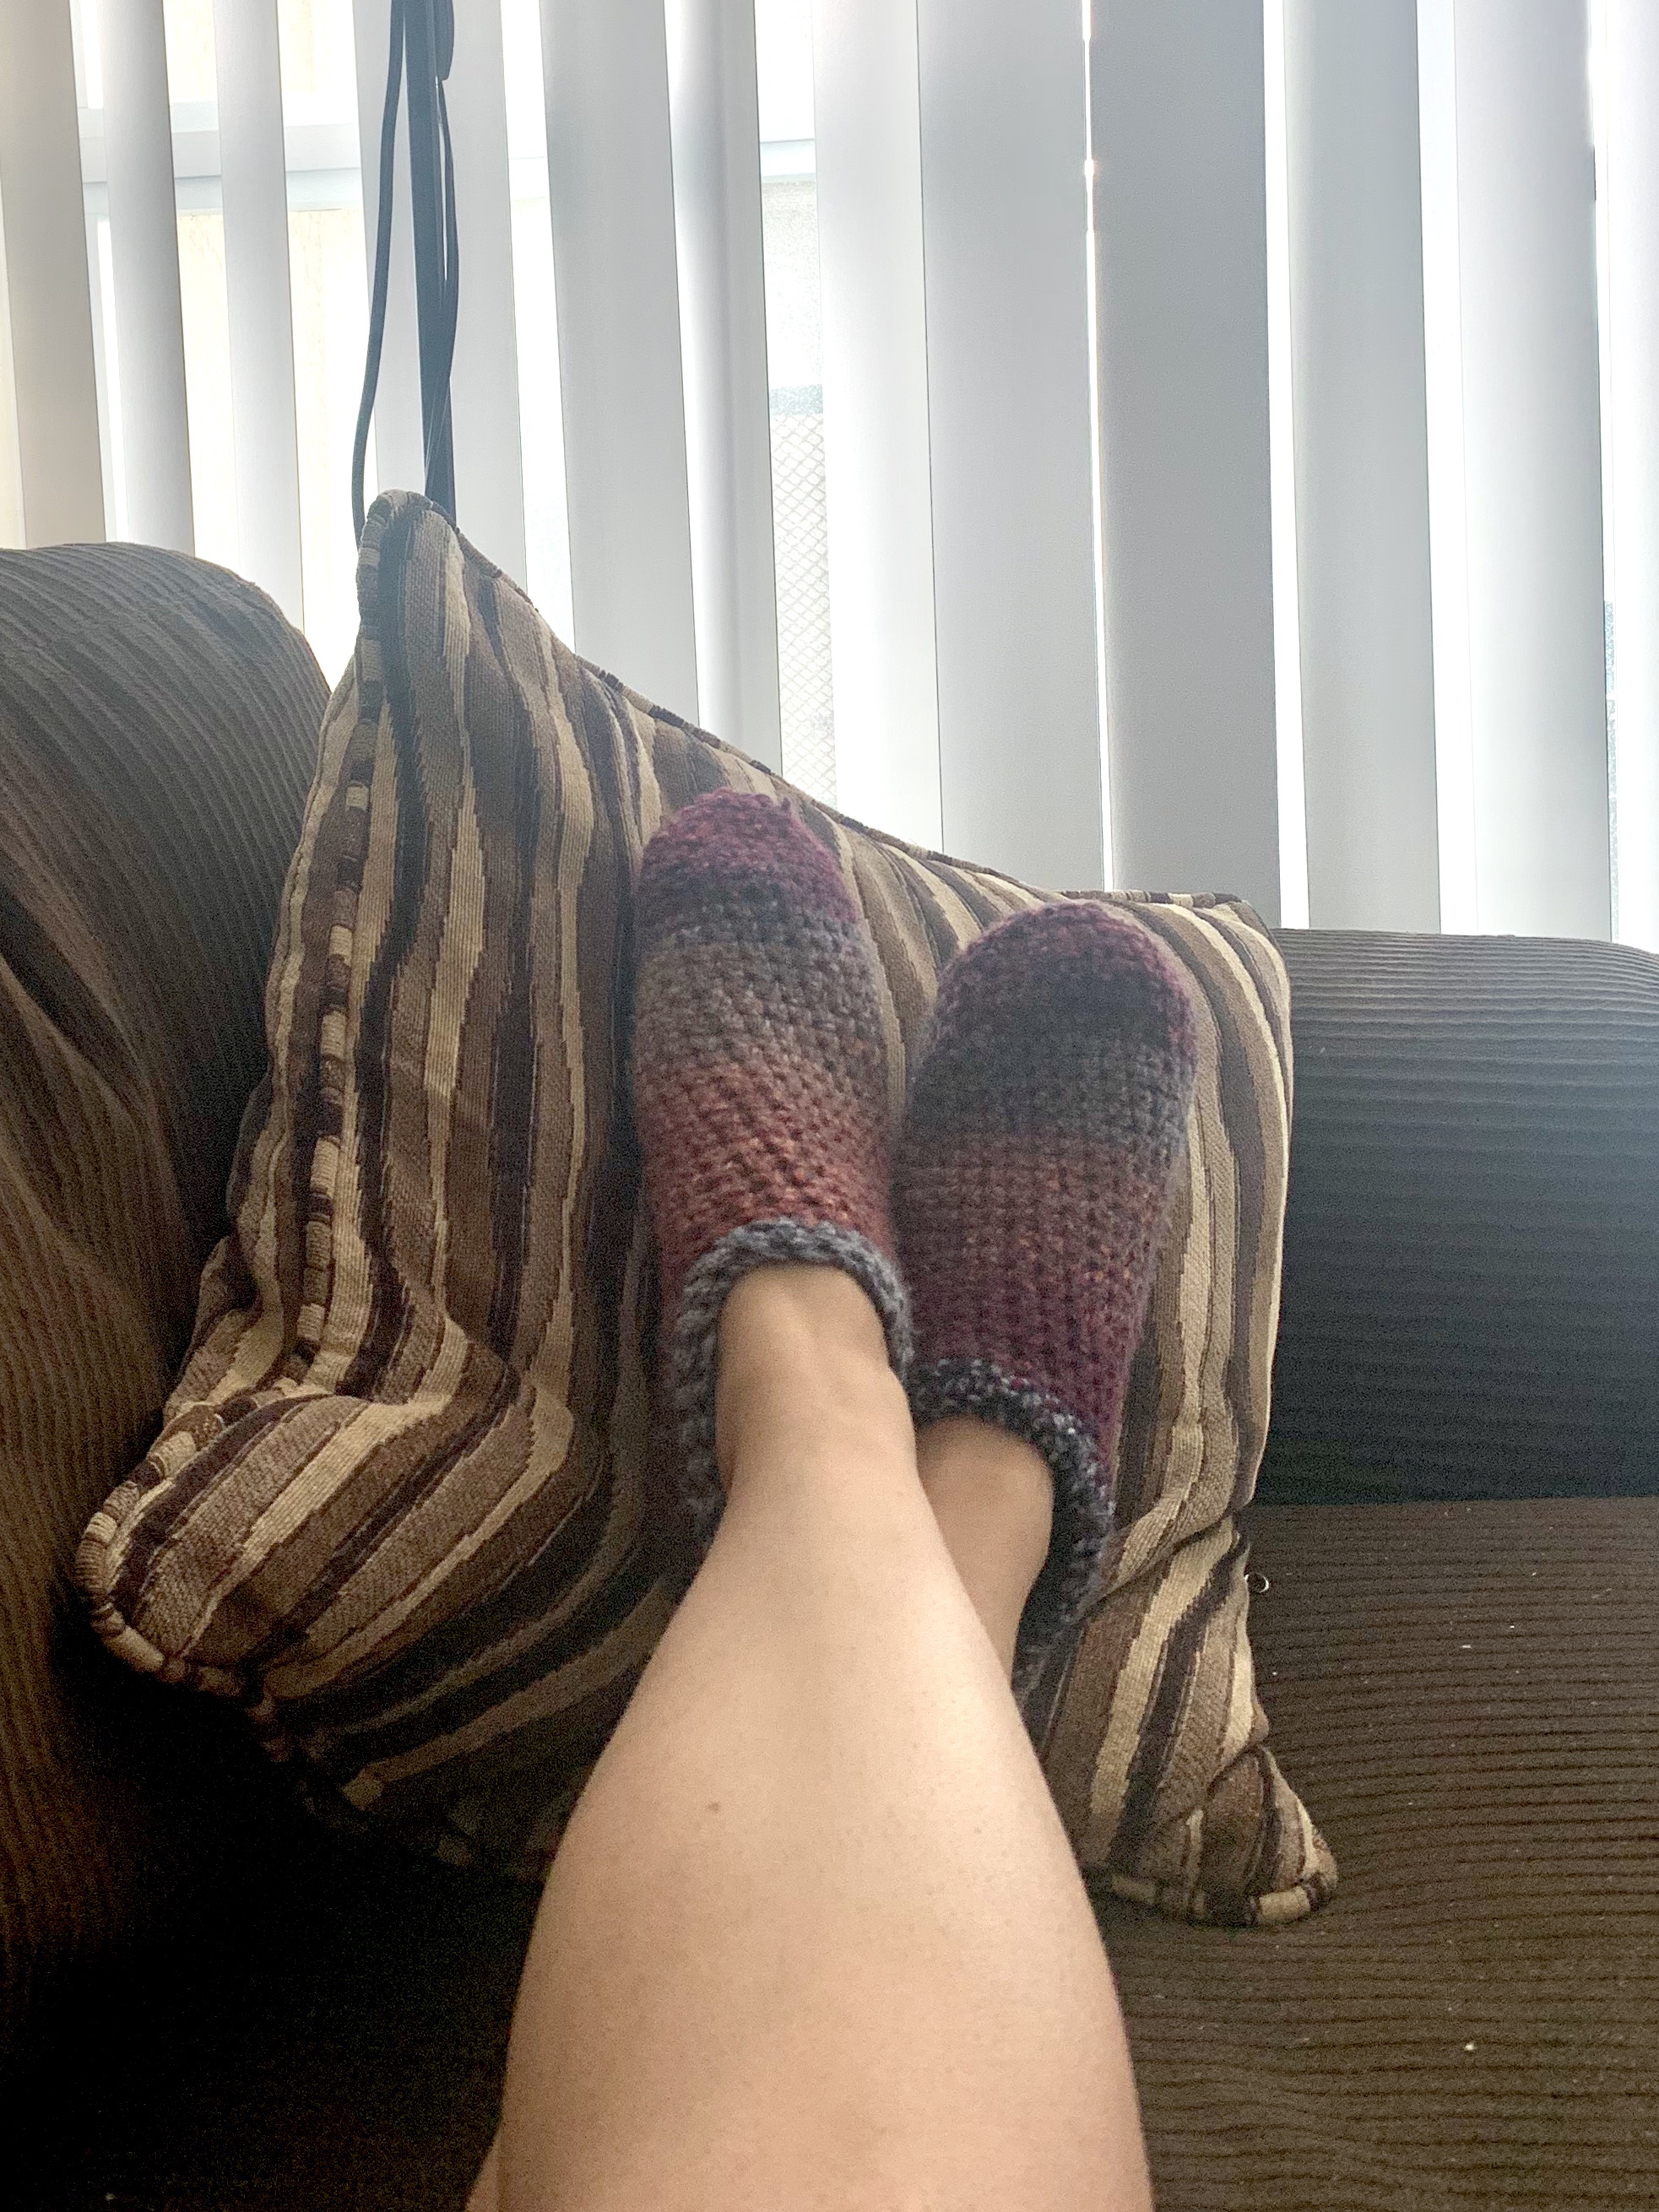
Once both slippers are done you are ready for a life of warm feet. This project definitely got me hyped up for crochet because the slippers are adorable and so quick to put together. They are super soft and warm, perfect for the upcoming season and a definite possibility to make for christmas gifts in a couple months.