I saw this at Michaels and couldn’t resist. There’s a lot of possibilities for this so I had to try it out. I bought the engraving tip, and a few types of things to engrave, in this post I will talk about making a bracelet. Listed below are the tools I used.
- ImpressArt® Bracelet Bending Bar Kit
- Cricut Engraving Tip
- Strong Grip Mat
This project is fairly straight forward. First swap in the engraving tool to your cricut. In Cricut Design Space, write your text and choose your font. Change your line type to engraving, then line up your bracelet flat on the mat and you are ready to engrave. Watch your Cricut closely, it took a couple tries to line it up in the right spot, so you want to catch issues as early as possible. I would also recommend taping the bracelet to the mat with painter’s tape for a little extra security. The main issue I had at this point was lining it up properly, which I never completely mastered. Since the font is small if you are off even the slightest, it will be very noticeable. Be careful with where it’s lined up on the mat.
The engraving might be a bit sharp coming right out of the machine, i just wiped it with a cloth and seems to be fine.
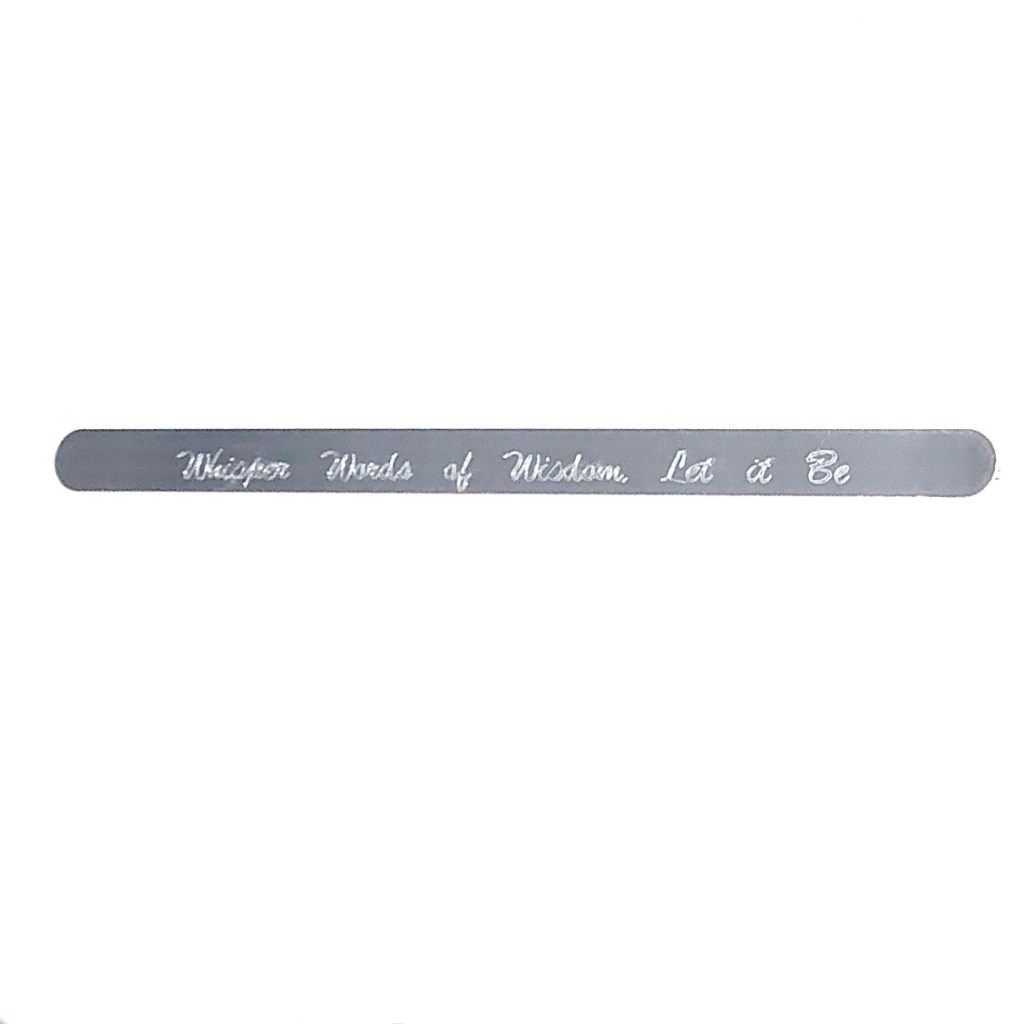
The finished engraving looks great. I left mine as is, but there are enamel markers you can purchase to help make the engraving more prominent.
Once you happy with what was engraved, place the bracelet in the bending bar as pictured below.

Bend each end, then tighten as needed. With that you are done and your bracelet is ready to wear. Once you’ve invested in the engraving tip and the bending bar, the blank bracelets aren’t expensive to buy on their own. Making it a great gift with a personalized touch.

