The internet is full of all sorts of craft ideas I have never seen before. I found a bunch of really amazing paper quilling projects that inspired me to try making one of my own.
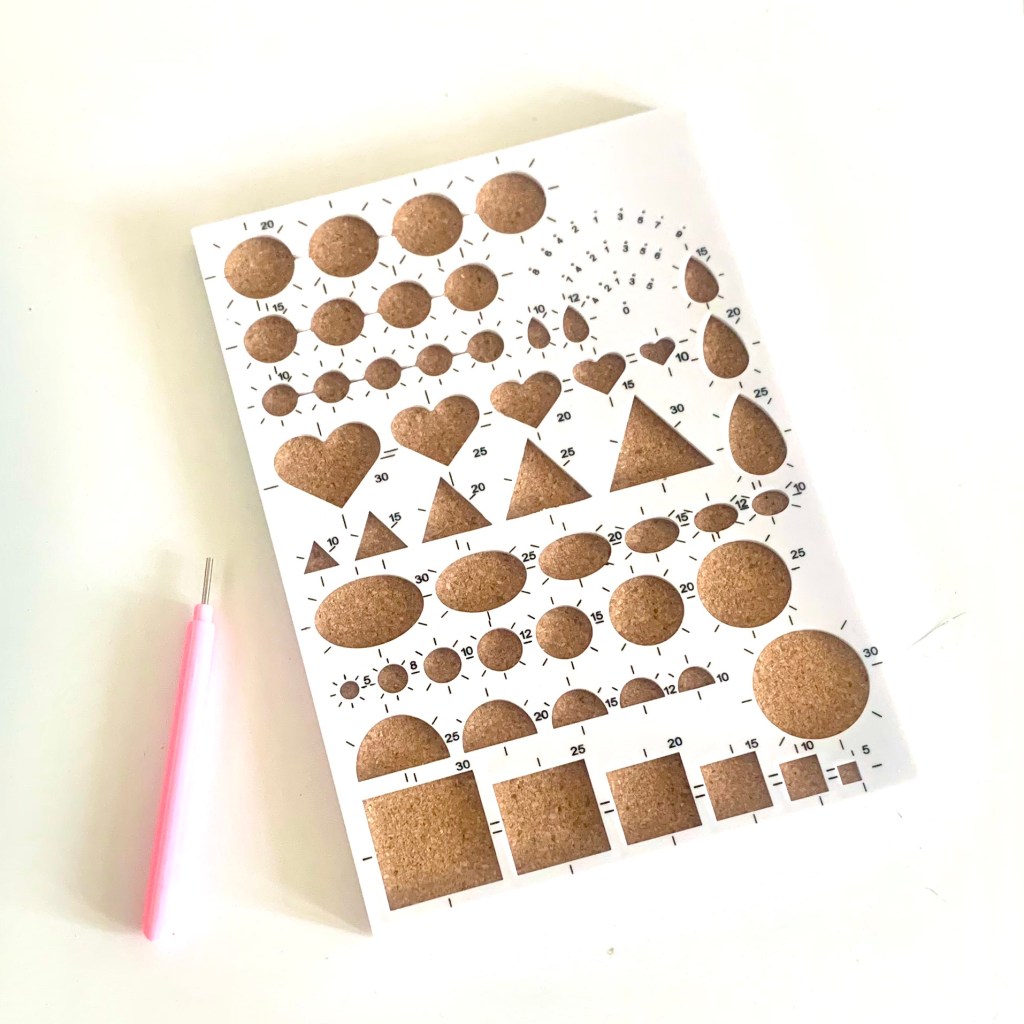
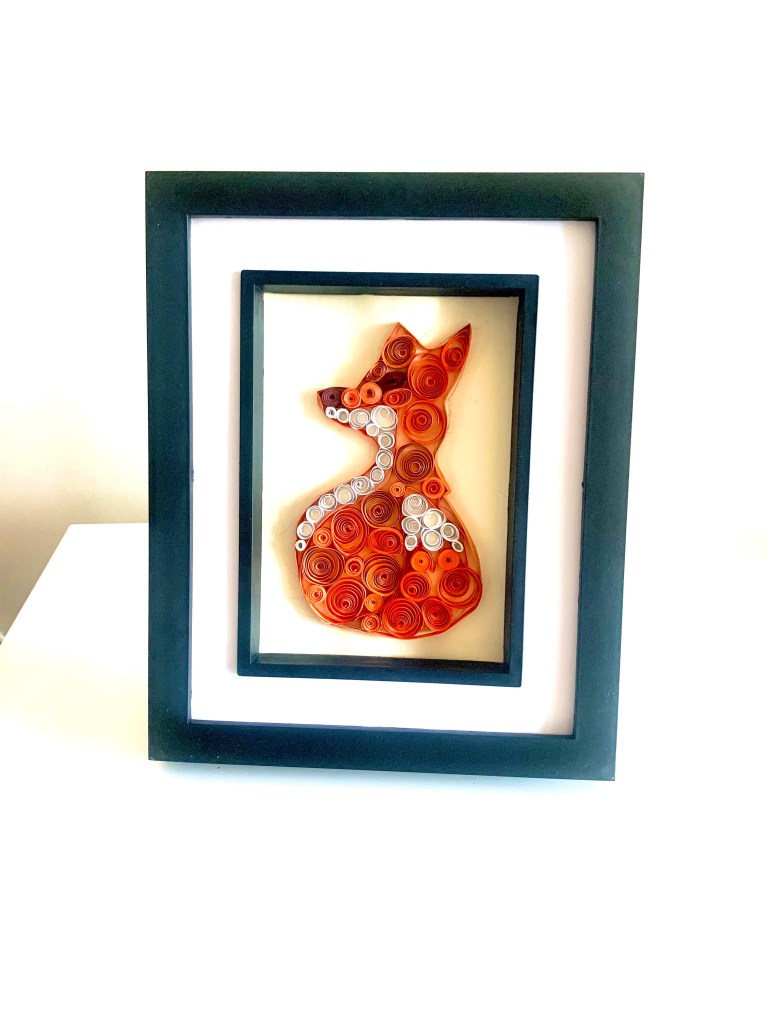
After doing some research, the greatest thing about paper quilling is the cost. It’s a great looking craft that’s really inexpensive. To start, I bought a kit from amazon, it was cheap and came with almost everything I needed. It came with a small tool to roll the paper, a board to help size the paper, actual strips of paper, scissors, pins and a glue container. I ended up going to dollarama to pick up paper glue and a couple frames. The frames were a great find because they were deep enough not to squish the paper.
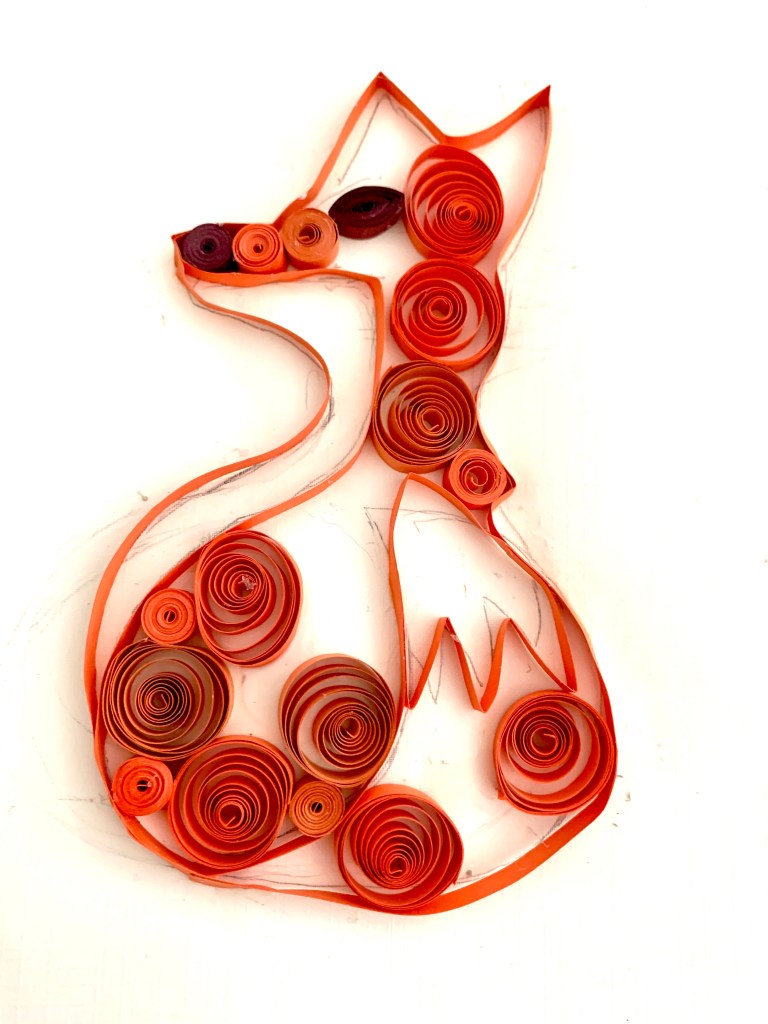
Since I love woodland animals, I decided to start with a fox. I took a piece of cardstock, cut it to the size of the frame. Referenced a bunch of fox clip art to get an idea of how I wanted it to look. Then I drew on the paper an outline to follow.
Once I had the drawing right, I started to glue the outline. Glueing was where I made the most mistakes. A little goes a long way and really recommend using the small container that came with the kit. I ended up using a bit too much so when you look closely it looks a bit messy. Making the outline was tough, since the glue is just held with the paper edge. This part will need a bit of patience since the paper may move around. Make sure the outline covers the pencil outline, otherwise you will see it when you are done. I also recommend a slightly darker colour for the outline, mine sort of got lost a bit when I filled the drawing in. Once I was happy with the outline placement, I took a break and let that section dry.

Since this is new to me, I kept the shapes very simple. To roll the paper, I used the metal tool, at the end theres an opening for the paper to fit in. Rolled it tightly, then loosened it to fit the size I wanted. I just used the three circle sizes from the board. Once the paper was the right size, I’d glue the end to hold it in place. Part way through it dawned on me I could cut my paper strips in half for the smaller circles. In this project you can see a few that are tightly coiled, a looser one probably would have looked better. I added a bit of glue to the bottom of the coils and glued them in. I did all the orange first and then added white. Unfortunately the kit come with white so I had to cut that myself, which was a bit time consuming.


Despite a few mistakes, it turned out well. I really liked the overall look. I’m excited to try a new project with a little more variety and a couple of the kinks worked out. I will definitely use a lot less glue. I’m excited to try more shapes and patterns in the future.

good job
LikeLike