Today I want to talk about two new chains. I’ve previously posted about the 4 in 1 and the 6 in 1 chain that is posted here. With those under our belts it’s time to move on to the box chain and a trapped bead chain. Just like the first two chains, these go hand and hand. They are basically the same, both square shaped, one just happens to have a bead in it.
Also for supplies, I buy all my rings at The Ring Lord. There service is great and the prices can’t be beat. If you would has a kit, Weave Got Maille also sells kits. As with all chainmaille, you will also need a set of jewelry pliers.
Box Chain
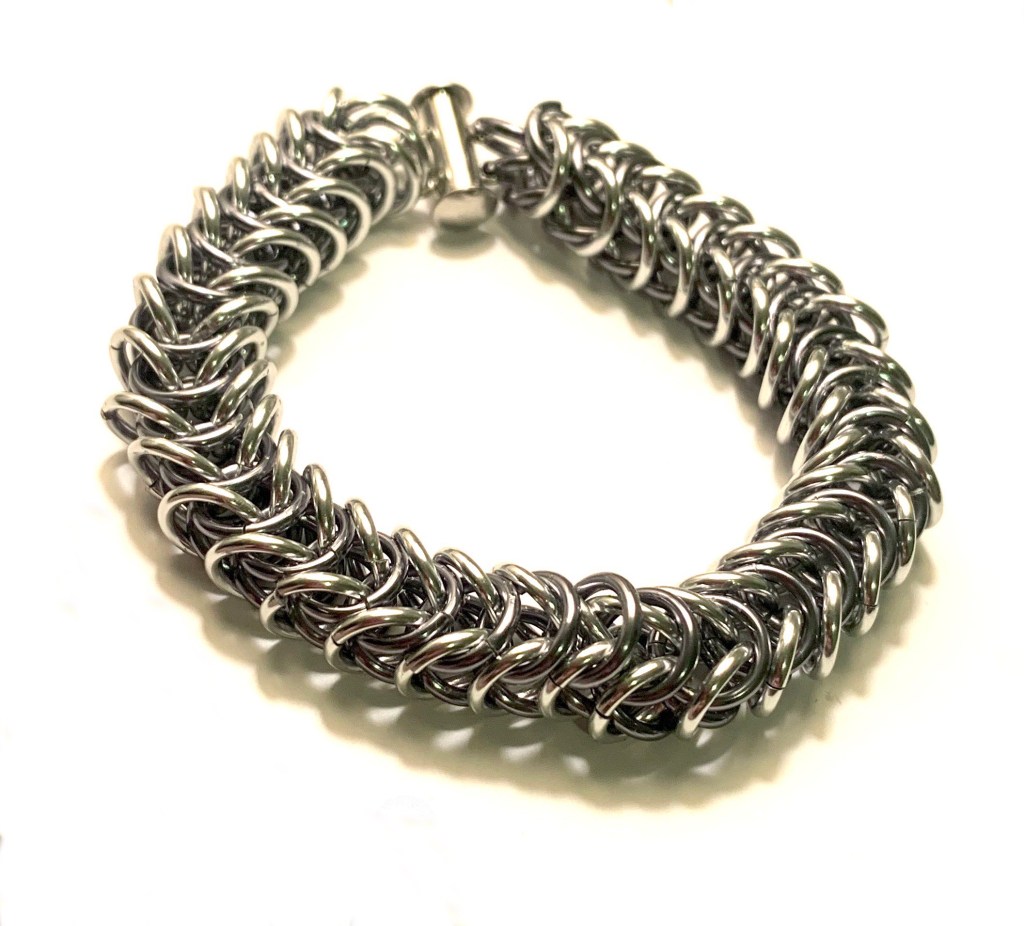
The box chain is nice because it’s simple enough to put together but it does add a bit of bulk. Originally I was using 16g 1/4 inch rings, but because of that added bulk I feel it’s better to go down to a smaller or less thick ring size once you get the hang of it.
There’s a couple ways to approach this one. First you can tie this into the previous chainmaille post and start by making a basic 4 in 1 chain to the length of your finished project.
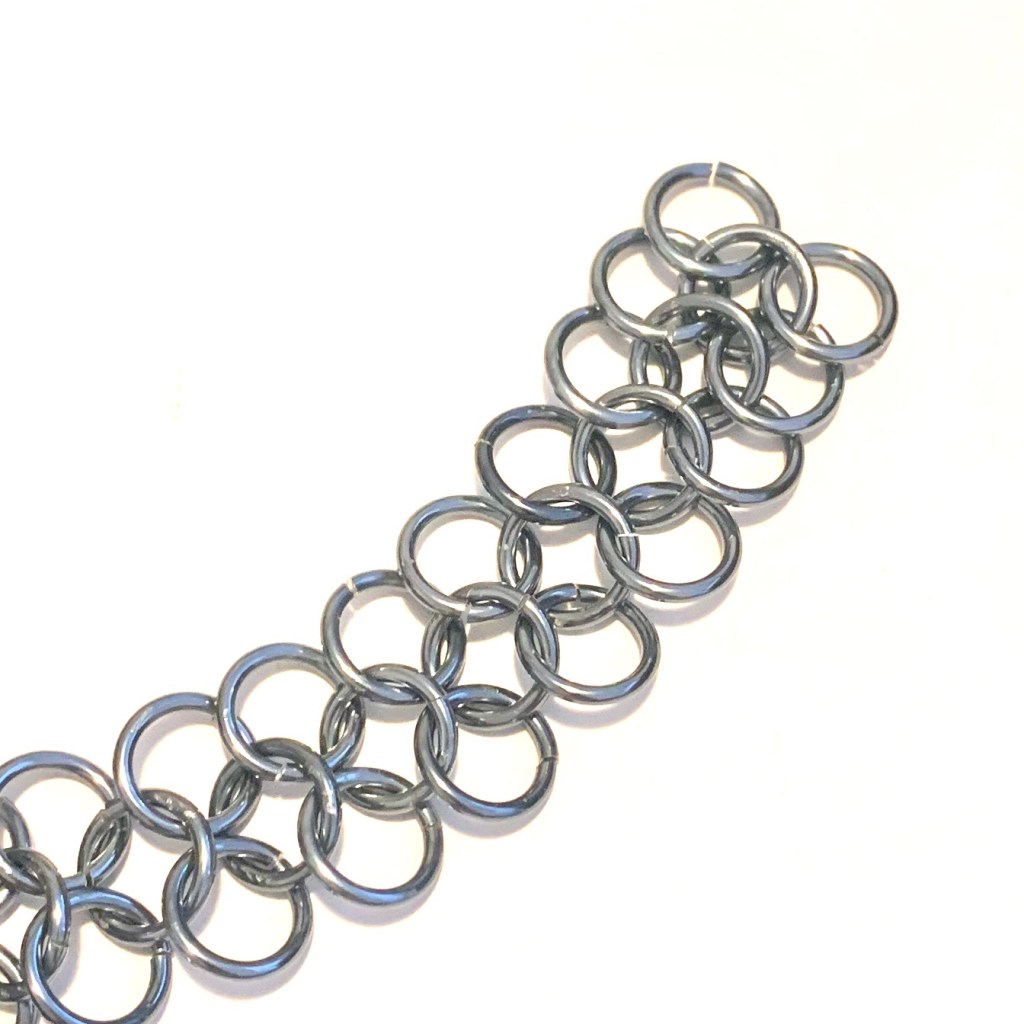
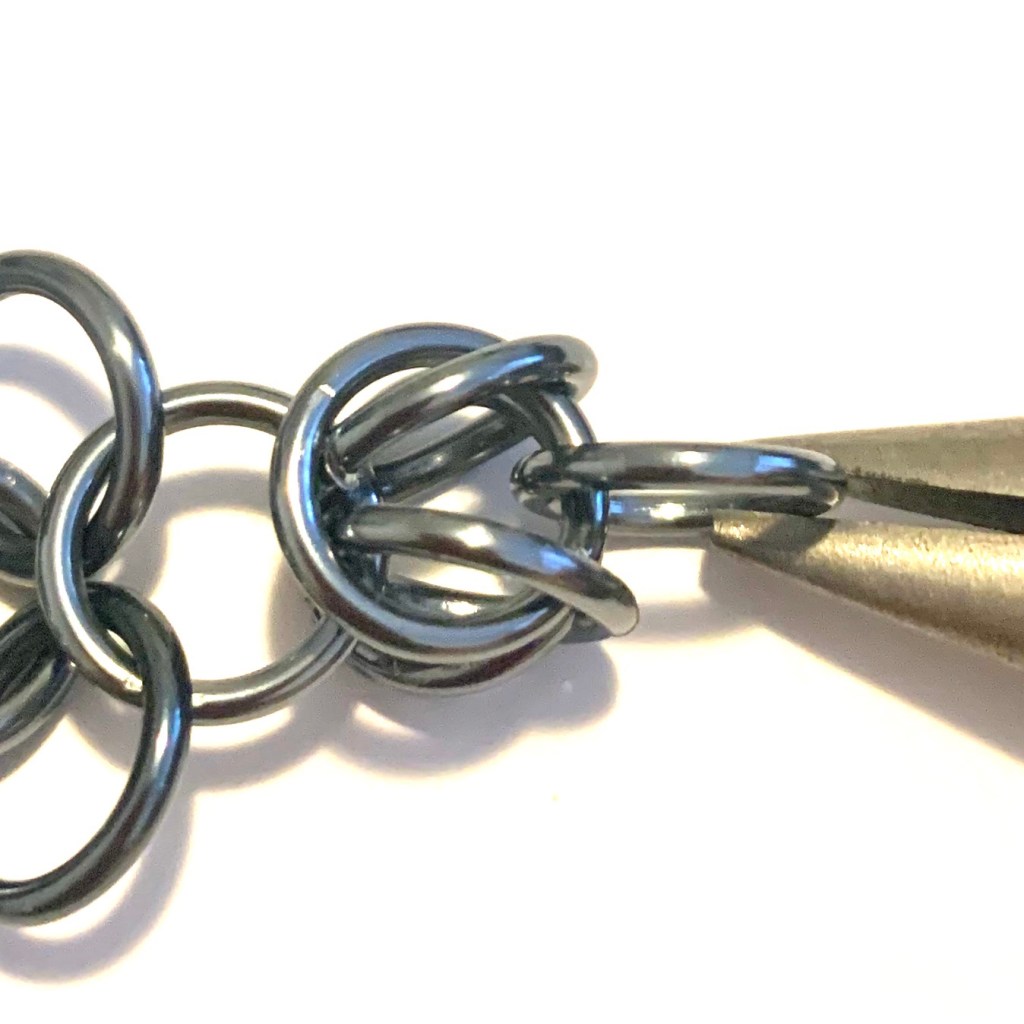
You can always add on if need be, but it’s easiest to start with the length you are going for. Then you start by folding the last 4 rings and pass a new ring through the four and close, then fold two more already on the chain and weave the new ring between those and the previous two rings.
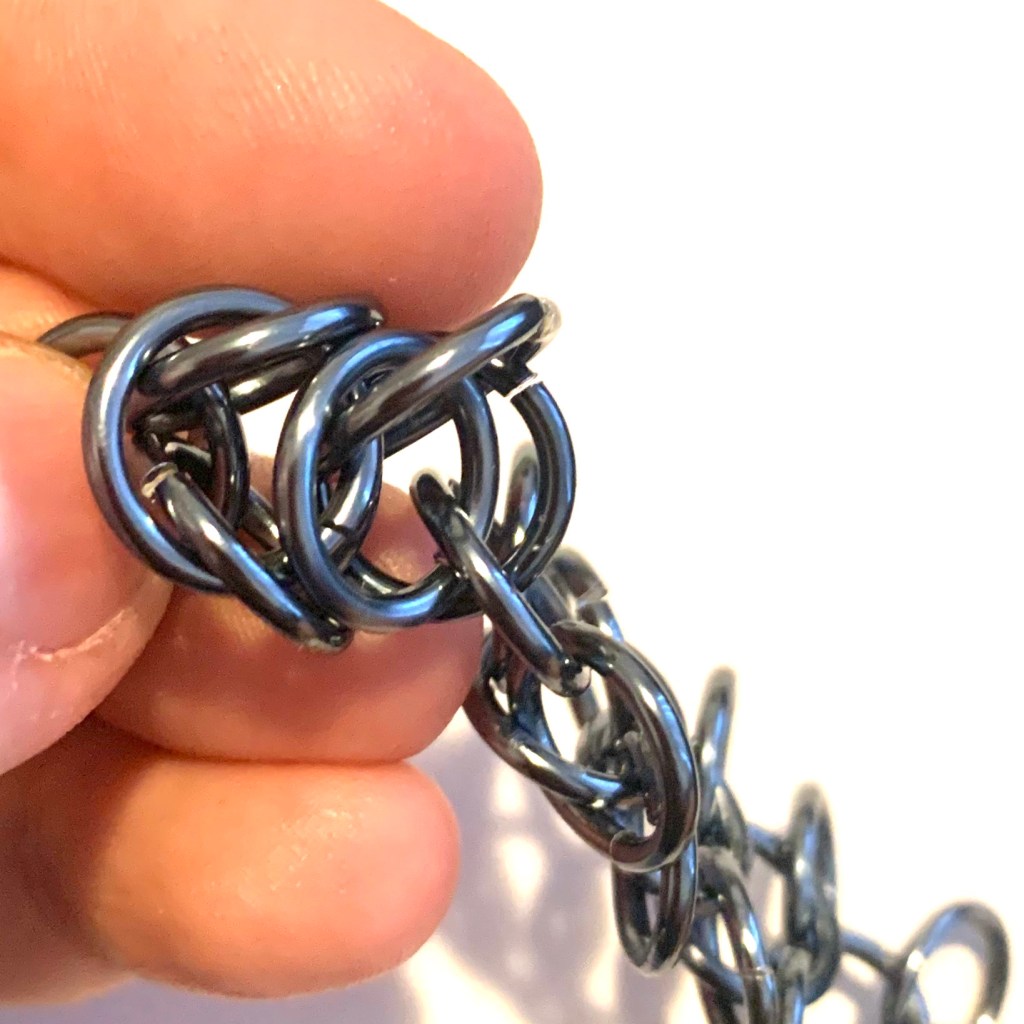
When the rings are folded take a look at how it works together. Then new ring is going match the single ring that is on it’s own. I used that as a guide. These chains all follow a pattern, once you understand how it works together it will make sense and just become repetitive.
I know this sounds confusing, when I started I found an amazing website with really detailed images for this chain that can be found here if you run into trouble.
The second way to try this chain is to do it the same way you will be doing the trapped bead chain, just without the bead. Doing it this way was a lot harder to start but eases once a few boxes are made. Please see below for those instructions.
Overall this chain is beautiful but bulky, especially compared to the 4 in 1. The larger rings you’ve started with may seem too big with the box chain, but are great for learning how to create the chain.

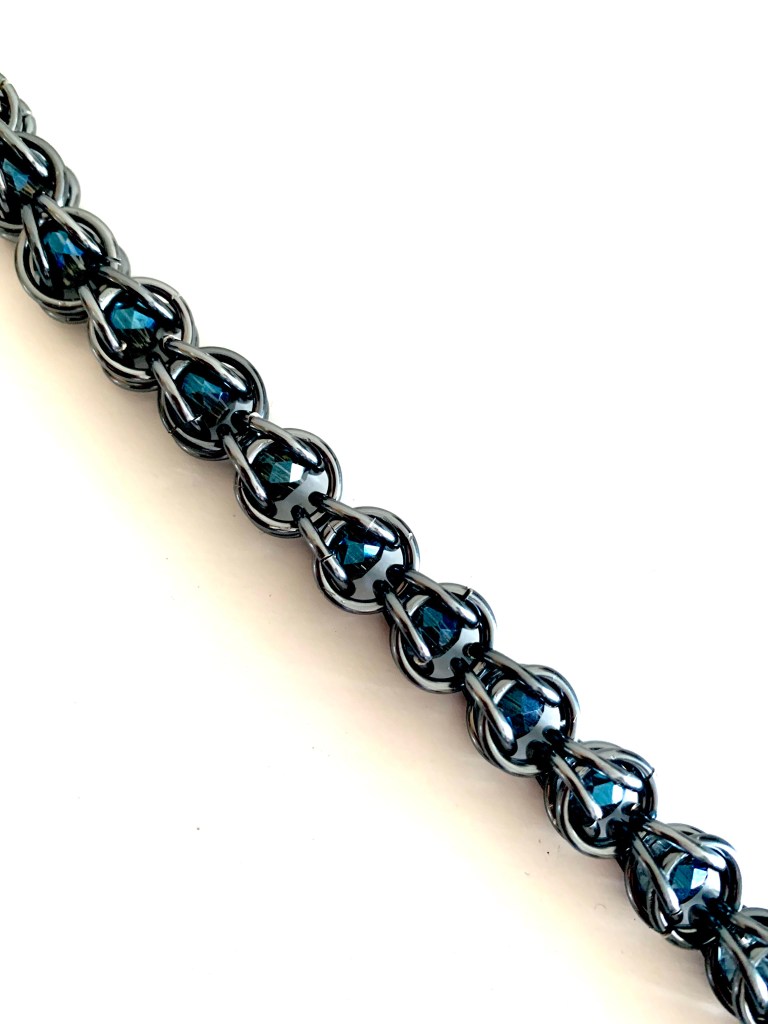
Captured or Trapped Bead Chain
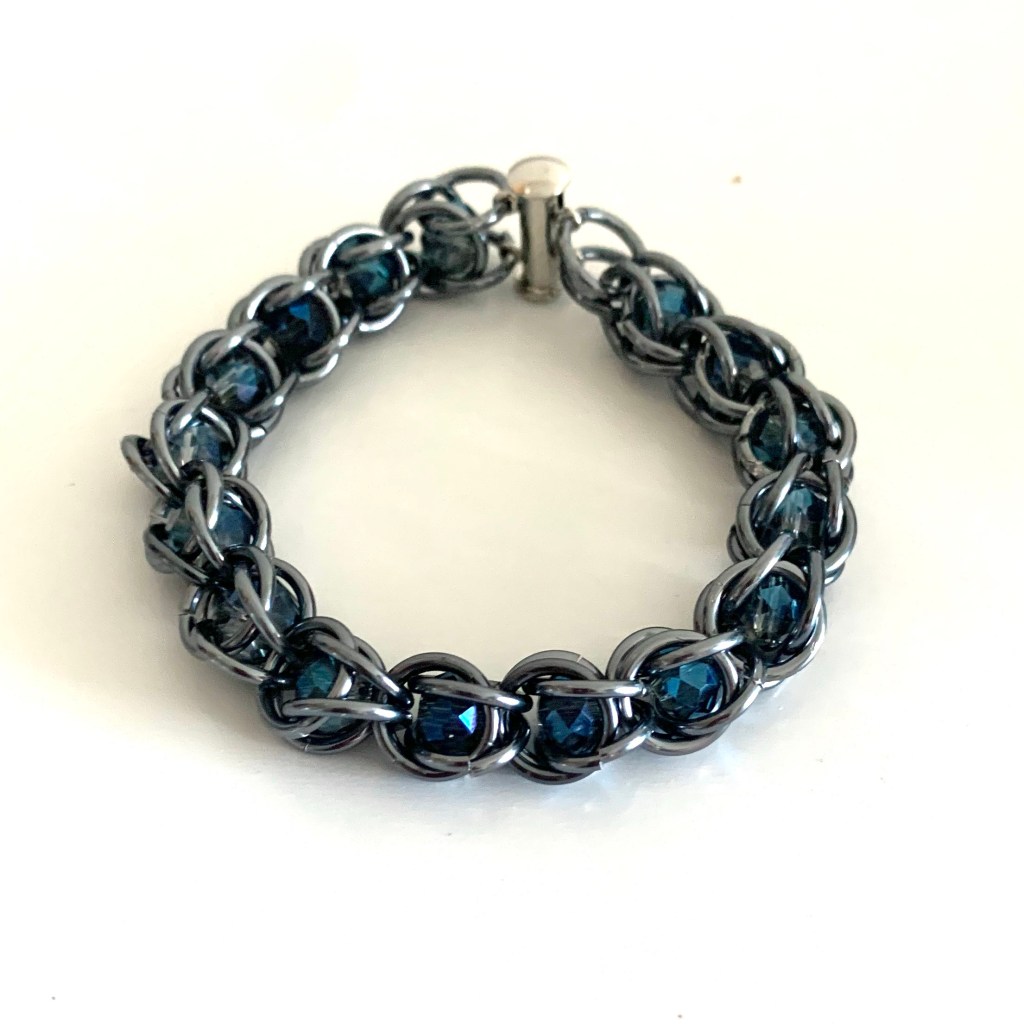
This chain is similar in look to the box chain, except each box contains a bead. The bead is held in by the rings as if it’s a case. I think this is a gorgeous chain and because you can use any bead it offers a lot of variety for look and feel.
I will say I am not an expert at picking the right bead and ring. I went through a lot of trial and error on this. The ring needs to be big enough to move around but small enough to capture the bead. Most resources say you want the beads to be around 2 to 3 mm smaller than the ring. You’ll know almost immediately if it’s the wrong size.
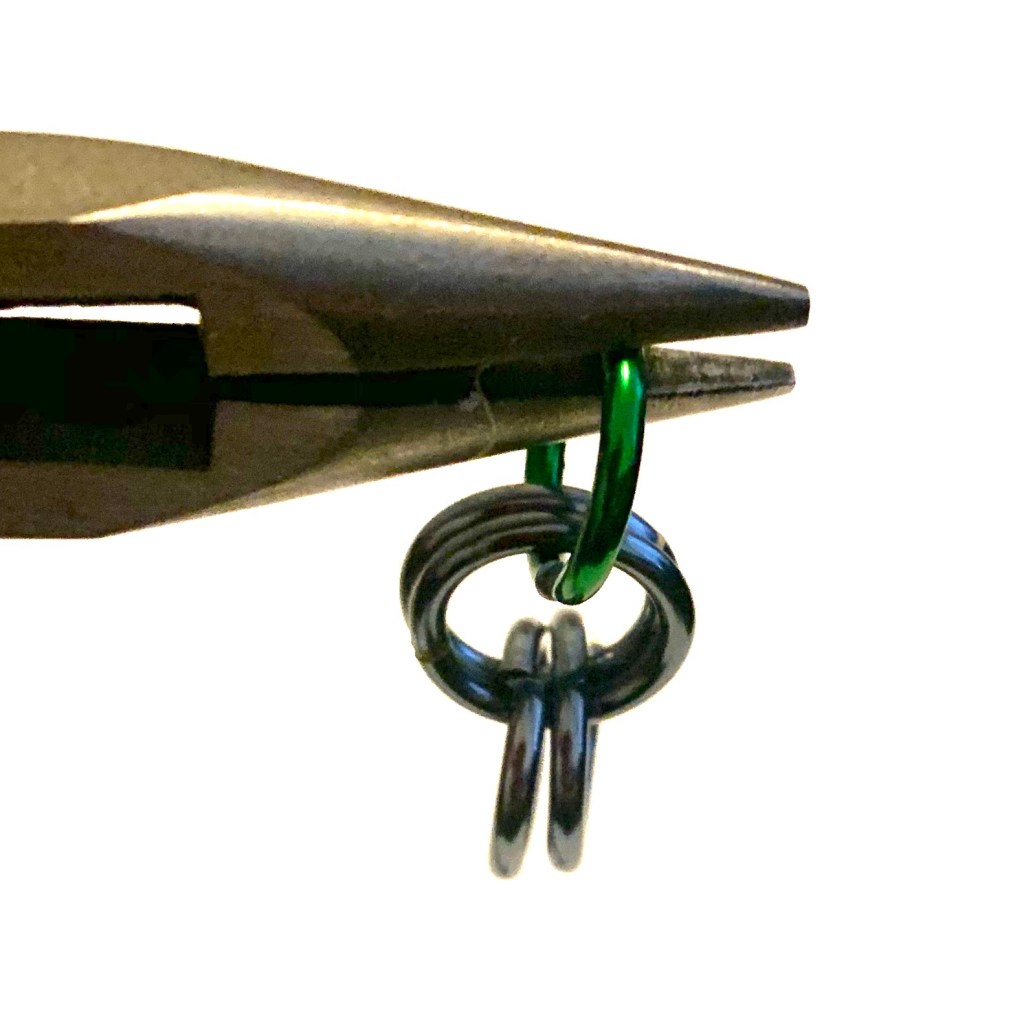
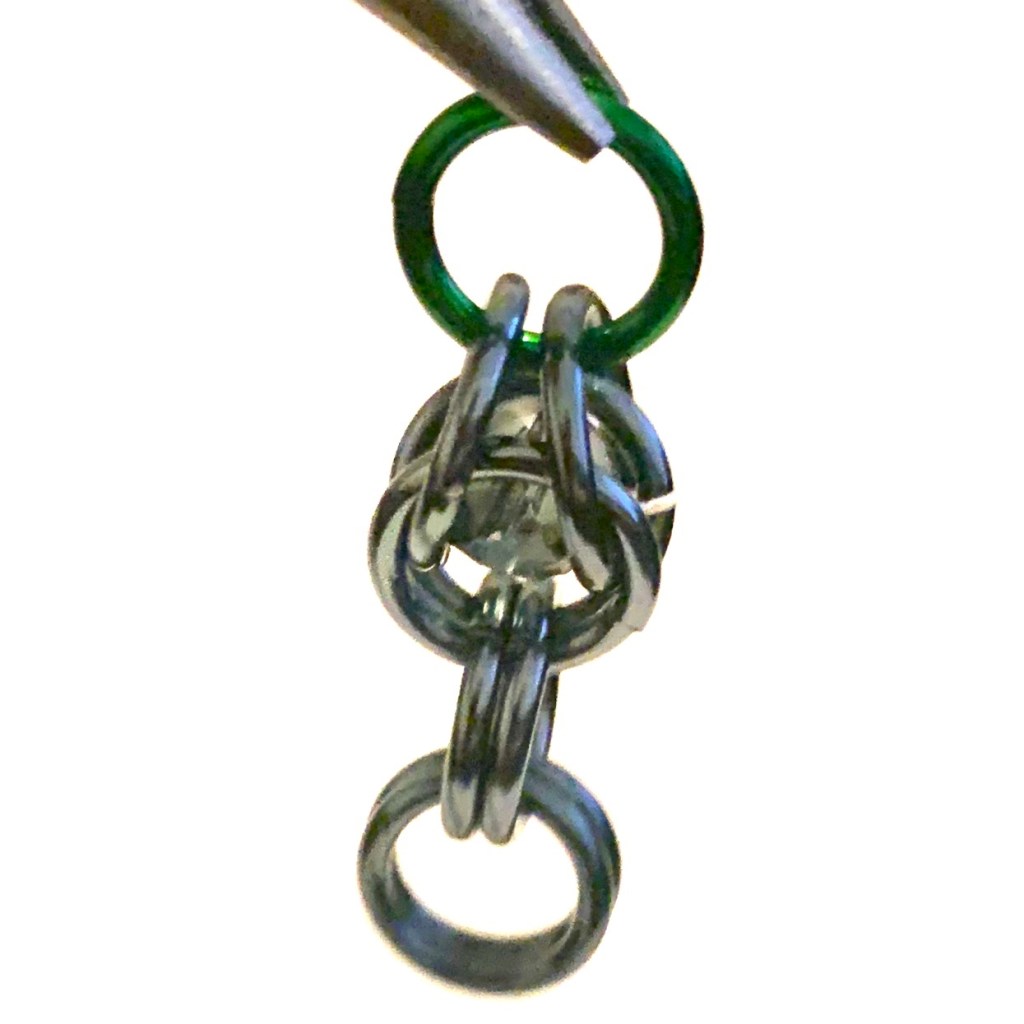
Unlike the box chain you are not going to start with a 4 in 1 chain. Instead start by chaining two with two rings. In my example I also added a green ring to mark as the start.
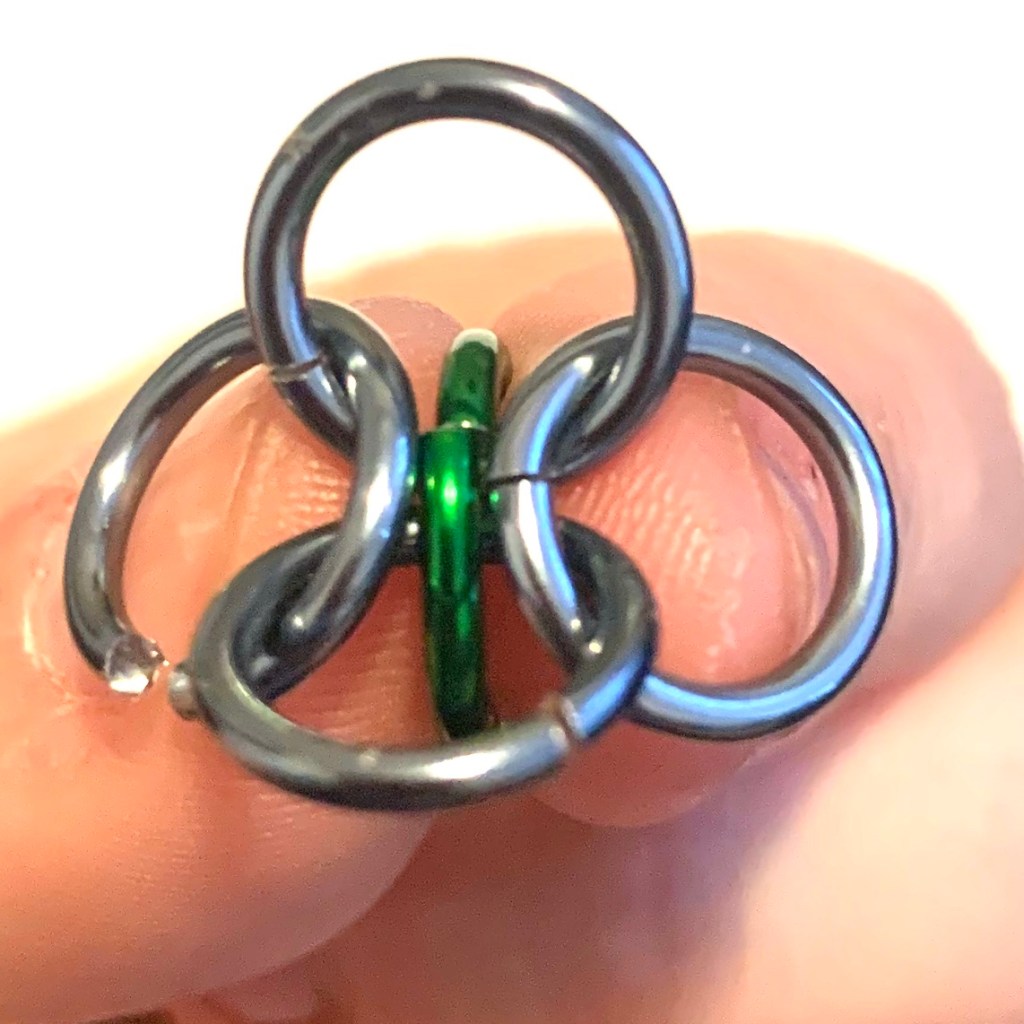
From here you will want to open the four rings up to place the bead in the middle.
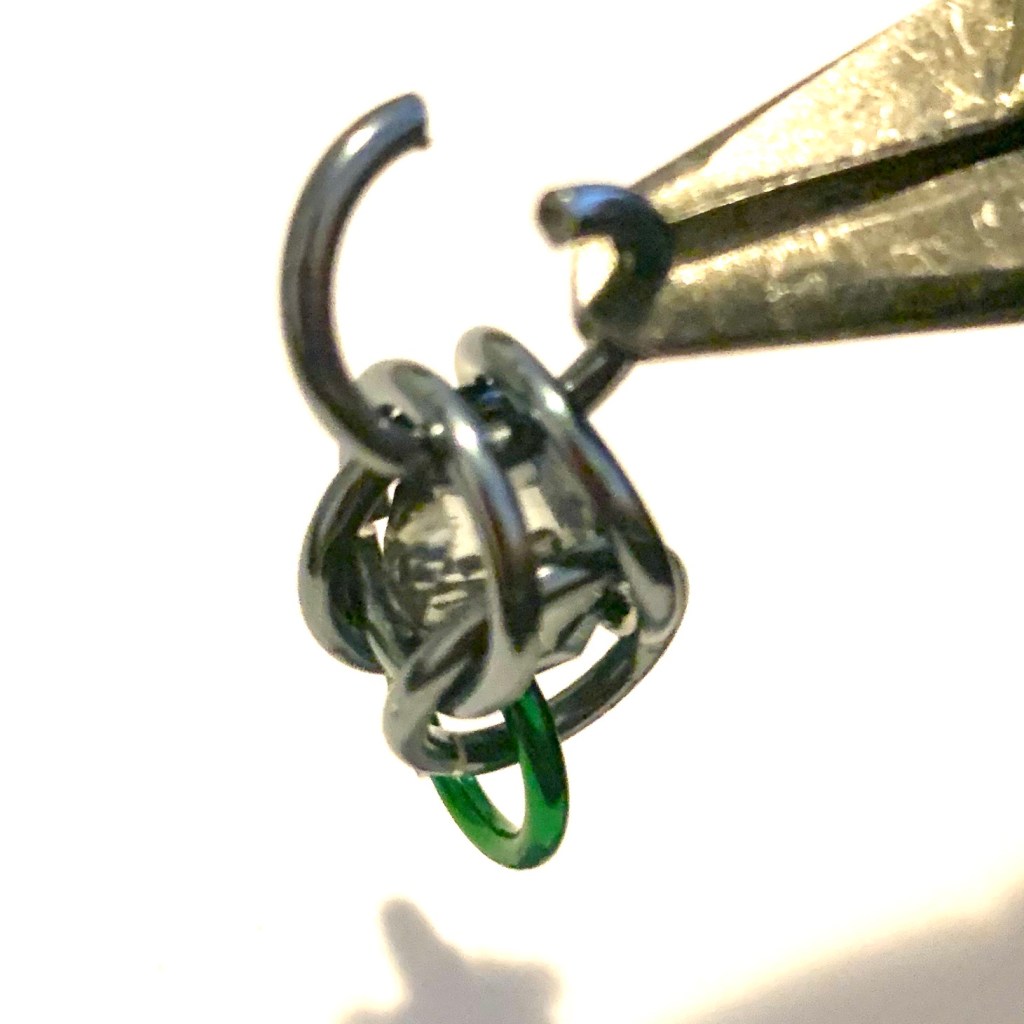
Once the bead is in the middle, close the rings around it and secure by adding two rings to the top.
Again pay attention to the overall pattern of the rings to understand how it works together. I’ve added a youtube resource I found in case you want to watch this being created.
Overall these two chains add a lot of depth to what we’ve been doing. I like the look of both and will trying different combinations and sizes to make some more cool and interesting jewelry.
