It’s summer and no better way to celebrate than by making bracelets. Last year I did a post on making friendship bracelets. This time I thought I would do a bit of a 90s throwback and switch it up with some plastic lace. I found a pack at Dollarama for $2 and felt it was worth a trip down memory lane. I loved making bracelets as a kid and think it’s worth revisiting, especially with how little it costs. The $2 pack made a lot of bracelets and the plastic doesn’t rip so it’s very easy to restart if there’s any mistakes.
To get started I have basic instructions for three options. The most important thing to remember for all of them is to keep the lace from twisting.
- The Zipper Stitch
This bracelet is the easiest, it’s just a weave in and out. You’ll need three pieces, two a bit longer than the length you want for the bracelet and the third piece should be twice as long as the other two pieces. Tie them together in a knot to start. The two short pieces are going to stay as they are, the long piece you will weave through.


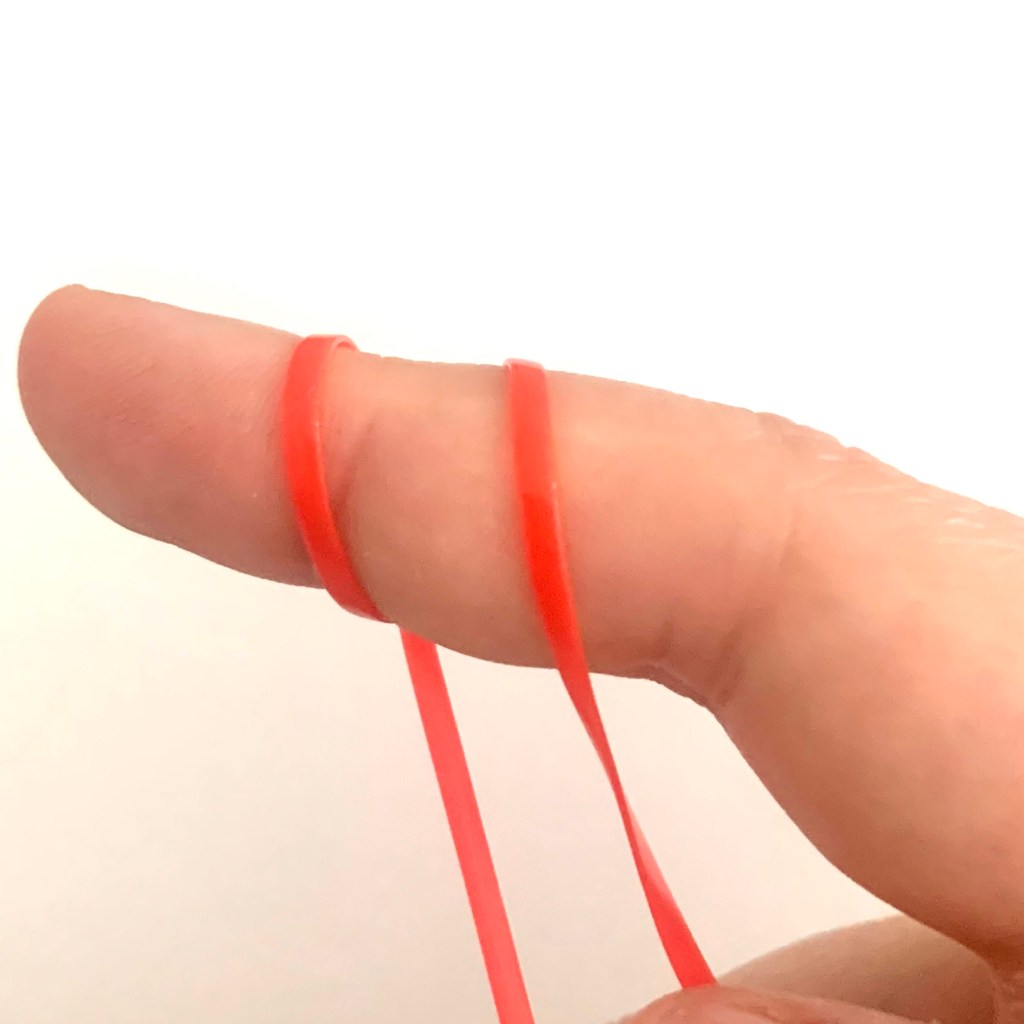
The Butterfly Stitch
This is a little trickier but not by much. Cut two pieces around the length of your arm span. Tie a knot at the top. Grab a colour and create a loop, take the other colour and wrap it around, then create a loop and pull that through. From there all you have to do is continuously pull alternating loops through.


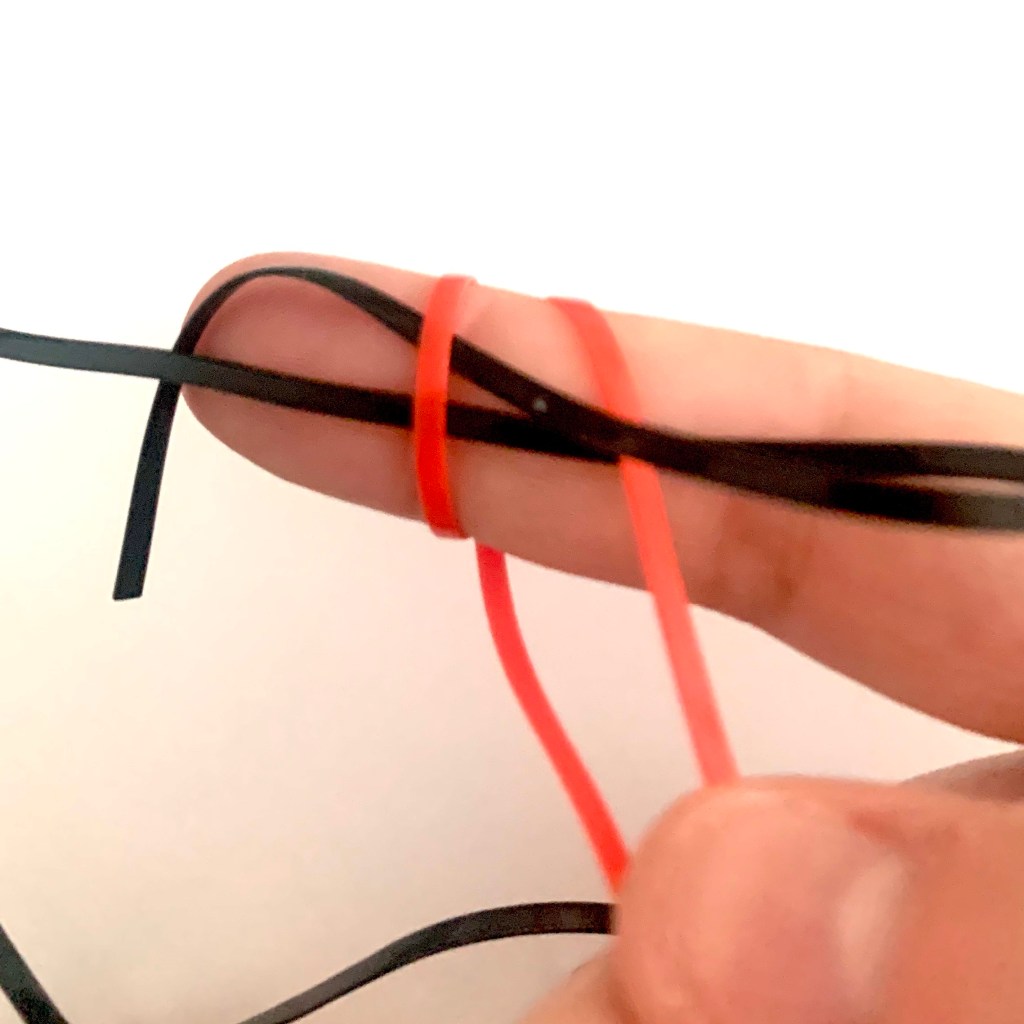
The Box Stitch
This is the one you were probably thinking about when you read Gimp Bracelets. the beginning of this one is a bit rough but once you got it started, it’s just as repetitive as the others. I used two pieces of double arm span for this. Overall once you have the first knot you are just going over under for this one.


Admittedly this one took me a couple tries to really get down. Once you jog your memory it comes back pretty quick.
That’s three bracelet options with different levels of difficulty to try. All look great and are a fun summer project. A great reminder of how fun it was to be a kid.
If you like bracelets, try some other classic friendship bracelets:

Made these in 1956 at Salvation Child center on Oakwood Ave. Syracuse, NY
hersheybuddy@gmail.com
LikeLiked by 1 person