When I was a kid, summer was the season for friendship bracelets and with good reason. These bracelets are great for kids and teens. Once you get the hang of it, these are eas y to make and since there’s a million different colour combinations, each one is unique.
First let’s talk about supplies. When I started cross stitching i had bought a bulk amount of thread off of amazon, but embroidery floss can be found anywhere, Walmart, the dollar store or any craft store. The benefit of buying it in store is you can really choose the colours you like. Especially for kids, it gives them total control of what they are making.
The nice thing is that’s basically all you need. Yes you will need scissors and a piece of tape or a safety pin to hold the thread down, but its not type of project where you need to spend a fortune. In this post I will be discussing what I consider the three basic bracelets. We’ll start from easiest to hardest.
Bracelet Number 1 – The Spiral
This is the easiest out of the three to make, it’s also the quickest.
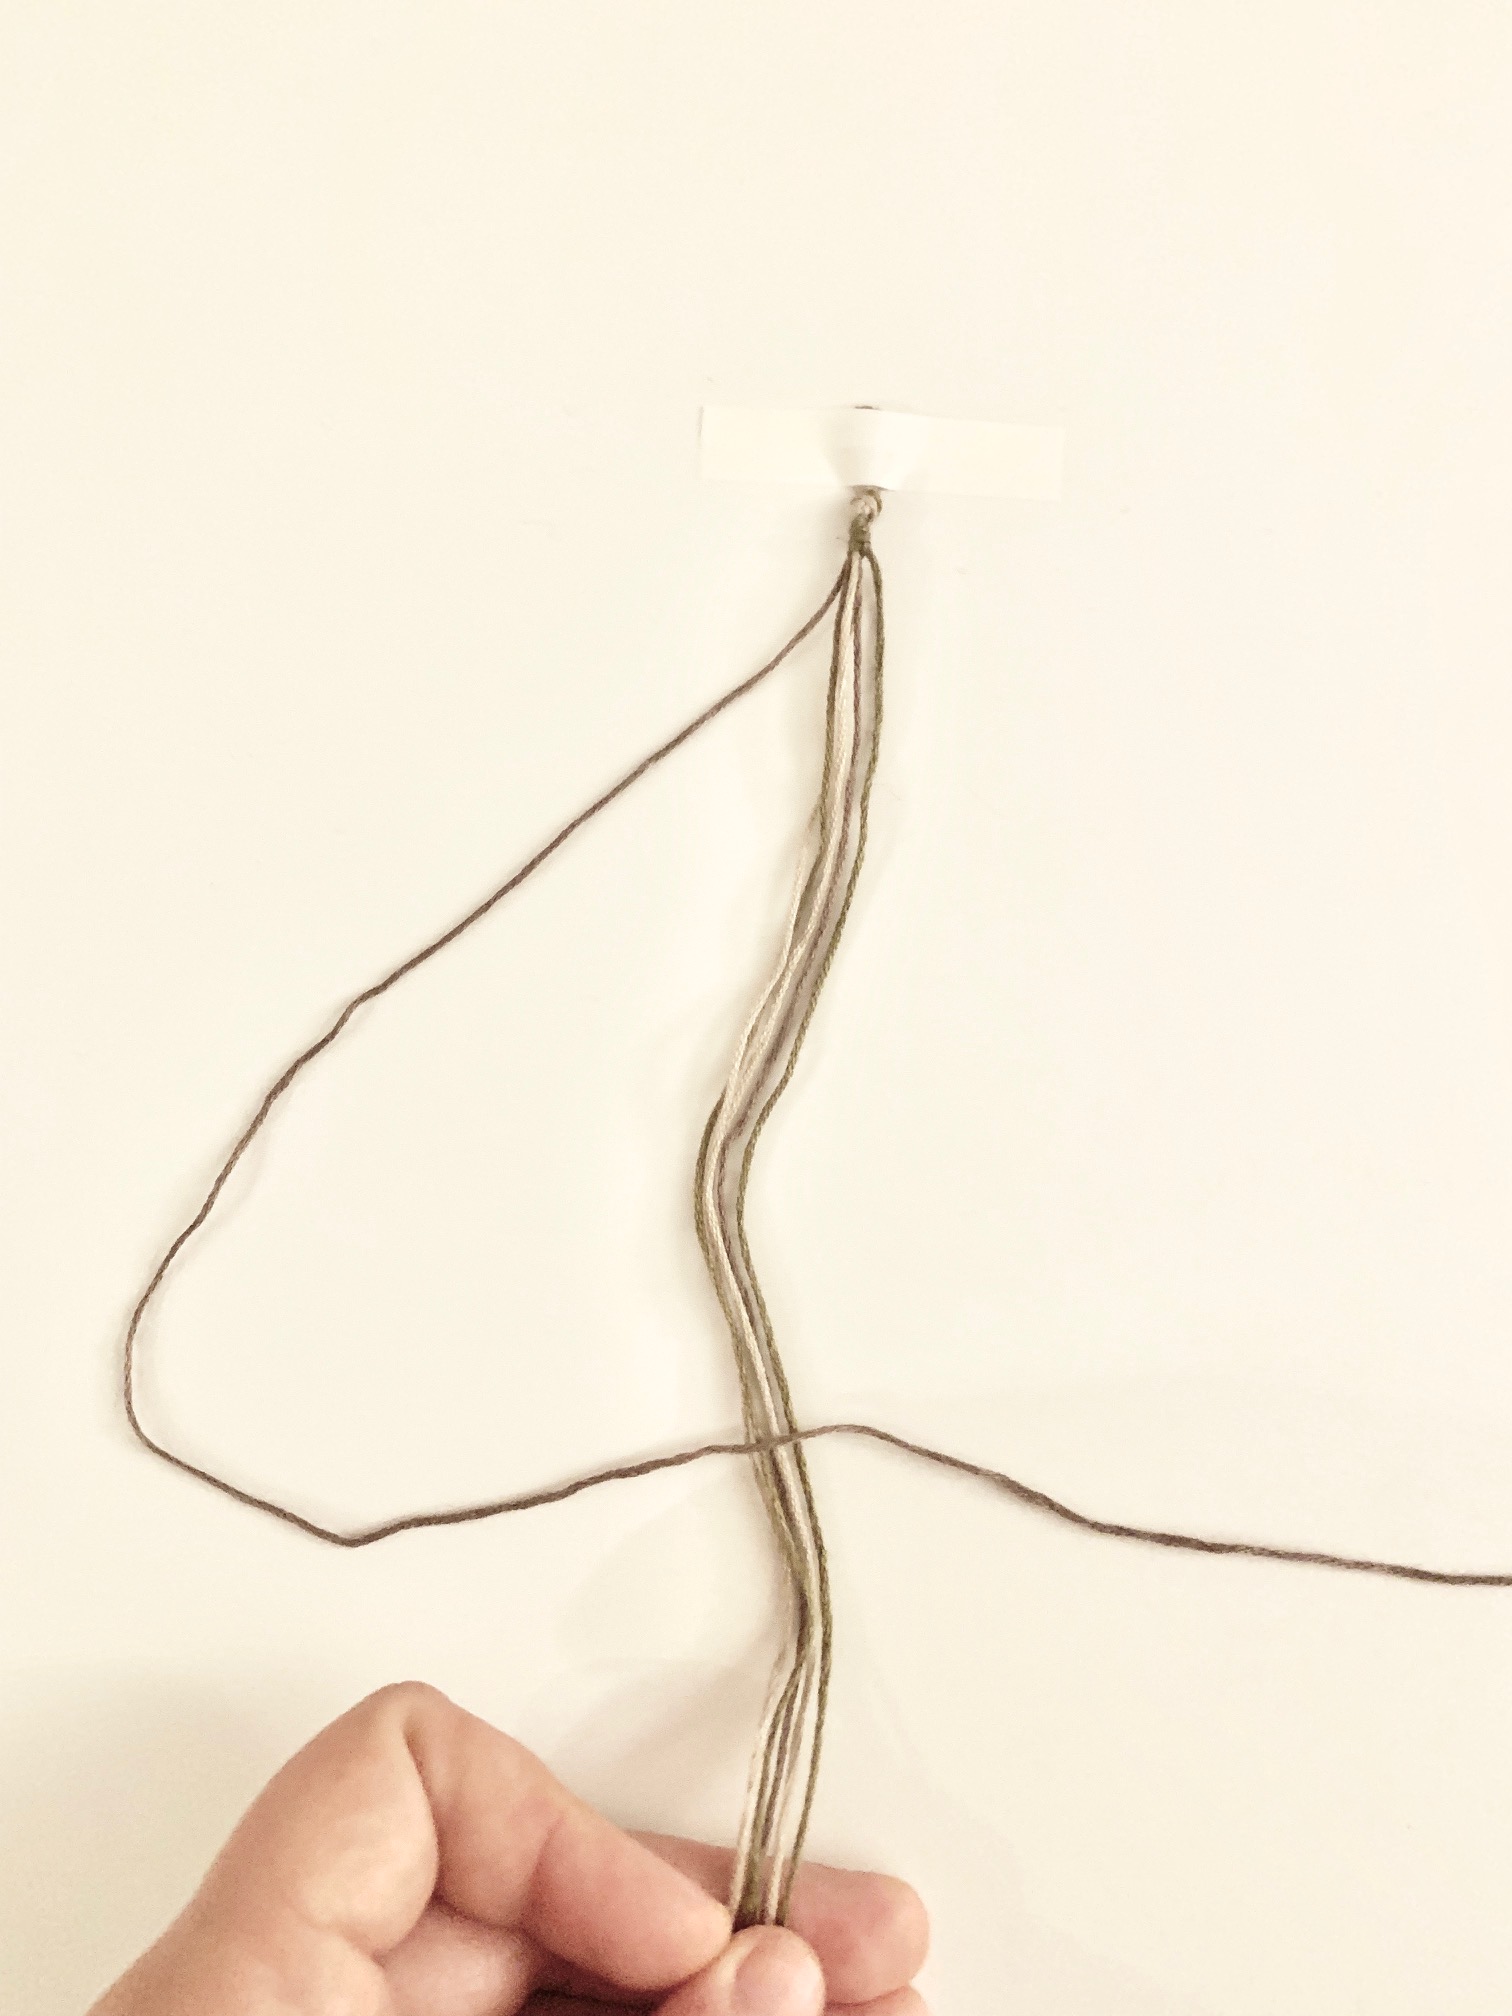
I like to have 3 to 5 colours for this one. I usually cut the strands to be about arm length. Tie the thread in a knot leaving a couple inches at the top, you will later use this to tie the bracelet on. The tape just above the know down and you are ready to start.
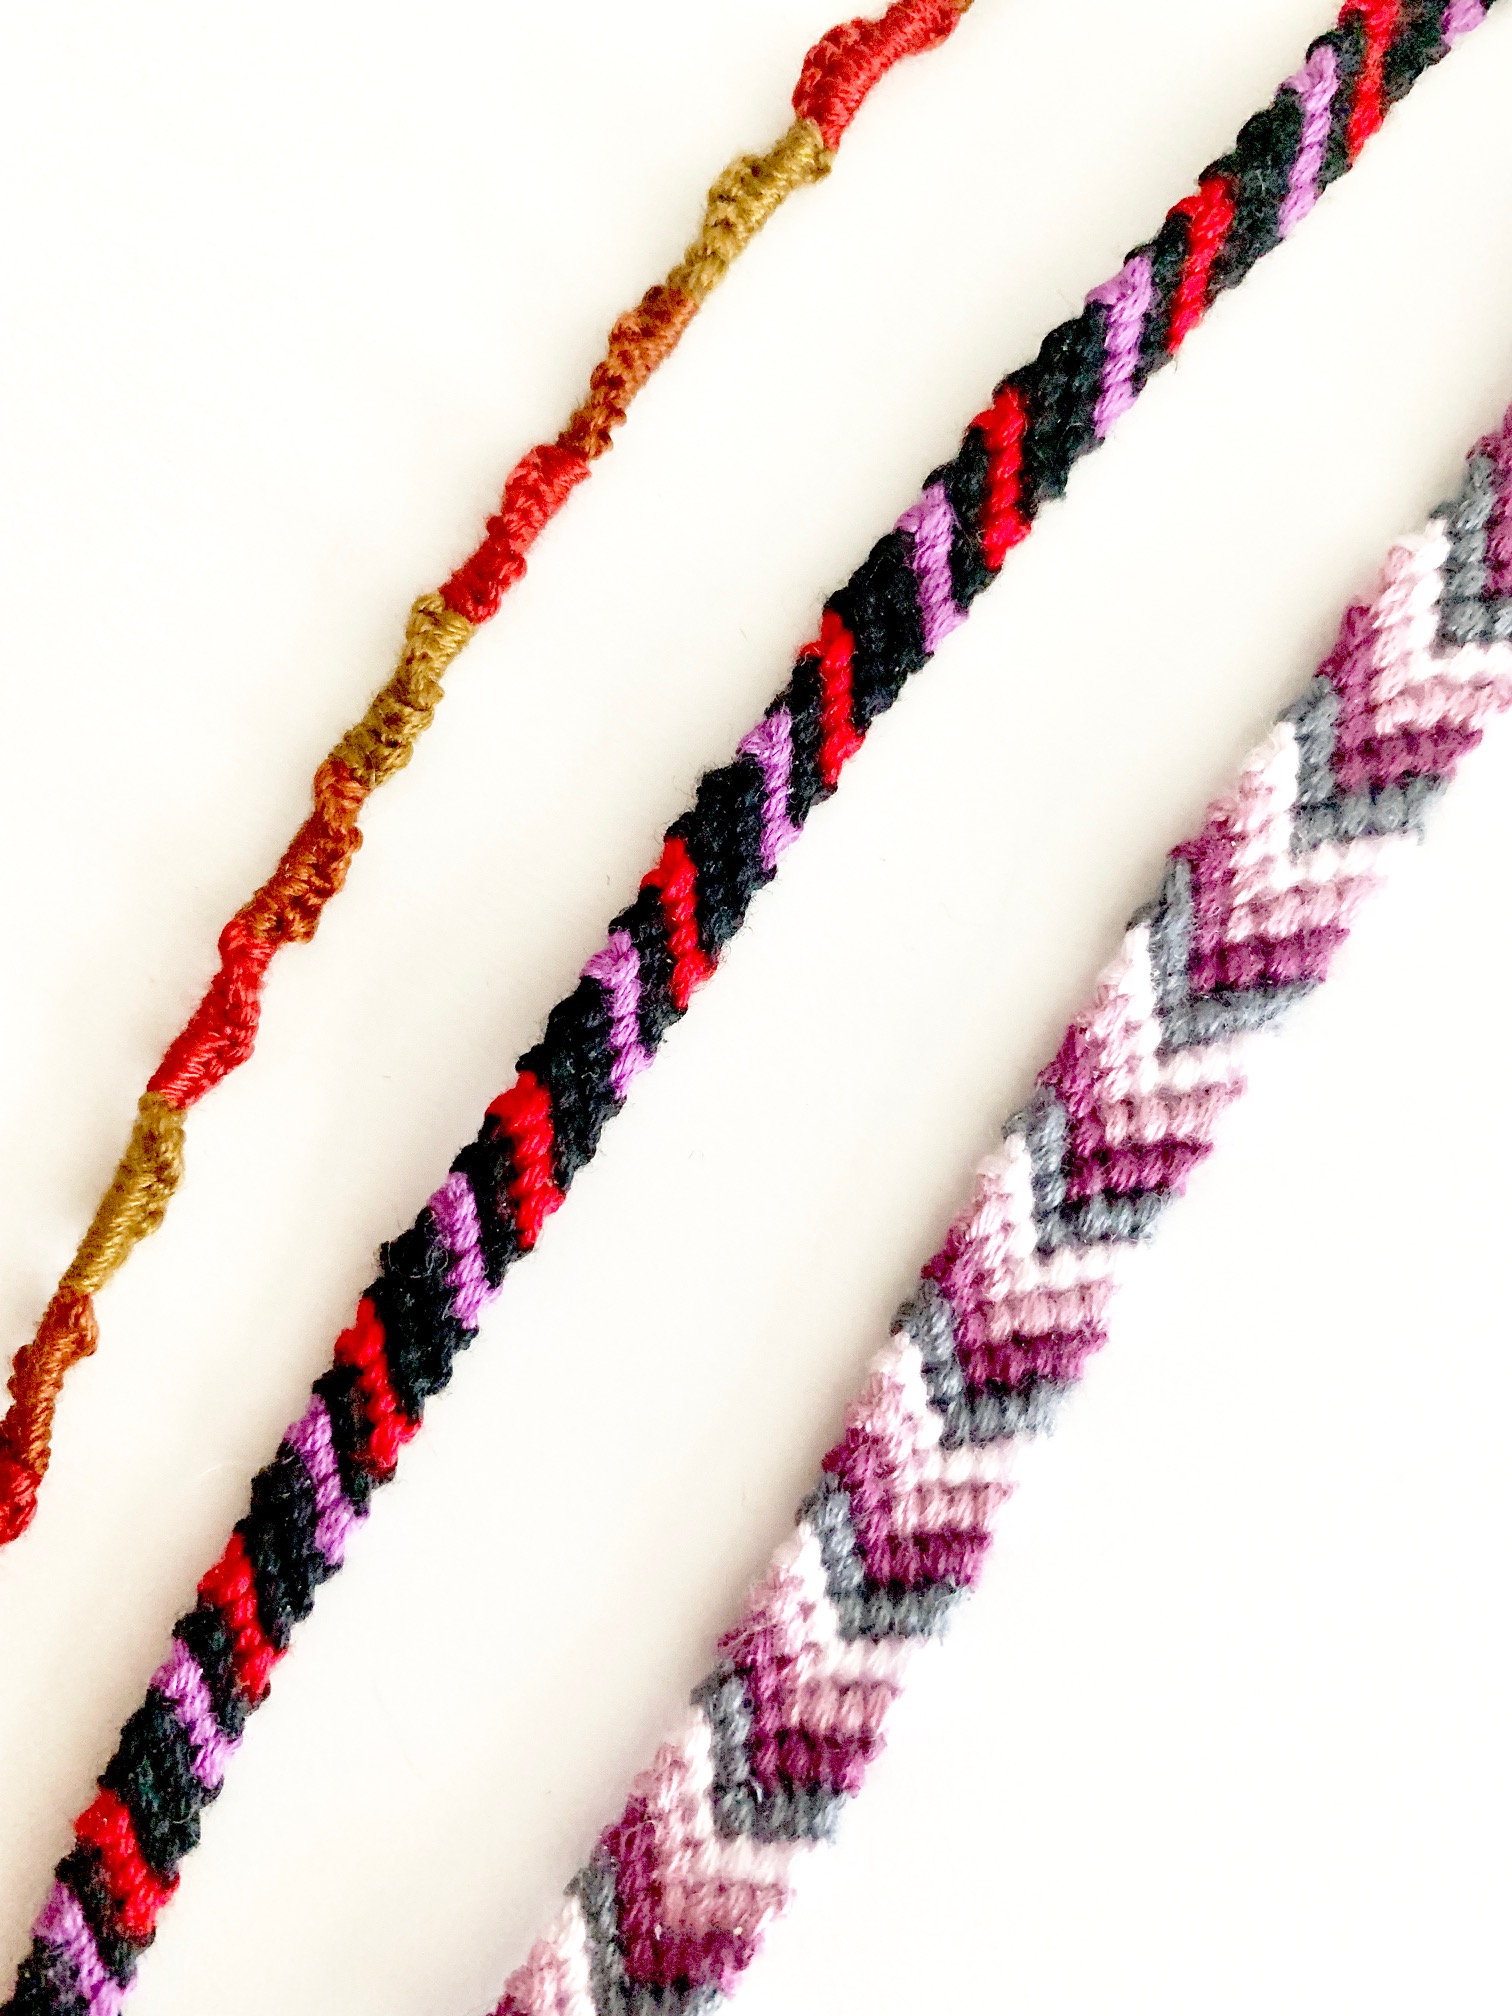
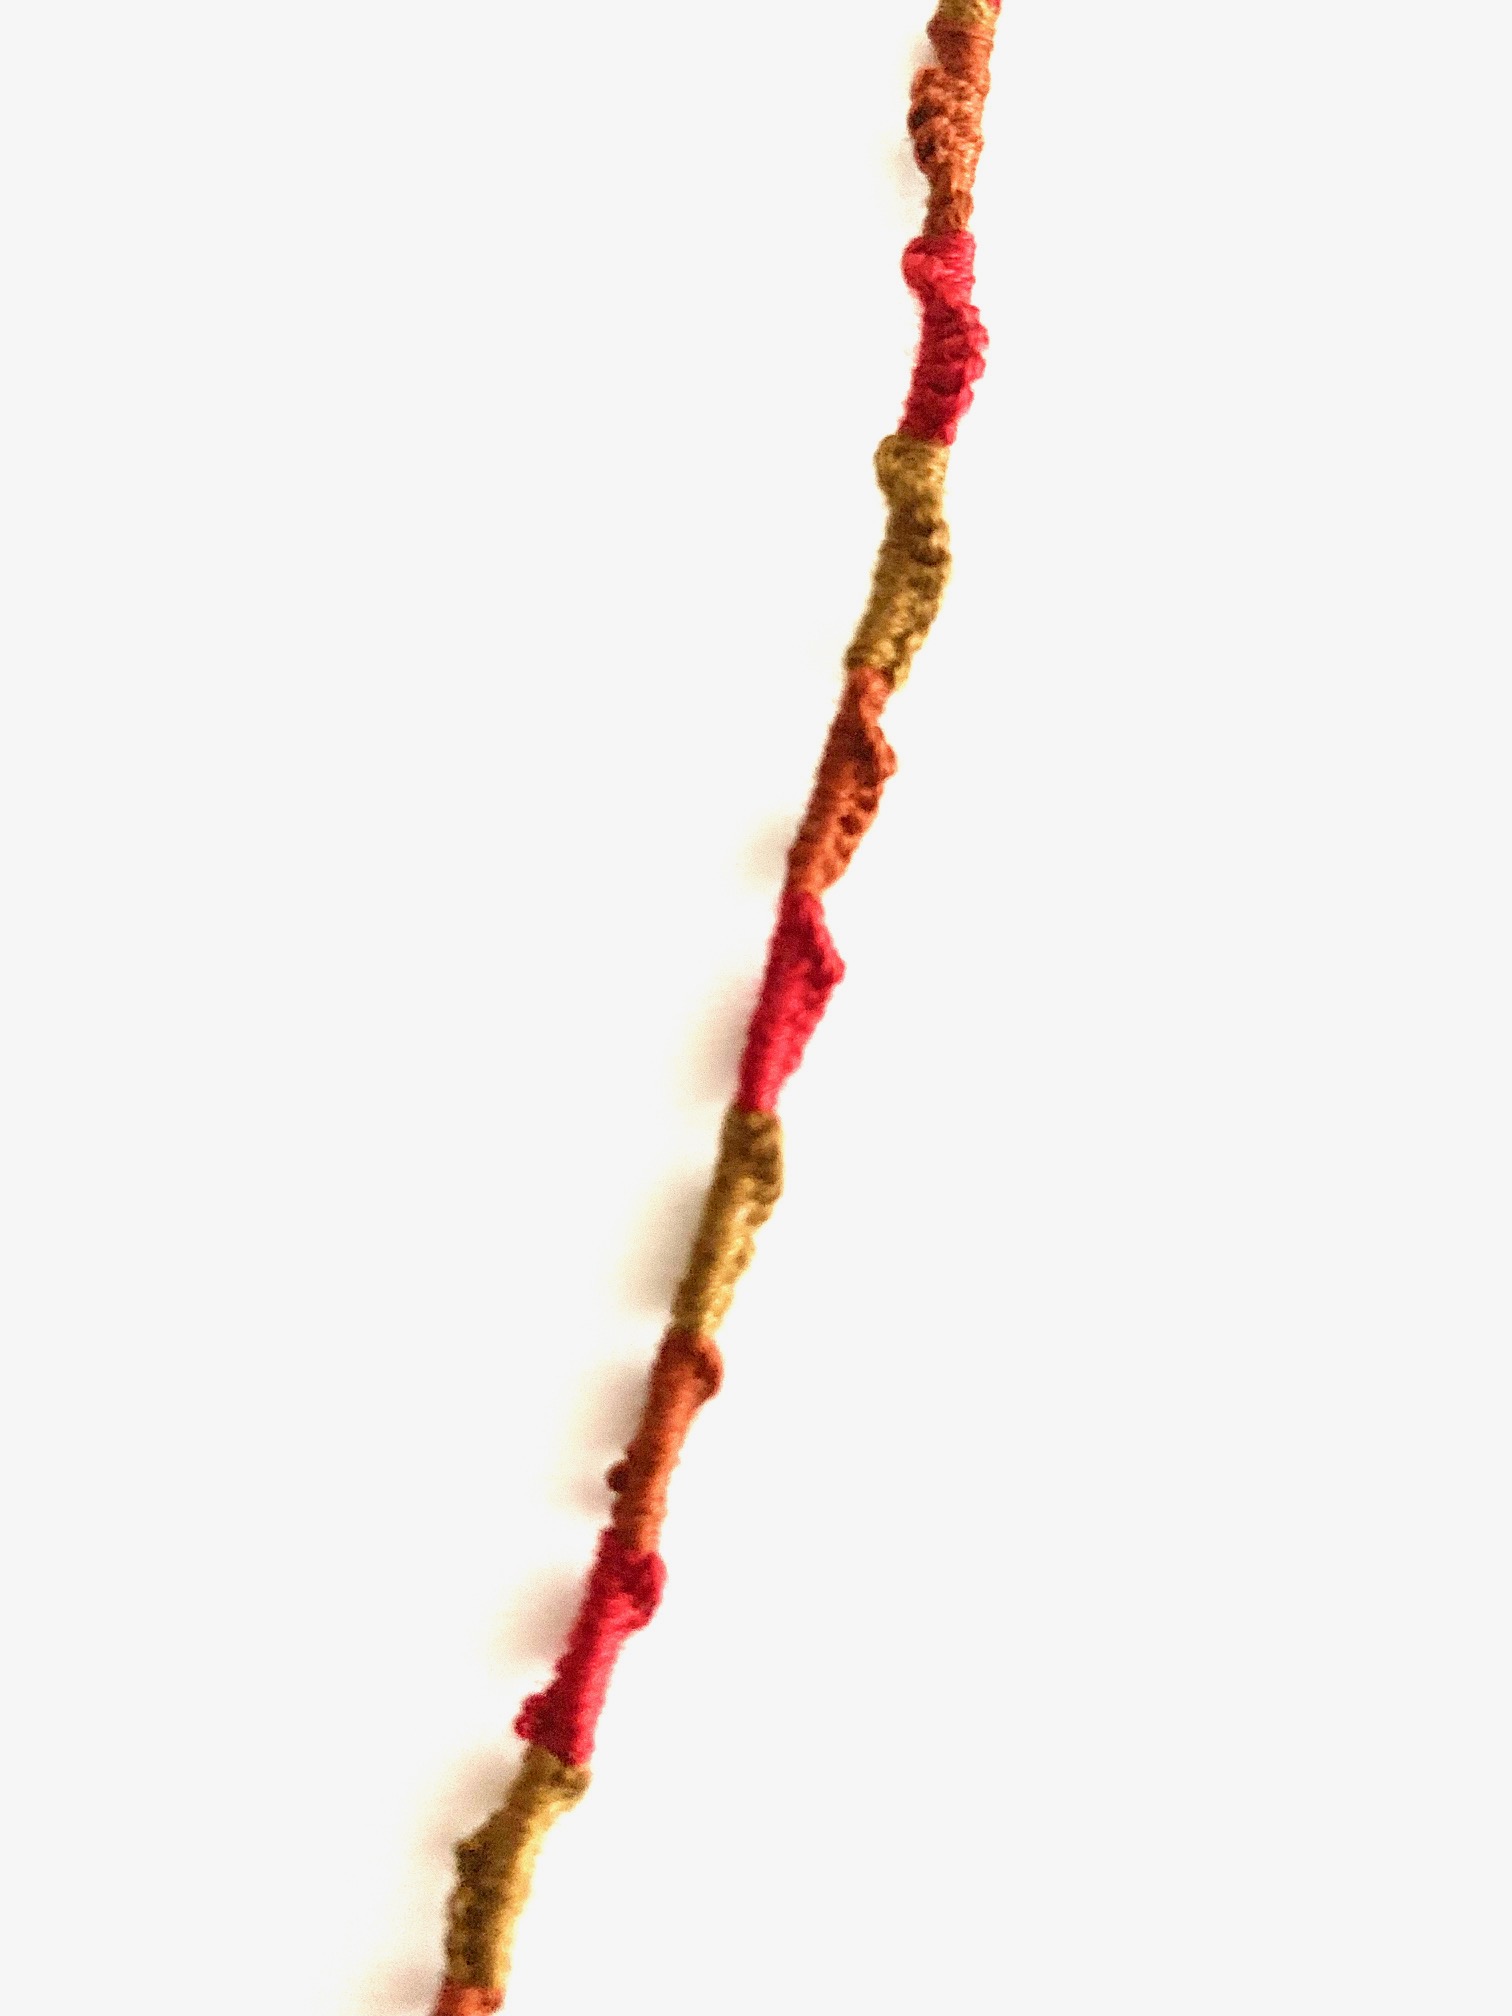
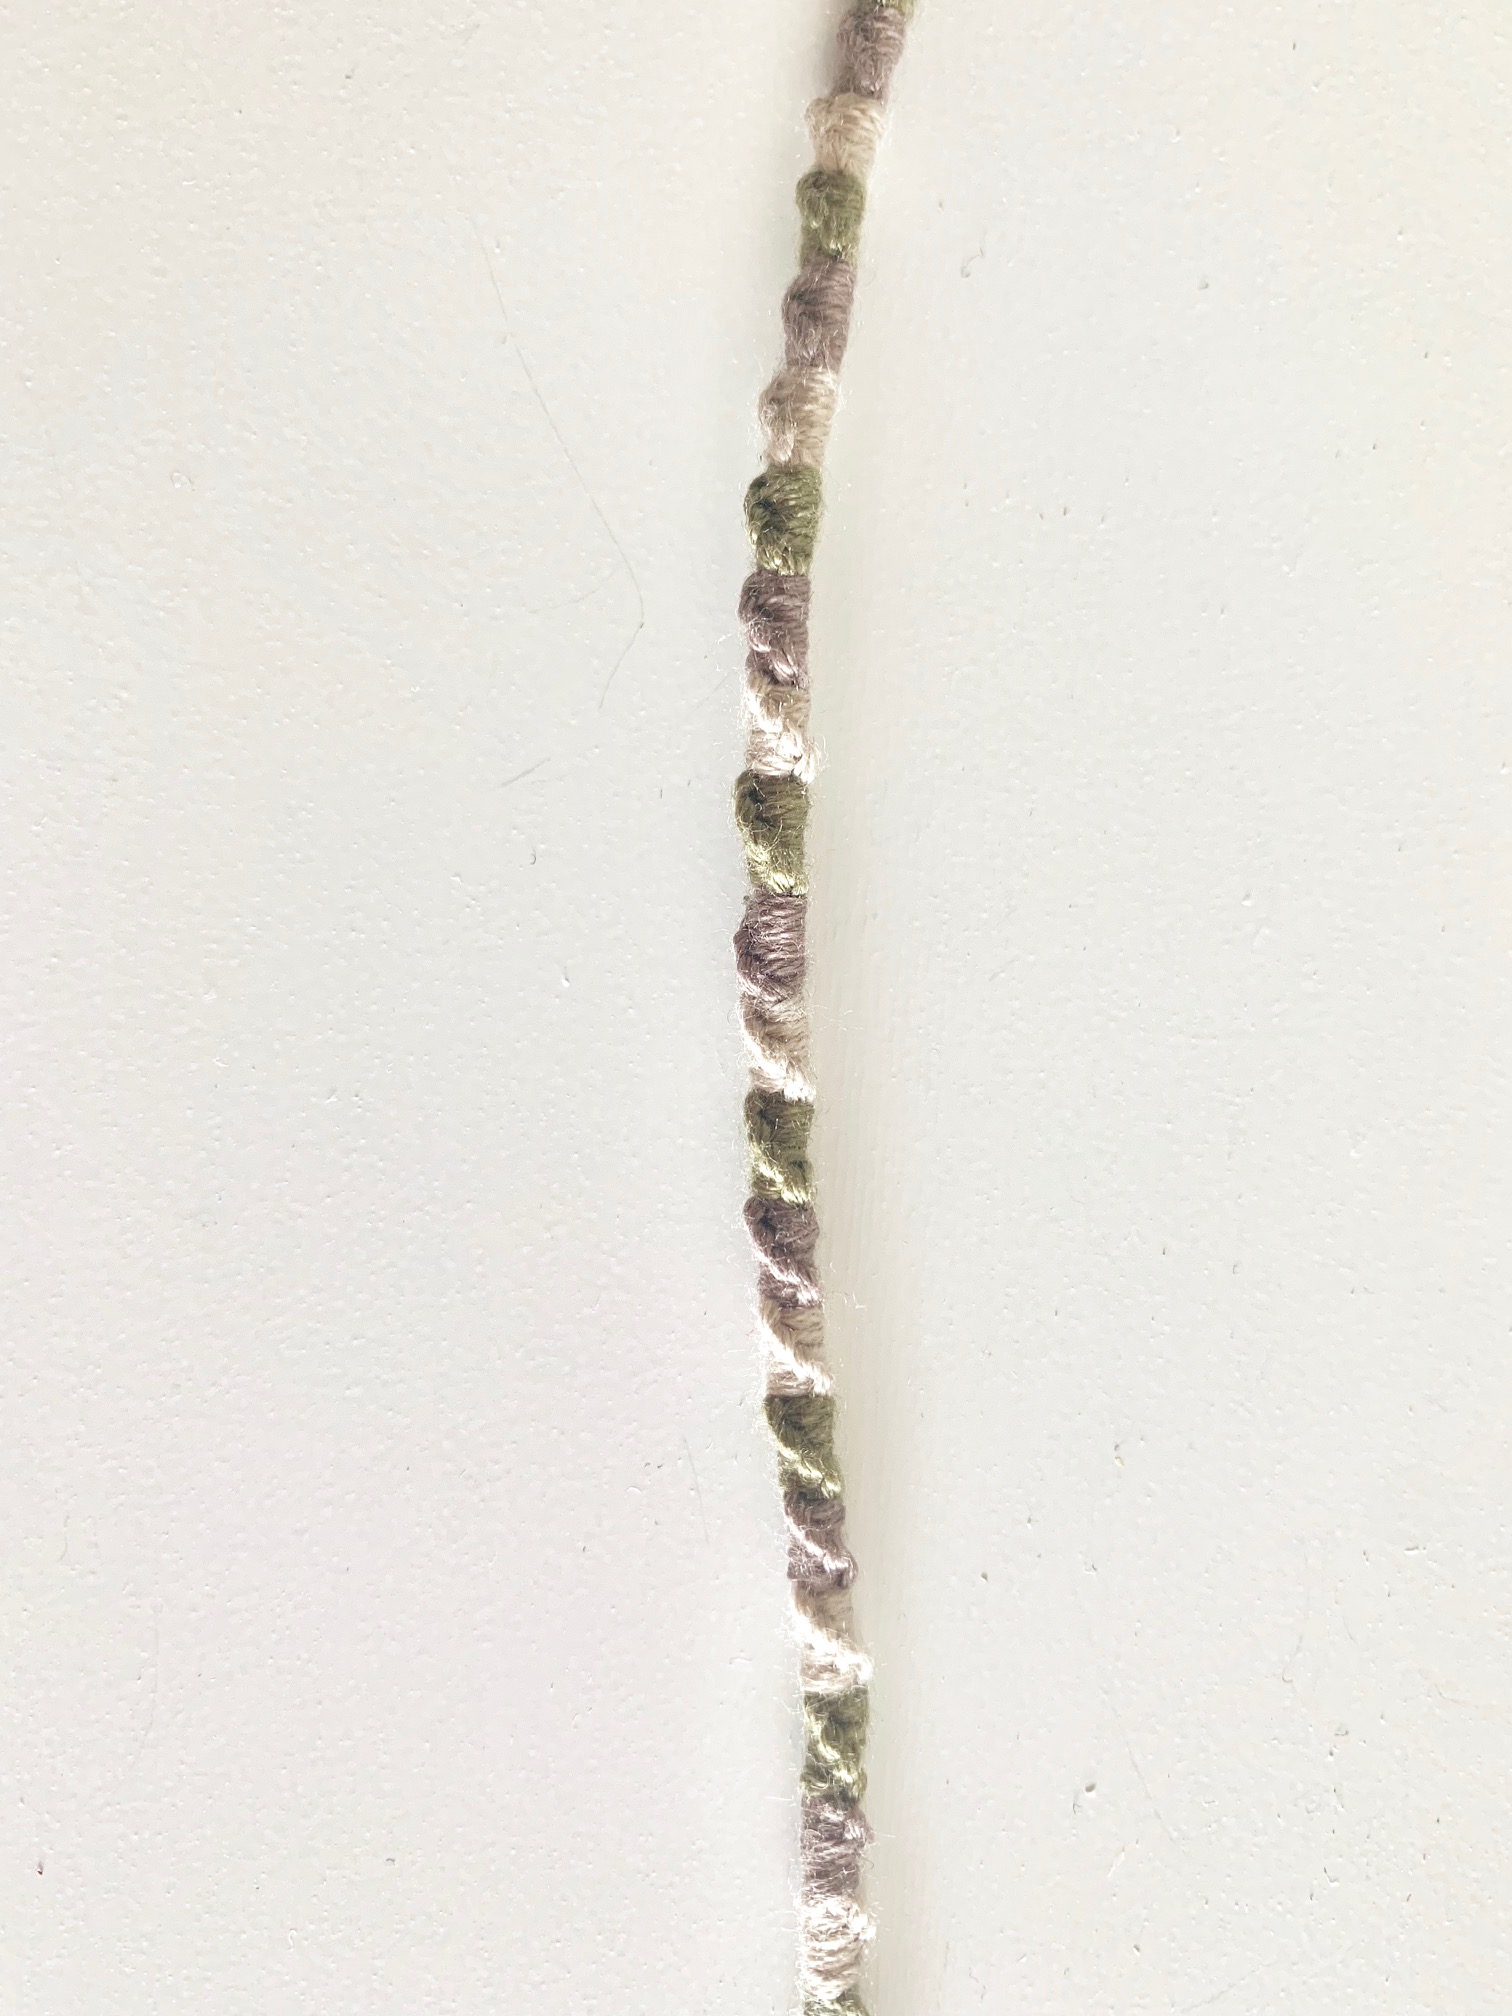
Pick your first colour and separate that thread from the rest. Cross the thread over the whole group of thread, tuck it under and pull it through the other side. Tighten this knot until it reaches the top, this is a forward knot. Repeat this as many times as you’d like to get that first chunk of your bracelet colour. In the Bracelets photo above the red one on the left was 10 knots per colour, the one on the right was 5 knots per colour.
When you are ready to switch colours, group everything together again, pull out the second colour and go through the knot process again.
That’s basically all you have to do to make this bracelet. Keep repeating the colours until you get the length you want tie a knot on the end and you’re ready to tie on that bracelet.
Bracelet Number 2: The Candy Stripe

This starts off with the same set up as the spiral. Pick 4 or 5 colours and cut between a half an arm length to an arm length of each. Place them together and tie a knot and you are ready to begin.
This bracelet uses the same knot as we used in the spiral. Decide the order you want the colours to be. Pick your first colour and do two forward knots on only the string thats going to be the next colour. Then do two forward knots on only the string thats going to be the third color. Continue this until you’ve tied 2 forward knots one each individual colour. That is your first row. Once that row is done you do the same thing with the second colour string. Tie two forward knots on all of the individual strings. Repeat until you’ve reached the desired length.
Bracelet 3: The Chevron Friendship Bracelet
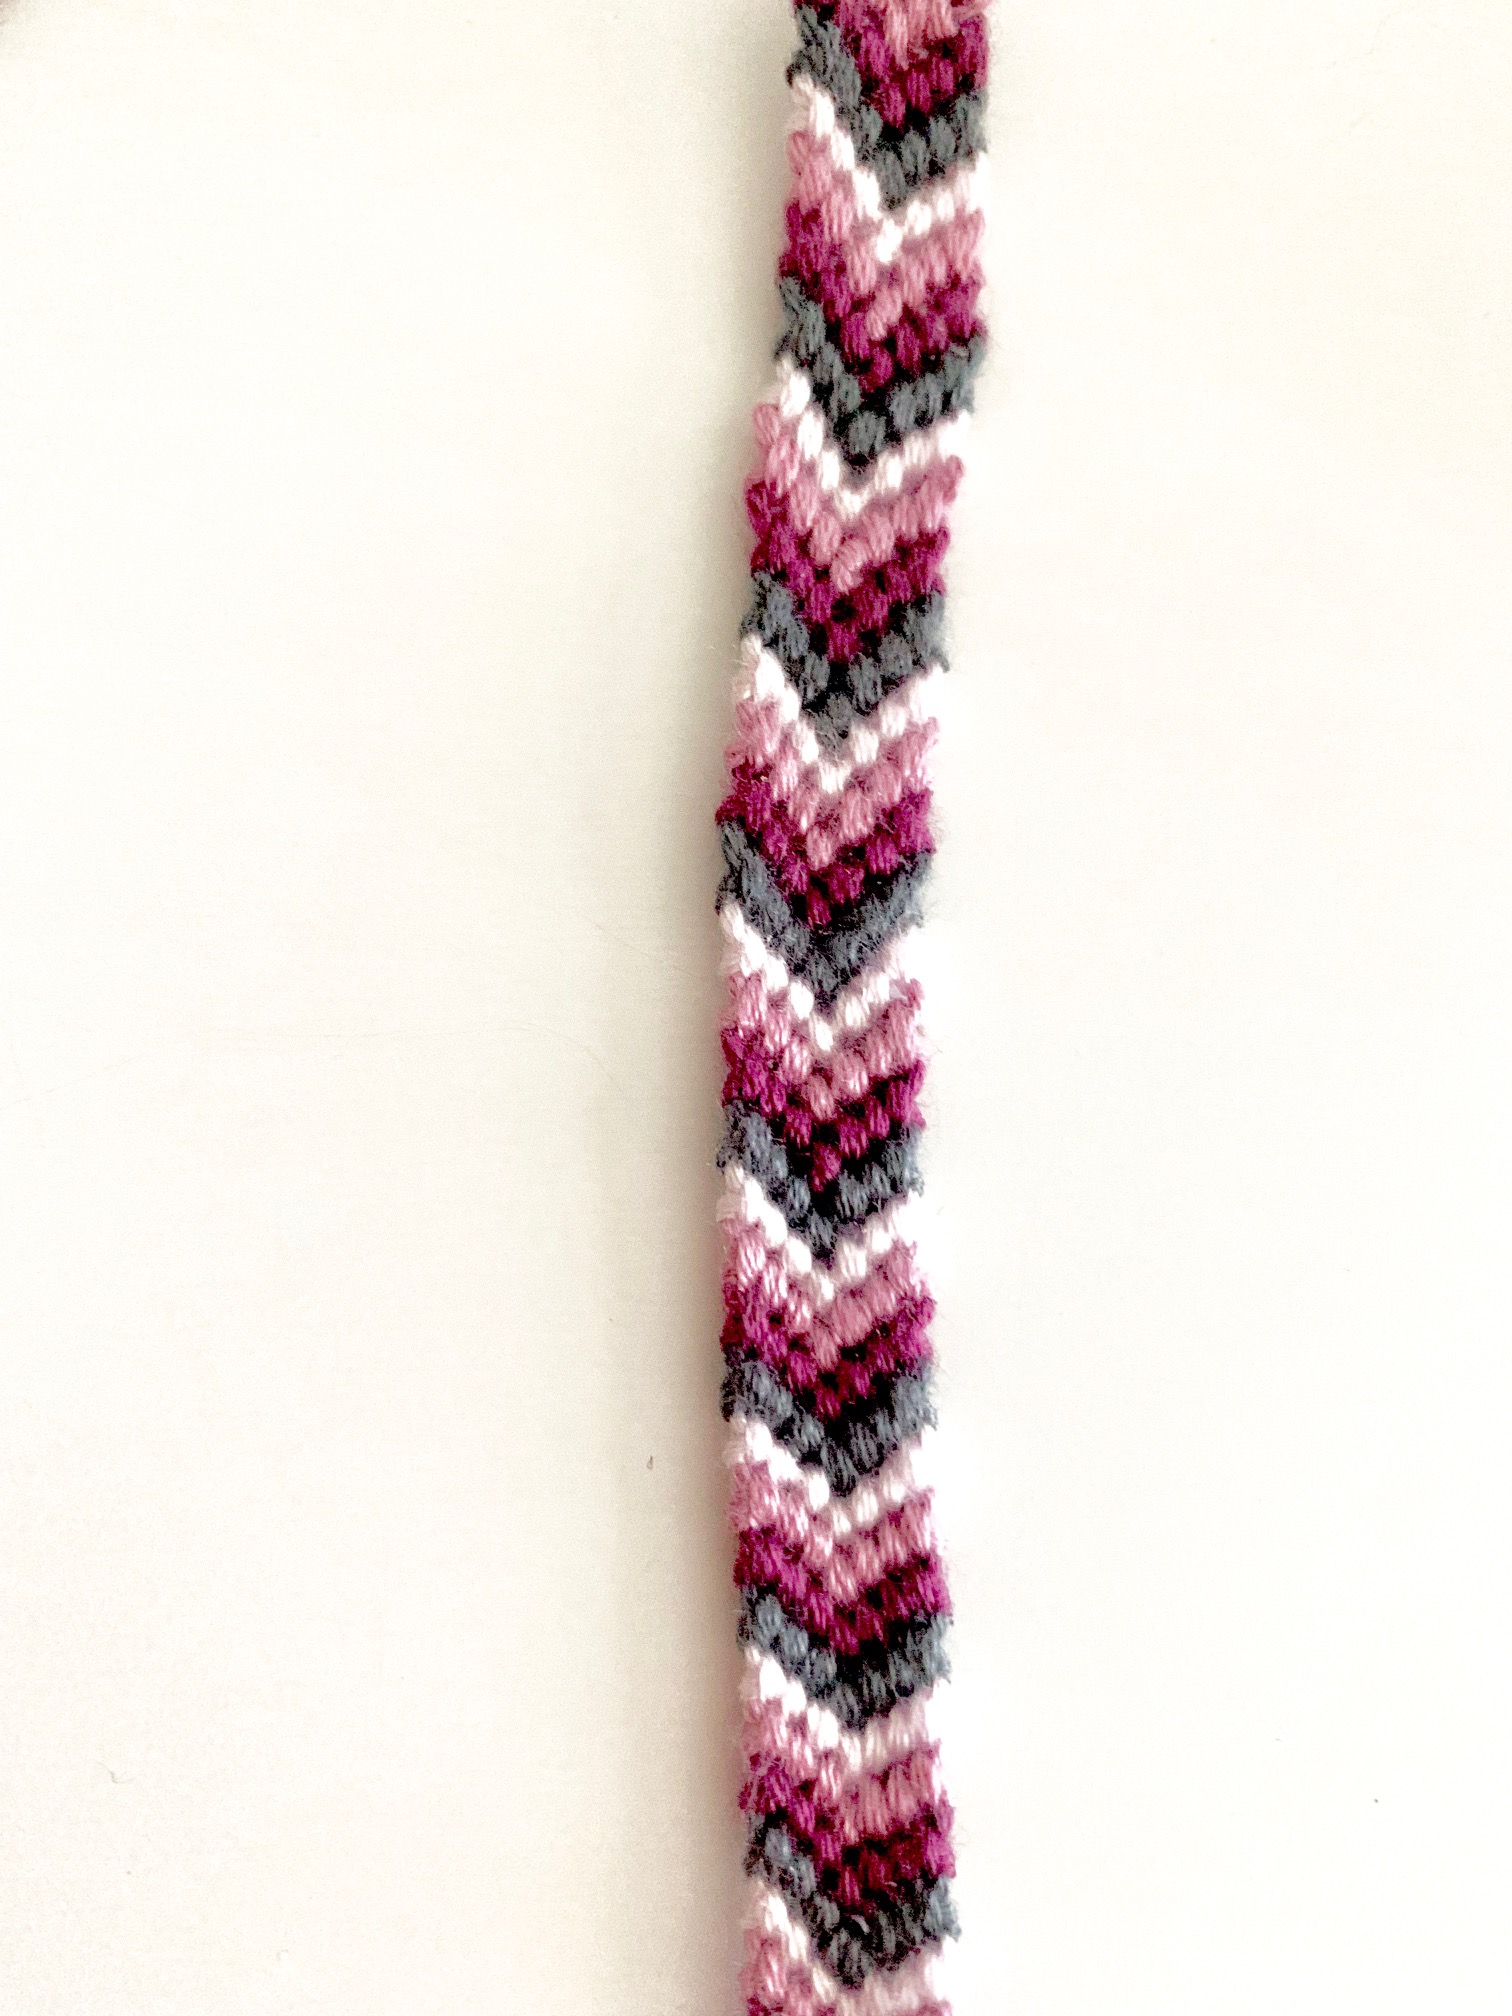
Once you are an expert at the candy stripe, it’s time to move on to the Chevron.
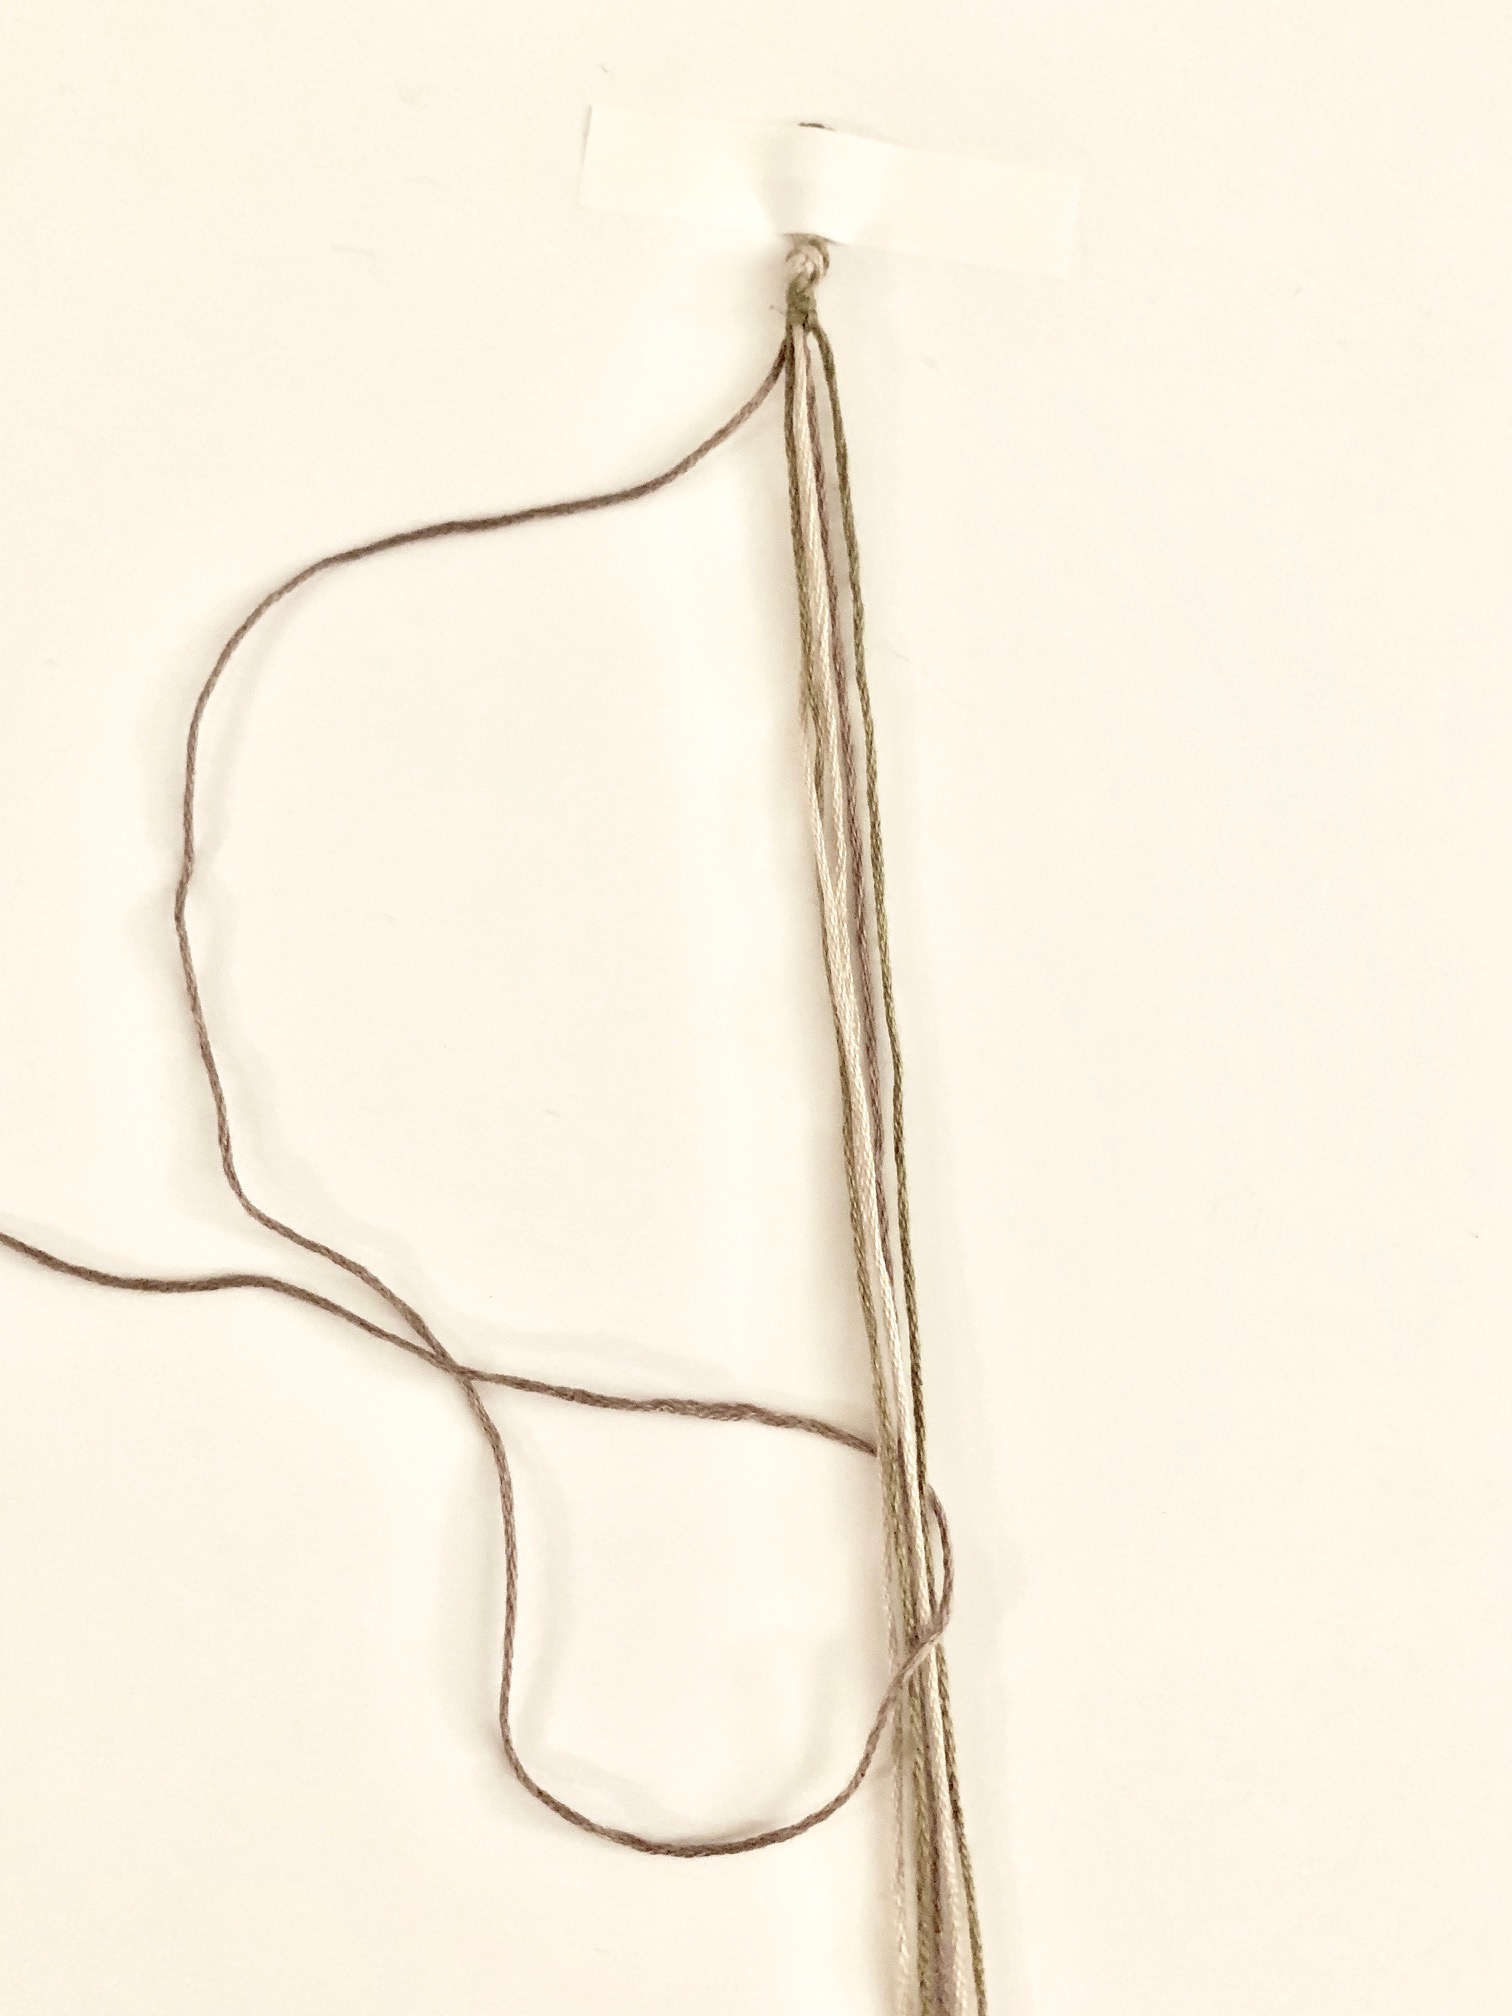
For this bracelet cut 3 or four colours about a full arm long, 45-50 inches. Fold them in half and tie a knot at the top. This should leave you with a small loop. Spread the thread out to keep it organized. You’ll want to sort it so the left side mirrors the right side. The pattern should be 1 2 3 3 2 1.
Starting on the left side. make a row with two knots on each of the left side strings, like you did with the candy stripe. When you get to the centre stop.
Then you are going to do basically the same process for the right side just in reverse. Starting with the far right string you are going to tie two knots on each string until you get to the centre.
Once you have reached the centre, you are going to pick up the two strings with the same colour and tie two knots.
That’s one row, continue adding rows until you’ve reached the desired length.
This one takes the longest out of the three and also the most organization, you really want to keep the threads seperate.
A couple notes:
A couple variations. Instead of tape you can use a safety pin and pin it to you pant leg to work on, this is ideal when your camping and don’t have a flat surface.
Also if you double your thread and fold in half at the beginning you can use that loop at the top as a button hole. Then connect a button to the end. This is great if you need to take the bracelet on and off. You can also use glue and regular jewelry end clamps if you want to make it a bit classier.
Personally I tend to stick with the tried and true, tie on your wrist and wear until it falls off but there are options for everyone.
If you’d like to make some more bracelets try these:

3 Comments Add yours