This is a quick and easy project for beginner sewers to create their own drawstring bags. These bags are great as an alternative to gift wrapping and are reusable. I made the Star Wars bag as a gift bag for a friend and I love the way it turned out.
Material needed
- 2 pieces of fabric for the outside of the bag, any size you want the bag to be
- 2 pieces of fabric for the lining, any size you want the bag to be
- 2 pieces of cord or fabric to use for the drawstring
On the list of materials I did not specify size, because this can be any size depending on your needs.
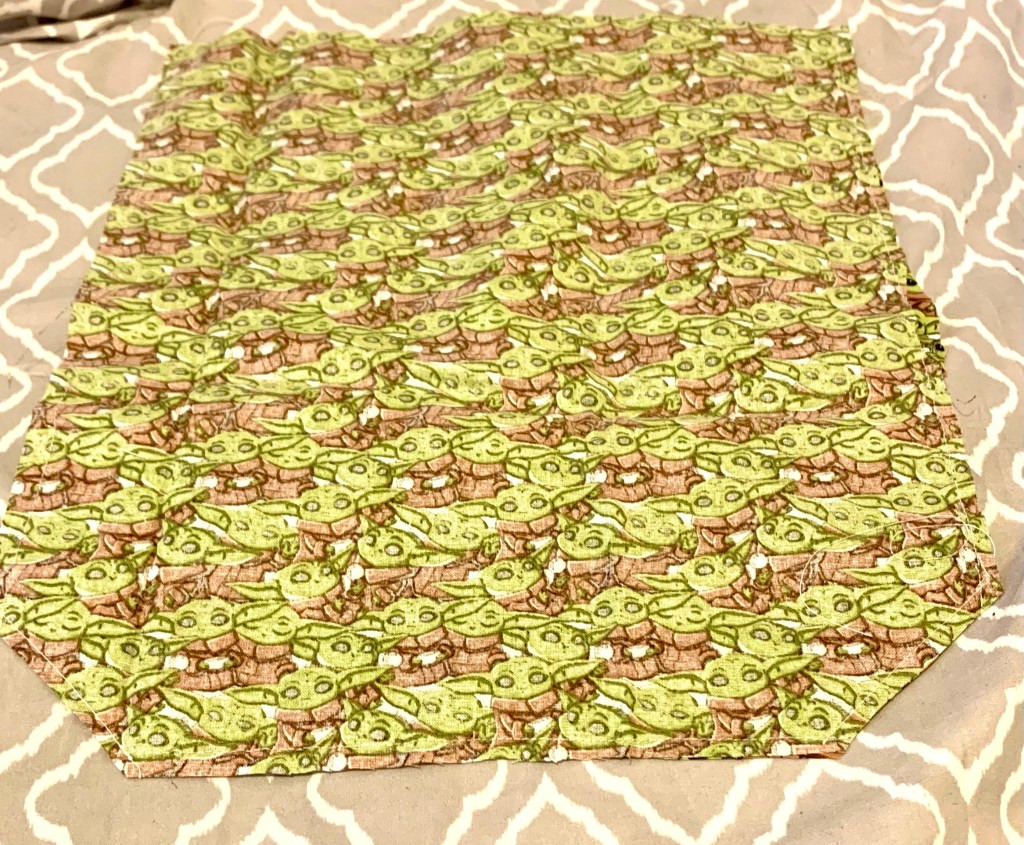
Cut the 2 outside pieces to the height and width you’d like the bag to be. Cut the lining pieces to the same size. Now you have four pieces of fabric the same size. Place the outside pieces on top of each other with the good sides of the fabric facing in. Do the same for the lining pieces.

Sew around three sides of the outside pieces leaving the top open. Sew around the three sides of the lining pieces with the top open, but also leave a small opening on one side for when we flip this inside out.
Take the lining piece and turn it right side out. Then place it inside the outside section. At this point your bag should have the lining pieces inside with the good sides of the fabric facing the good sides of the fabric on the outer section.


Once this is in place, stitch around the top of the bag. With the top stitched you are able to pull the fabric through the small hole you had left on the side and bring the bag right side out and then top stitch around the top of the bag.
To create space for the draw string you are going to sew around the bag twice. Leave enough space between the two lines for a cord to fit through. Then go in with a stitch remover and take out the stitches in the bag seam between the two lines.

Lastly you will feed the cord through one side all the way around and tie. You can use a safety pin to get the cord around. Then feed the second cord through the other side all the way around and tie. Now when you pull both the strings your bag will close.
When it comes to cord for your bag there are a lot of options. In the Star Wars bag I made, I used fabric and sewed the same way i sew the fabric for a key fob, You can also use any type of small cord, bungee cord, rope or ribbon. It really depends on the size and look of bag.
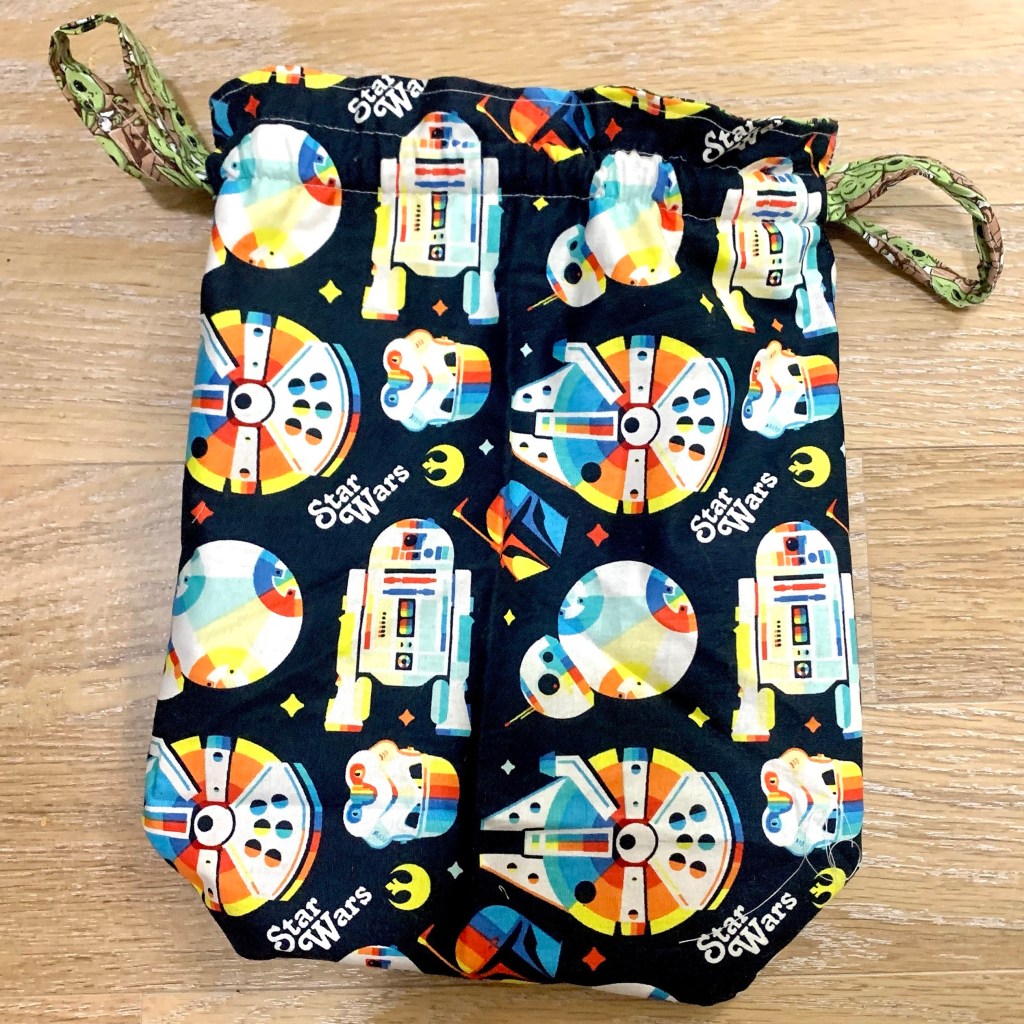

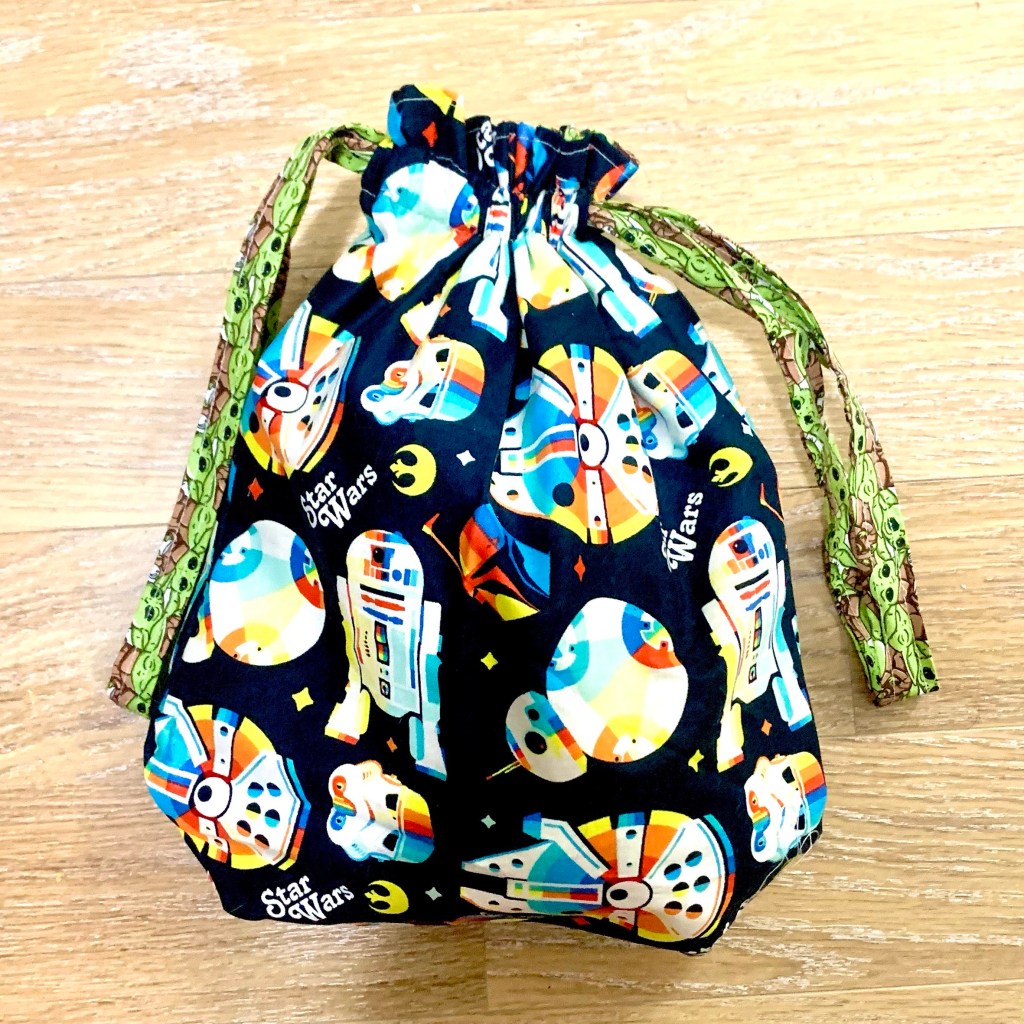
Other ways to modify the bag, in the Star Wars example the bag has a rounded bottom, you can also sew the corners so that the bag lies flat. You can add bias tape around the top, or use multple fabrics to create the outside of the bag. There’s a lot of ways to dress the bag up and make each one unique and stand out.
